60
Recording a pattern
<5> Recording a fill-in
You can choose from a variety of fill-ins and add
them to the currently selected pattern.
1. Select the pattern for which you want to
record a fill-in.
2. Press [EDIT].
The edit menu screen appears.
3. Move the cursor to the “PATTERN” icon
and press [ENTER].
The pattern edit menu screen appears.
4. Move the cursor to the “FILL” icon and
press [ENTER].
The fill-in record screen appears.
fig.02-250d
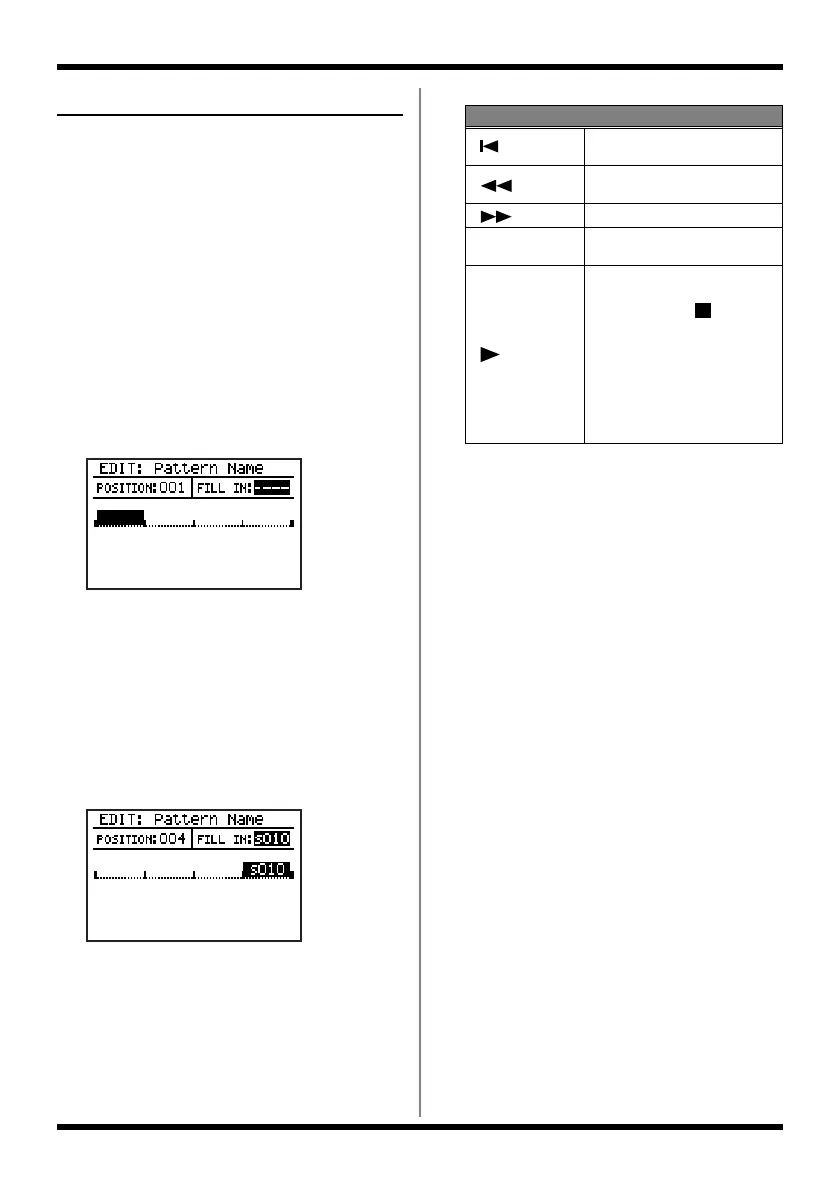
5. Move the cursor to “POSITION” and use
the VALUE dial to select the measure at
which you want to record a fill-in.
6. Move the cursor to “FILL IN” and use the
VALUE dial to select the number of the
fill-in that you want to record.
The name of the selected fill-in is displayed.
Range: s001–s050, L001–L050
fig.02-051d
* A fill-in that is longer than the meter can’t be placed in
the first measure and the next measure after fill-in. (E.g.,
a fill-in longer than two beats can’t be placed in the first
measure of a pattern in 2/4 meter.)
The measure display area shows the
currently selected measure and the number
of the fill-in that’s recorded at that measure.
7. Repeat steps 5–6 if necessary.
8. When you’re finished recorded, press
[EXIT].
9. If you want to save the pattern, proceed
to “Saving a pattern” (p. 65).
Button operations
[]
Moves the cursor to the begin-
ning of the first measure.
[]
Moves to the preceding mea-
sure.
[]
Moves to the next measure.
[SHIFT]+ [EXIT]
Deletes the fill-in from the cur-
rently selected measure.
[]
Starts playback from the begin-
ning of the currently selected
measure. Press [ ] to stop
playback.
* If you’ve turned Arrange
“ON” in Pattern Information
(p. 53), the arranger will run.
If a fill-in is recorded, the fill-in
will also be played.
 Loading...