Workshop
Manual
Rolls- Royce Silver Shadow
&
Bentley
T
Series
Chapter
M
Field coils-To remove
Commutator end bearing-To fit
1.
Remove the rivet securing the field coil
1.
Pack the new bearing with high melting point
terminal block to the generator casing.
grease.
2.
Unsolder the field coil connections.
2.
Press the bearing into position on the shaft,
3.
Remove the insulator which is provided to
pressure should only be exerted on the inner race
prevent the junction of the field coils from contacting of the bearing during this operation.
the generator casing.
3.
Fit a new tab-washer.
4.
Mark the casing and pole shoes so that the
latter can be fitted in their original positions.
5.
Using a wheel operated screwdriver, unscrew
the two pole shoe securing screws.
6.
Draw the pole shoes and coils out of the
casing; remove the coils from the pole shoes.
Brushes-TO bed in
Field coils-To fit
I.
Fit the new field coils over the pole shoes and
position inside the casing. Take care to ensure that
the taping of the field coils is not trapped between
the pole shoes and the casing.
2.
Locate the pole shoes and field coils by lightly
tightening the fixing screws. Using the wheel
operated screwdriver, fully tighten the screws.
3.
Fit the insulation piece between the field coil
connections and the casing.
4.
Solder the field connections to the field coil
terminals block; rivet the terminal block to the
generator casing.
Drive-end bearing-To remove
1.
Withdraw the screws securing the bearing
retaining plate to the end bracket; remove the plate.
2.
Press out the bearing.
Drive-end bearing-To fit
1.
Pack the new bearing with a high melting point
grease.
2.
Locate the bearing in the end-bracket housing
and press into position.
3.
Fit the bearing retaining plate and tighten the
securing screws. Lock each screw ,by centre
punching the screw end at three equally spaced
points.
Commutator end bearing-To remove
If new brushes are to be fitted, it is important that
the correct brush be used and that a minimum of
75
per cent bedding is obtained on the face with
100
per cent bedding on the trailing edge.
1.
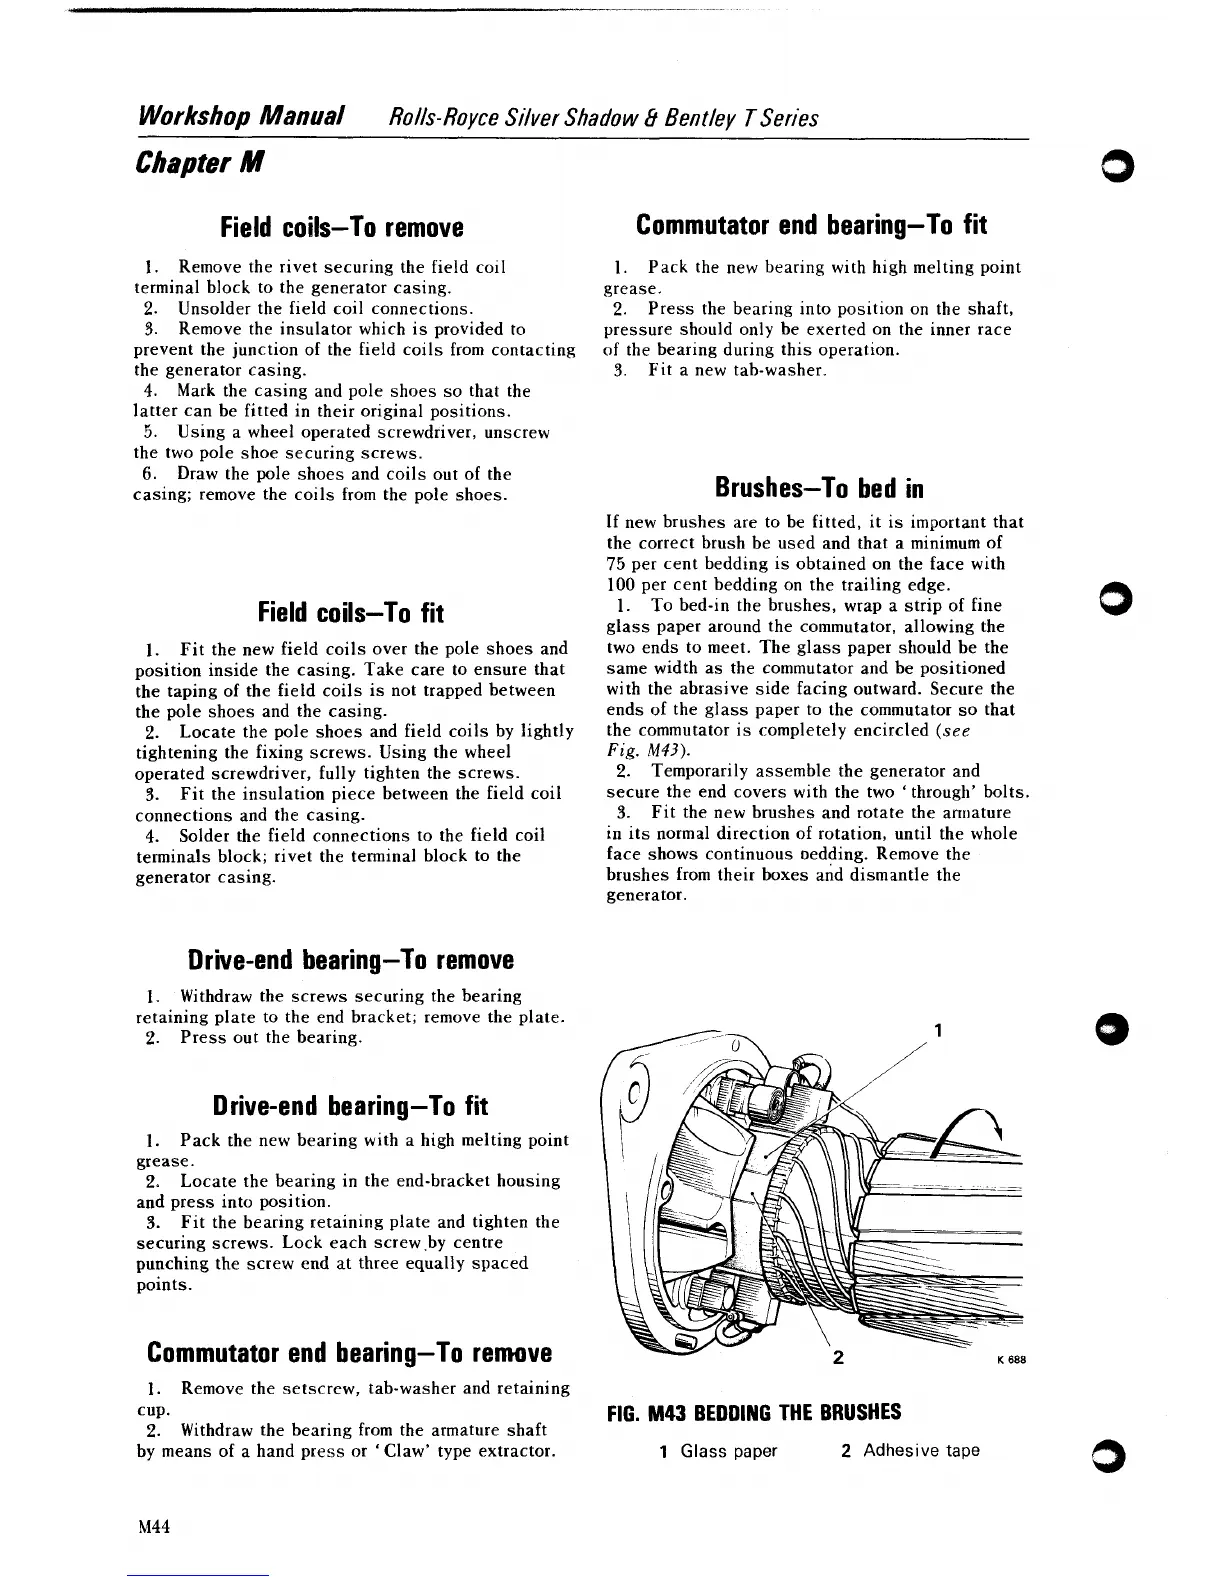
To bed-in the brushes, wrap a strip of fine
glass paper around the commutator, allowing the
two ends to meet. The glass paper should be the
same width as the commutator and be positioned
with the abrasive side facing outward. Secure the
ends of the glass paper to the commutator so that
the commutator is completely encircled
(see
Fig.
M43).
2.
Temporarily assemble the generator and
secure the end covers with the two 'through' bolts.
3.
Fit the new brushes and rotate the arrnature
in its normal direction of rotation, until the whole
face shows continuous oedding. Remove the
brushes from their boxes and dismantle the
generator.
1.
Remove the setscrew, tab-washer and retaining
cup.
2.
Withdraw the bearing from the armature shaft
FIG.
M43
BEDDING THE BRUSHES
by means of a hand press or
'
Claw' type extractor.
1
Glass
paper
2
Adhesive tape