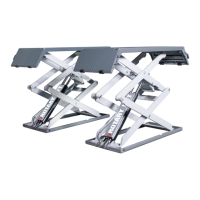
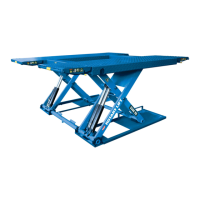
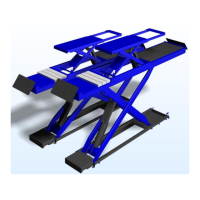
7.11.4 CHECK AND ADJUSTMENT OF LIFT-TABLE LEVELLING LIMIT SWITCH (UP)
With the lift-table operating, press UP button (7)
and check if, on the printed circuit board L36 led
lights up for a while.
If this has not happened, adjust the limit switch
(installed on platform P2) as follows:
place the lift at the height of about 1500
mm;
lower completely the lift-table;
loosen nuts (1);
bring the sensor (2), placed on the lift
platform P2, nearer the lift-table platform
at a distance of 3 mm;
tighten nuts
7.11.5 CHECK AND ADJUSTMENT OF LIFT-TABLE LEVELLING LIMIT SWITCH (DOWN)
With the lift-table operating, press the safety
DOWN button (5) and check if, on the printed
circuit board L35 e L37 led light up for a while.
Once final position has been reached release
final lowering button (5) and check if L36 led
lights.
If this has not happened, adjust the limit switch
as follows:
lower completely the lift-table;
loosen nuts (1);
bring sensor (2), installed on platform
P1 of the lift , towards auxiliary lift
platform, at a distance of 1-3 mm;
tighten nuts.
7.11.6 AUXILIARY LIFT SAFETY HEIGHT LIMIT SWITCH ADJUSTMENT (130MM)
With the lift-table operating, press Down button (8) and check the auxiliary lift stops at a height of
130 mm.
If this has not happened, adjust the limit switch
(installed on platform P1) as follows :
raise the lift table at a height of 130 mm
from lift platform;
loosen dowels which fix the cam tot eh
arm and turn it until the limit switch
detects it presence;
tighten the dowels properly
if the limit switch does not detect the cam, ad
just it as follow:
loosen nuts (2) of sensor (1), installed
on external arm of auxiliary lift P1, and
 Loading...