Operator`s Manual RM1
Seite/page 105/132 ROTAX KART RM1 Ausgabe/Edition 01/2006
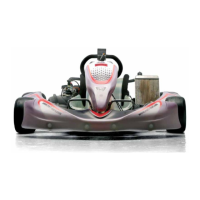
Note: The cuneiform washer (Pos. 4) is made of special plastic and has to be fitted
directly to the seat.
Proceed as per following drawing and use the parts specified:
¨ Drill a hole of 8.5 mm / 3.4 in. diameter at the 3 positions marked.
¨ Fasten the seat in these 3 positions.
¨ Drill the 4
th
hole at the position left top (seen in driving direction).
¨ Fasten the seat in this 4
th
position.
Note: If you want to use the seat of another manufacturer pls. contact a ROTAX Service
Center.
Note: The seat fastenings screws have to be checked regularly for tightness, as the
upholstery can settle after the first few operating hours and the screws may require
retightening.