Communicator | 3.05 48
3. Apply power while pressing until the Cold Start screen appears.
4. Select YES.
NOTE: The COLD START resets the Communicator to original factory settings and erases previous
history. Perform COLD START when installing new hardware, changing the software version,
or if instructed by a ROTEM technician.
5. Go to SYSTEM > Test > Hardware Profile.
6. Ensure that Communicator recognizes the components.
7. Go to SYSTEM > Test > Battery.
8. Check for battery recognition and charging. As long as the communicator unit is plugged in, the
charger inactive note is displayed.
9. Install the communication software using the accompanying CD (for installation instructions,
refer to USB Driver Installation, page 49).
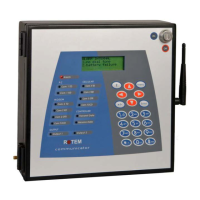
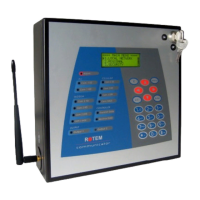
11.1.2 Connecting the Unit to External Components
1. Connect the External Connection Box to the Communicator as shown in Figure 10 or
Figure 11.
2. Connect the External Connection box to a controller as shown in Communicator to Controller
Functions, page 26.
3. Connect the local computer by via the PC Port or a USB cable.
NOTE: If you use the USB drive, install the Rotem driver (refer to USB Driver Installation, page 49).
4. Connect the line and phone cables.
5. Connect the ethernet cable to ethernet access point; for example an ADSL modem/router
(Version 3.1 only).
NO
YES
1 VOICE OK
2 LINE MODEM OK
3 CELLULAR OK
-
+ 100%
Charger active
 Loading...