4 x Installation
FA ROTEX Solaris RPS4 - 06/2015
17
11. Fit the flow distribution lines left and right to the connection
T-piece (fig. 4-43, item 3 + 4).
12. Place gaskets on both FlowGuards and screw the flow
distribution line to the two FlowGuards using union nuts.
13. Position seal on the connecting t-piece and screw on the
double swivel nut (1").
14. Position seal in double swivel nut (1").
15. Mounting the FlowSensor (see chapter 4.2.2).
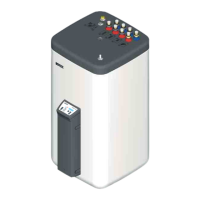
1 Solar storage tank
2 Control and pump unit RPS4
3 Solar flow distribution pipe
4 Connecting T-piece
CON SX (A)Storage tank extension kit (bottom)
CON SX (B)Storage tank extension kit (top)
FLS Flow sensor
FLG FlowGuard
Fig. 4-43 Installation of storage tank extension for 2 Solar storage tank
(shown on 2 Sanicube Solaris)
When extending to the maximum three storage tanks,
you must take note of the installation instructions for the
storage tank extension kit 2 CON SXE ( 16 01 21).