Hardware Installation and Reference Guide Product Installation
50
Remove the power module uprightly and slowly.
Install a baffle in the location where the power module is removed to ensure the normal ventilation
and dissipation and avoid the dust in the chassis.
Installing an RG-PD70I Power Module
Step 1: Take a new power module out of the package and confirm the input mode and the input
parameters of the power module match the requirements.
Step 2: Remove the power baffle and take the plane printed with power information as the top panel of
the power module. Hold the handle of the power module with one hand, and hold the end of the power
module with the other hand. Insert it into the chassis along the guide rail uprightly and slowly until a
click is heard, and make sure that it is in good contact with the power slot. The three screws are the
input terminals of the DC power module. Remove the screws, and then put the ends of power cables in
place before driving the screws back. From left to right, cables are blue, red and yellow-green. Then,
remember to cover the terminals with protective caps.
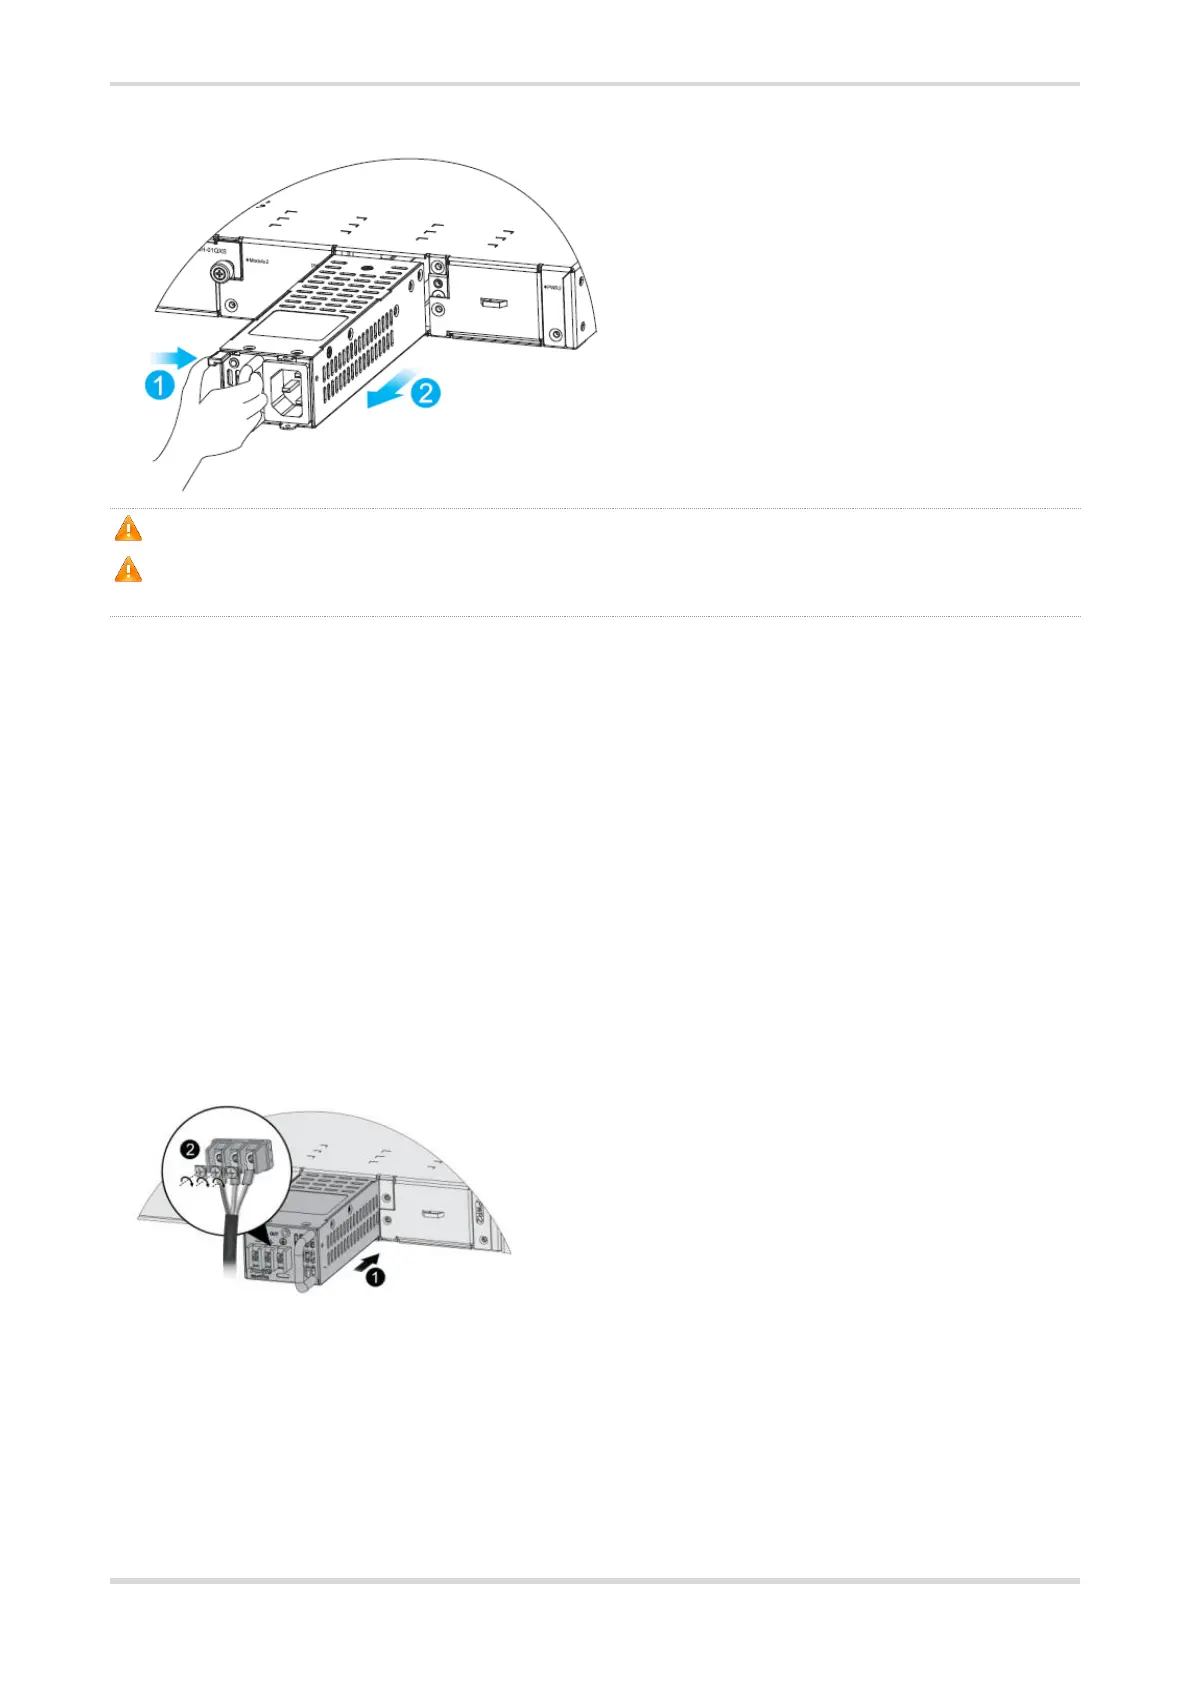
Step 3: Connect the other ends of power cables to the DC panelboard: connect the blue one to the -
48VDC terminal, the red one to -48VGND, and the yellow-green one to PGND.
Figure 3-7 Installing a Power Module
Figure 3-8 Connecting Power Cables to the DC Panelboard
 Loading...