23
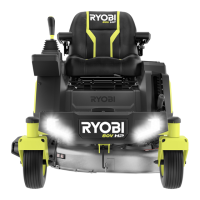
1. Set Parking Brake & jack rear tires approx. 2” off the ground & support securely w/ jack stands.
2. Sit on mower to trigger the Seat Switch.
3. Release the Parking Brake.
4. Turn Main Power Key to the ON position.
5. The LCD Screen should display the RYOBI logo followed by the user interface.
6. Pull up on the Joystick to unlock it.
7. Push Joystick fully forward and hold. Rear wheels should rotate forward.
8. Pull Joystick rearward. Wheels should rotate in reverse.
9. Pull PTO knob up. The Blade Motors should run.
10. Push the PTO knob down and ensure Blade Motors stop.
11. Press Drive Speed button. The Drive Speed should change between high, medium, and low.
12. Press Blade Speed button. The Blade Speed should change between high, medium, and low.
13. Press Headlights button. Button should light and both Headlights should come on.
14. Check that USB has power by verifying blue indicator light is on.
15. Remove yourself from mower seat. Beeping should begin after 1 minute or less.
16. Connect Charger and verify charging indication is working with the LCD displaying charging.
17. Sit on mower to trigger the Seat Switch.
18. Attempt to start mower and drive away with Charger connected. This should not be possible.
< Return to Table of Contents
Pre-Repair/Post-Repair Checklist
Confidential and Proprietary - Property of Techtronic Power Equipment - DO NOT COPY or DISCLOSE