7. 7 OETIKER clamp assembly and disassembly
Heater clamps
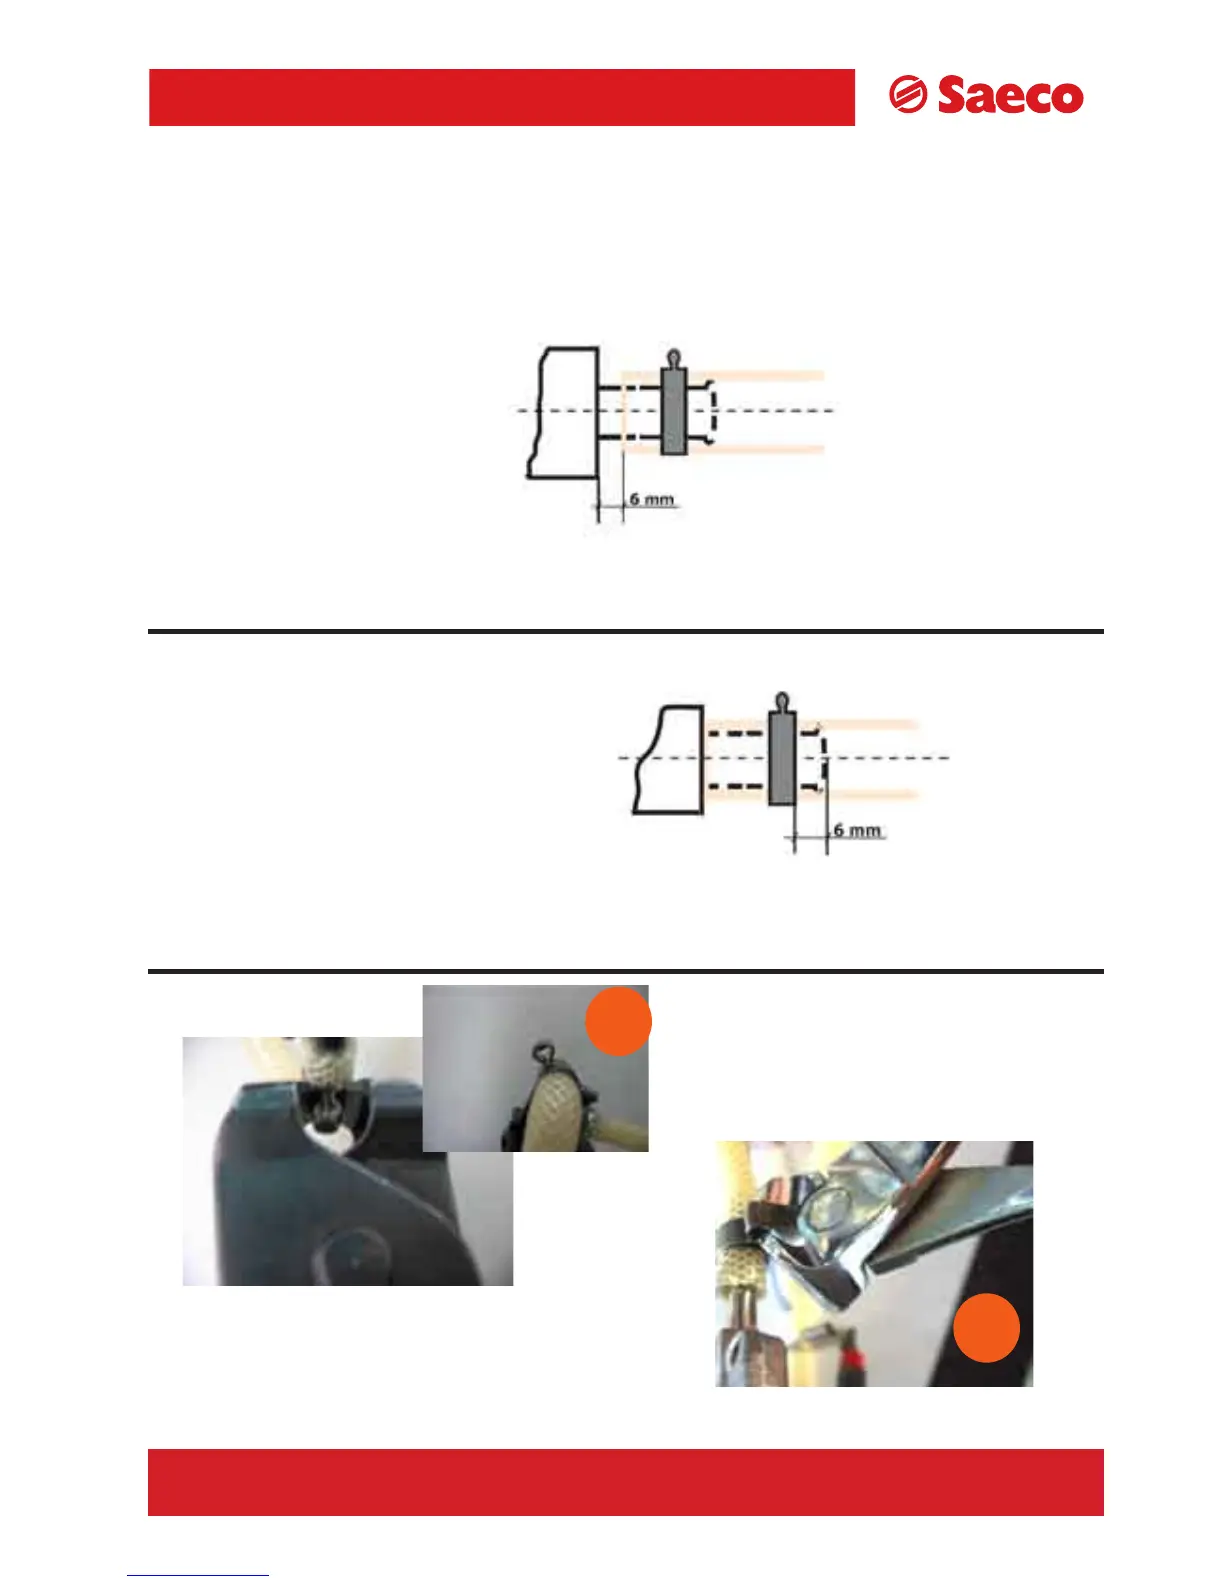
Figure (1) shows the assembly position of the clamp on the heater connector.
HEATER
SOLENOID PILOT
Figure (2) shows the assembly position of the clamp on the plastic solenoid pilot connectors.
Solenoid pilot
Use suitable pliers to tighten the clamp.
Ensure correct tightening (A) and position-
ing as shown in illustrations (1) / (2).
1
2
A
To remove the clamp, use a pincer as shown in (B)
B
TALEA Section 07
REV00 - August 06
7/11