30 Entris
®
BCE Operating Instructions
Cleaning and Maintenance
8.12 Printing Weighing Result with ID Marking
The device, the sample and a batch can be assigned an ID
number. The ID numbers are exported during GLP-compliant
printing.
Requirements
− The identity number is specified (see Chapter “7.3.20
“INPUT” Menu”, page 26).
− The printing of the lot ID line in the GLP printout is
activated in the menu (see Chapter “7.3.20 “INPUT” Menu”,
page 26).
− The “SPL. ID” output is activated in the menu.
− The GLP-compliant printout is activated (see Chapter “7.3.7
“DATA.OUT.”/”PRNT.PAR.” Menu”, page 22).
Procedure
t Start the printout. To do so, press the [Print] button.
y The GLP header is printed with the ID marking of the
LOT ID set in the menu and the current weight value.
y The [GLP] button appears in the operating display.
t Confirm the [PRINT] button.
y The SPL. ID and the current weight value are exported.
t Confirm the [PRINT] button.
y The SPL. ID and the current weight value are exported.
t To exit the GLP printout: Press the [GLP] button.
y The GLP footer is printed.
9 Cleaning and
Maintenance
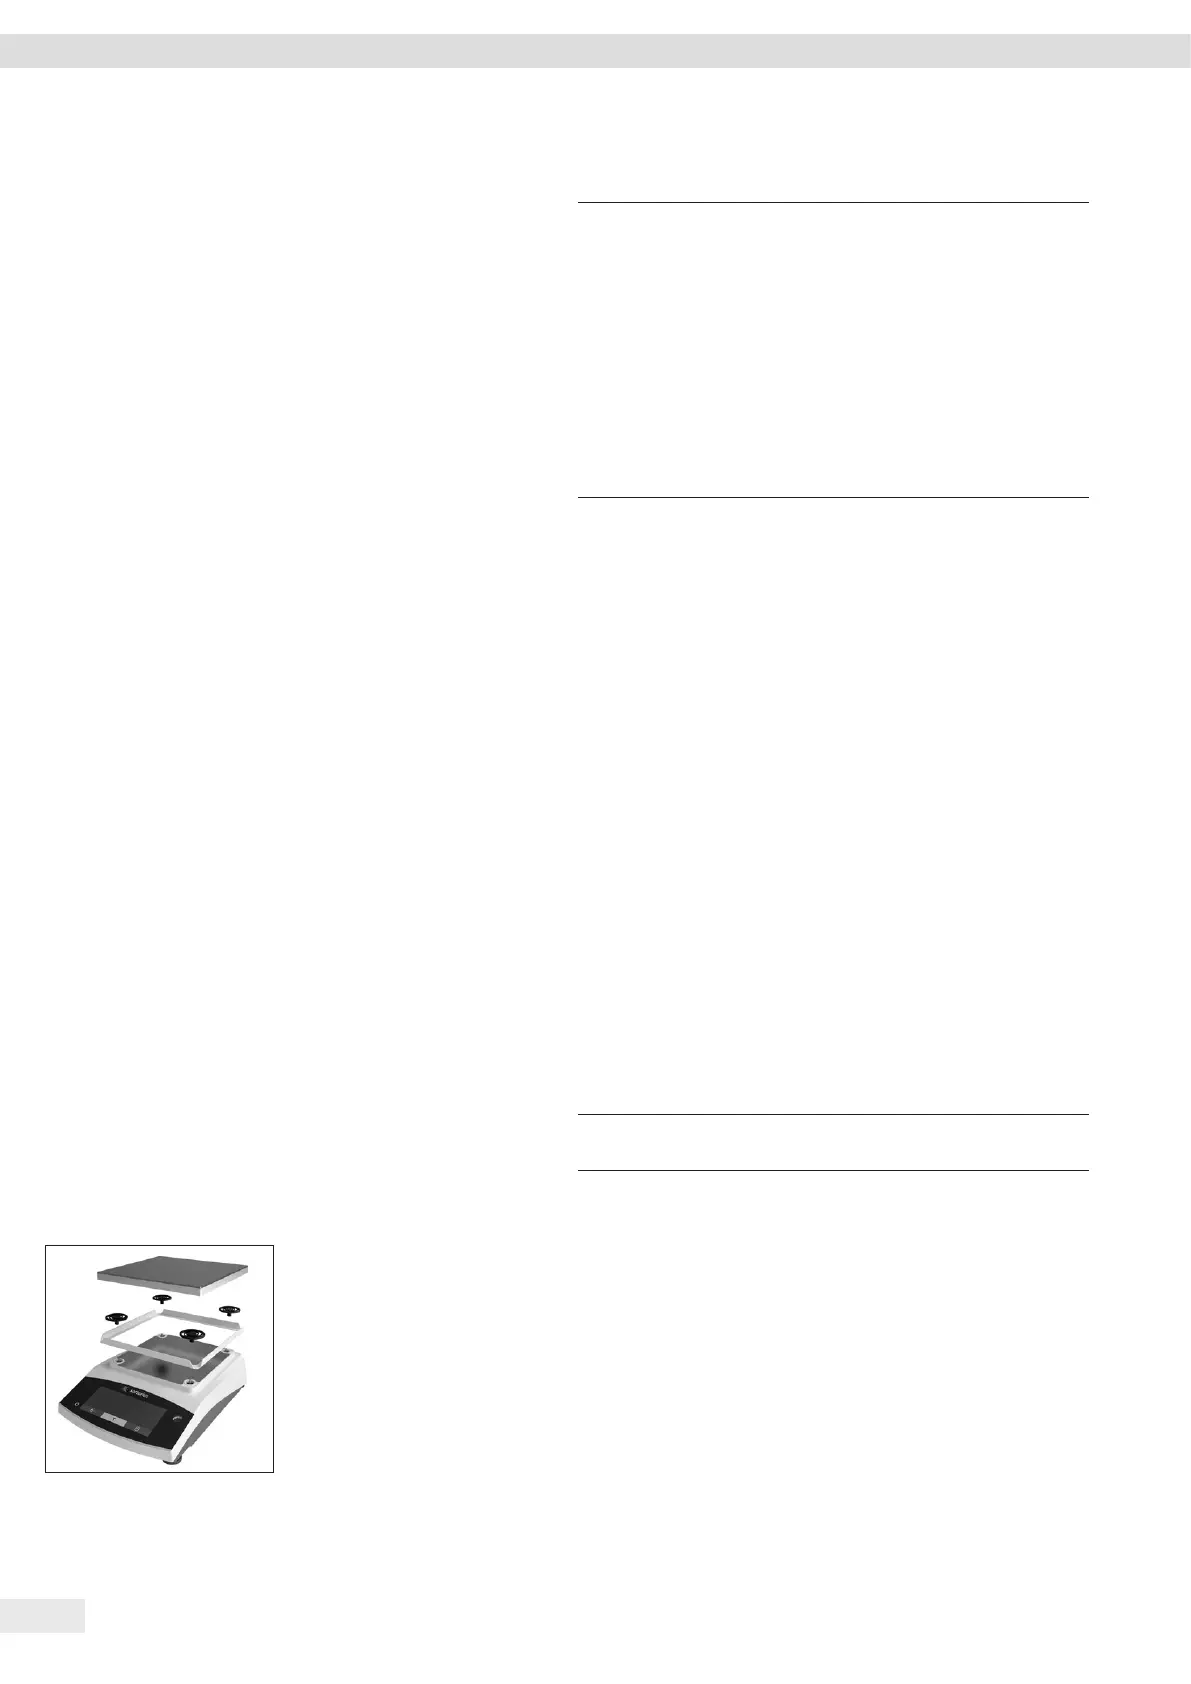
9.1 Removing the Weighing Pan and
Associated Components
Requirements
− The device is switched off.
− The device is disconnected from the power supply.
Procedure
t Remove the weighing pan,
the shock absorbers and
the frame draft shield.
9.2 Cleaning the Device
NOTICE
Corrosion or damage to the device due to unsuitable
cleaning agents!
t Do not use corrosive, chloride-containing, or aggressive
cleaning agents.
t Do not use cleaning agents that contain abrasive
ingredients, e.g. scouring agents, steel wool.
t Do not use solvent-based cleaning agents.
t Only use suitable cleaning agents (materials see Chapter
“15.6 Materials”, page 36) and observe the product
information for the cleaning agent used.
Procedure
t NOTICE Malfunction or damage to the device due to the
ingress of moisture or dust!
t Only slightly moisten cleaning materials, such as cloths.
t Remove dust and powdery sample residue with a brush
or hand-held vacuum cleaner.
t Wipe the device and the associated components with a
slightly damp cloth. Use a mild soapy solution or a suitable
cleaning agent for more severe contaminations.
9.3 Assembling the Weighing Pan and
Associated Components
Procedure
t Assemble the weighing pan and the associated components
(see Chapter “5.5 Assembling the Device”, page 15).
t Connect the device to the power supply (see Chapter “6.2
Connecting the Power Supply”, page 16).
9.4 Maintenance Schedule
Interval Component Action
Regularly; depending on
the operating conditions
Device Contact Sartorius
Service.
9.5 Software Update
For a software update, contact Sartorius Service.
 Loading...