5 Cleaning
5.2 Cleaning the Cuff and Pouch
Page 48
BR-102 plus / BR-102 plus PWA
Art. no.: 2.511076 Rev.: g
Re-inserting the Microphone and the Bladder and Connecting
the Pressure Hose
1. Gently slide the microphone in the microphone pouch and push
fully home from the outside of the cuff. Ensure the microphone is
fully home and occupies the area indicated by the micro designa-
tion printed on the cuff.
– The metallic (yellow) side of the microphone must be facing up-
wards when inserting in the cuff (the metallic side faces the pa-
tient).
– Ensure that the microphone is correctly inserted in the cuff. It
must fully reach the bottom of the pouch.
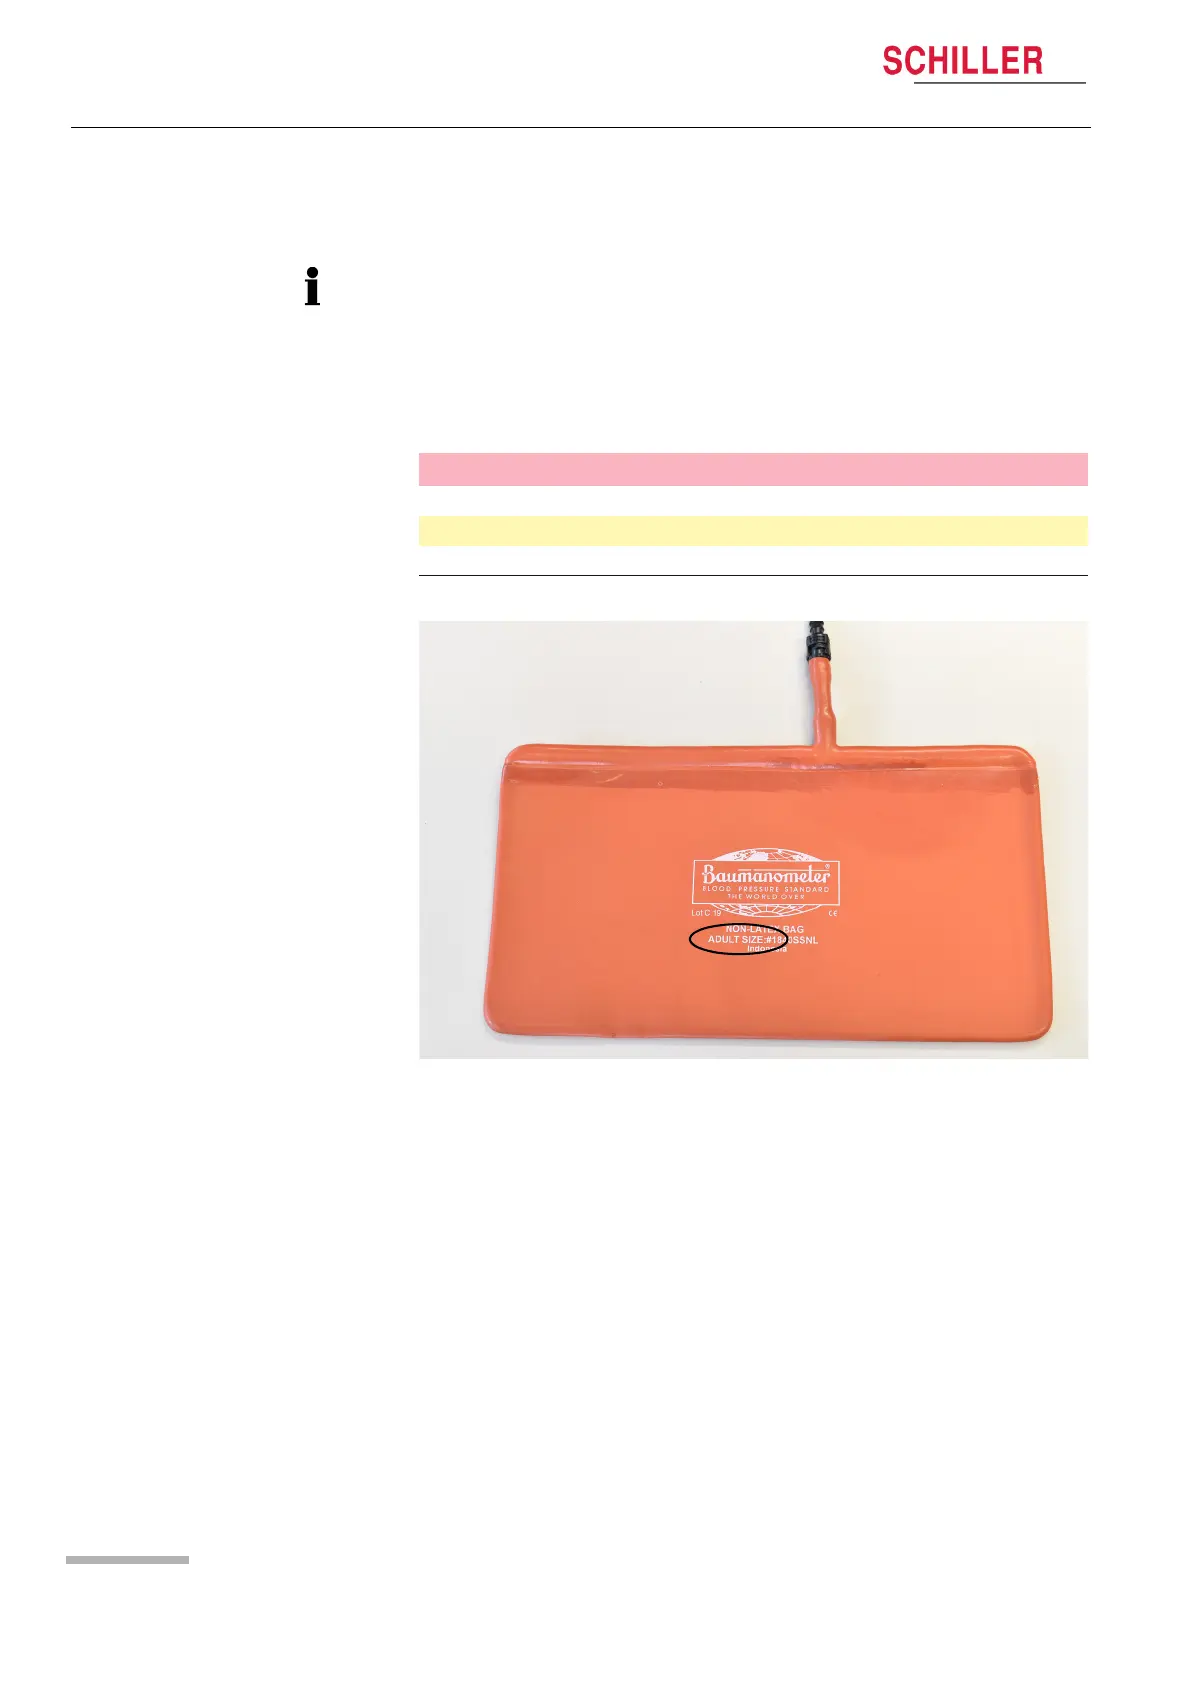
2. Replace the bladder in the cuff - ensure that the bladder is flat and
not twisted in the cuff.
3. Connect and secure the pressure hose to the cuff bladder
connector with a quarter turn.
For cuffs with D-ring only:
When re-inserting the bladder, ensure that the correct bladder size is
inserted in the cuff. The bladders come in three sizes and are labelled
accordingly. The bladders are compatible with the D-ring cuffs as
follows:
Cuff size (D-ring only) Bladder labelling
S Child
M Adult
L Large arm