Maintenance and Care
10.00 | SWS 005 – 300 | Assembly and Operating Manual | en | 389456
49
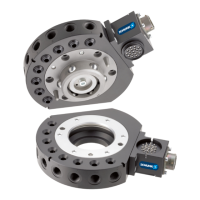
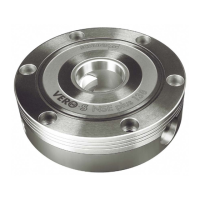
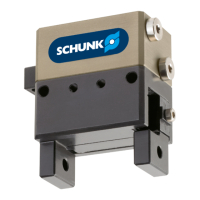
8.3.2 Cleaning the Bearing Race and Alignment Pin Bushings (SWA)
1. Use a clean rag to thoroughly remove any lubricant and debris
from the bearing race and the bushings.
2. No re-lubrication is necessary on the SWA components.
8.4 Service of the sensors
WARNING
Risk of injury in the event of unexpected unlocking!
For SWK with integrated locking queries, the bore holes for
mounting the proximity switch are pneumatically connected
directly with the piston chamber. When the proximity switch is
removed, compressed air can operate the locking mechanism and
loosen the tool.
• When the proximity switch is removed, do not use
compressed air to clean the machine/system.
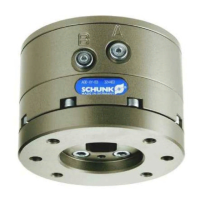
8.4.1 Proximity Sensor Adjustment, Test, or Replacement - SWS-011
The Proximity sensors are very reliable and normally do not need
to be replaced. Exhaust all other possible solutions, check
continuity, air supply, lubrication, and pneumatic components
prior to testing or replacing the sensor
Ø Dock the SWA safely in the tool stand and uncouple the quick-
change system to allow clear access to the SWK.
Ø Turn off and de-energize all energized circuits (electrical, air,
water, etc.).
Ø If you are testing or replacing the Lock sensor make sure the
SWK-011 is in the locked position, if you are replacing the
Unlock sensor make sure the SWK-011 is in the unlocked
position before continuing.
Ø Disconnect any cables, air line, etc. if required.
Ø Remove the four M3 socket head cap screws securing the
SWK-011 to the Sensor Interface Plate. Support the SWK-011
while loosening the screws.
Ø Loosen the M3 socket set screw and unscrew the proximity
sensor from the Sensor Plate.