© Sensorlink Swarm AS 2021
6 Installation
For installation of Swarm S2 LT follow the instructions in Section 6.2, for installation of Swarm S2 (U)HT follow the
instructions in Section 6.3 and for Swarm S2 Datalogger installation and configuration follow the instructions in Section
6.4 .
6.1 Recommended Safety equipment
Adhere to any local rules and regulations for protective equipment but the following is a minimum requirement:
− Safety shoes, hard hat, ear protection as required
− Safety glasses
− Gloves
6.2 Swarm S2 LT Sensor installation
In this section the mechanical installation and electrical connection of the Swarm S2 LT Sensor is explained in detail.
6.2.1 Box contents
To install the Swarm S2 LT Sensor(s) the following is required:
− 1-4 Swarm S2 LT Sensor(s) as shown in Table 4, shipped in its own box.
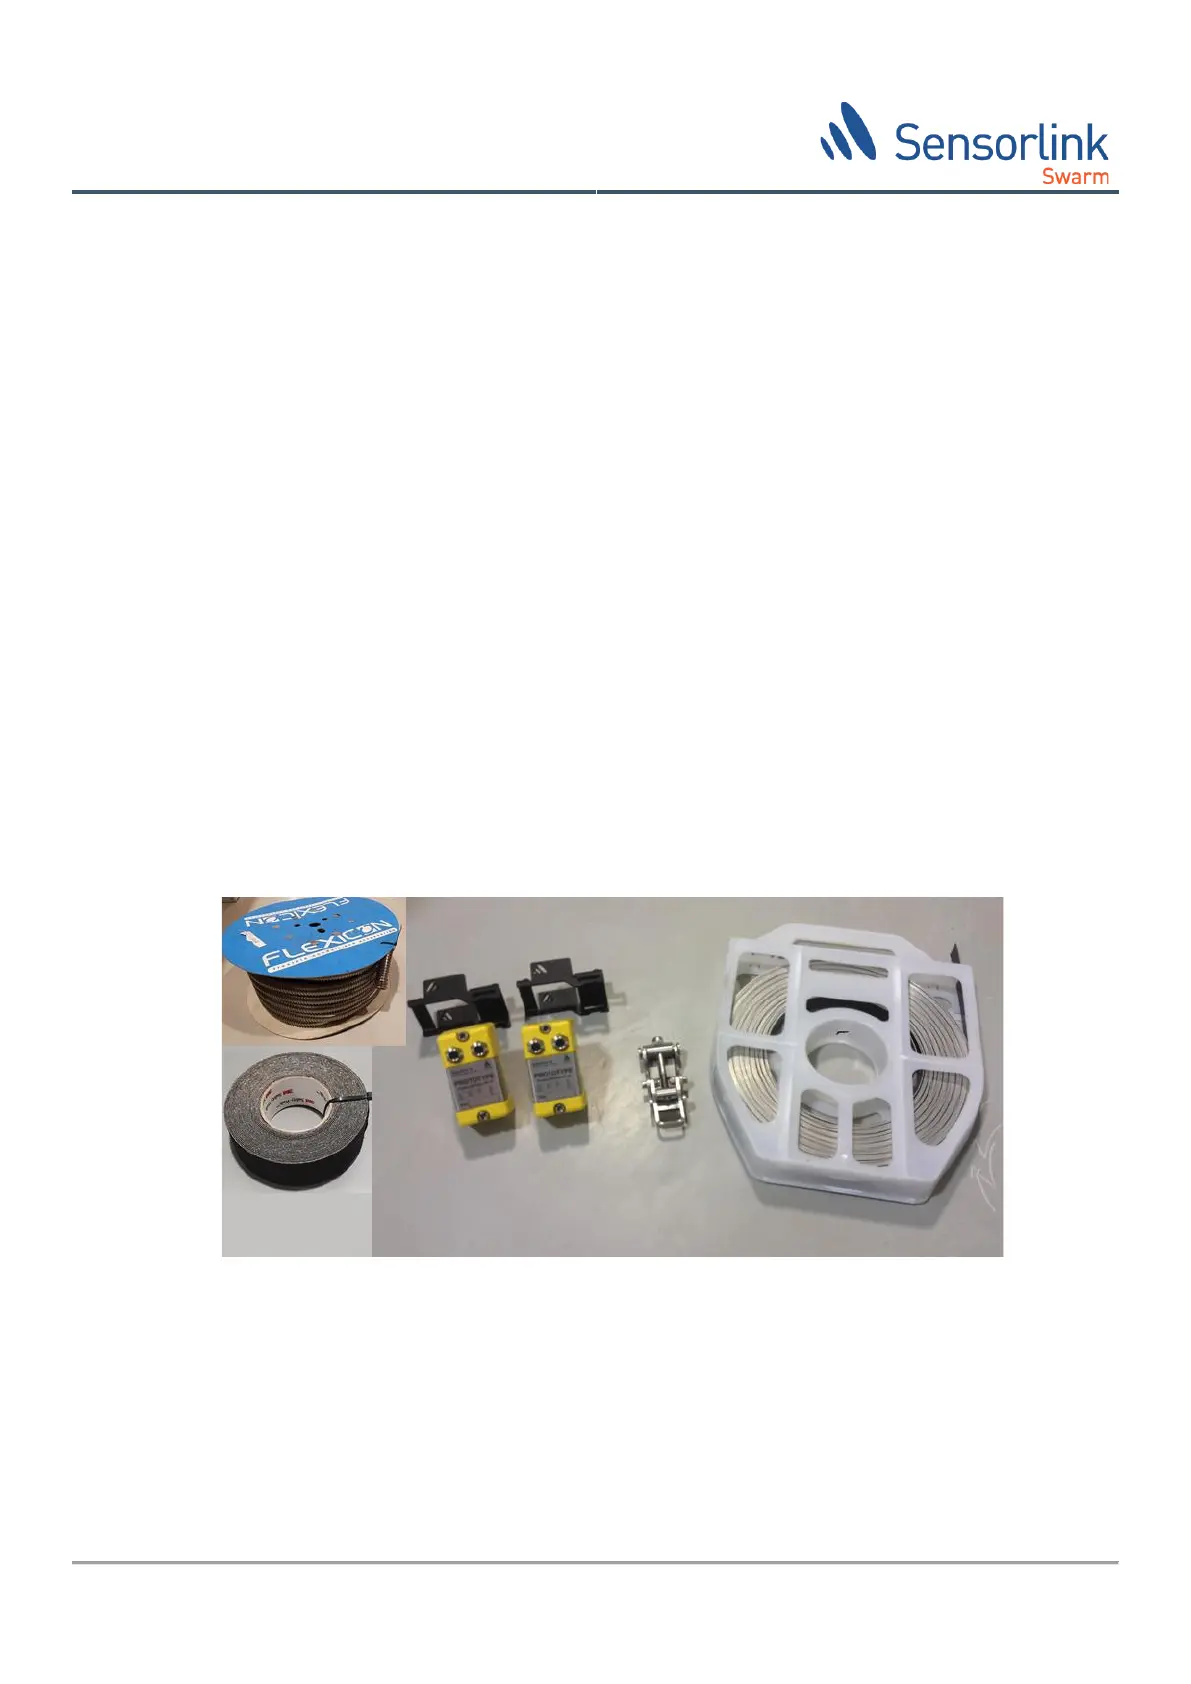
− 1-4 Swarm S2 LT Sensor mounting bracket(s) as shown in Figure 2, shipped in the Swarm S2 LT Sensor box.
− Stainless steel band as shown in Figure 2, shipped separately.
− Band buckle as shown in Figure 2, shipped separately.
− Galvanic separation band as shown in Figure 2, shipped separately.
− Protective conduit, as required, as shown in Figure 2, shipped separately.
Figure 2 Swarm S2 LT Sensor deployment system
6.2.2 Required equipment
− Molycote/Dow Corning High Vacuum Grease or similar for acoustic coupling between ultrasound sensor and
the pipe
− Copper paste for threads
− Sandpaper/machine with 120 to 400 girt for smoothening/cleaning the pipe surface
− 4mm hex key for assembly of sensors
− 3&5mm hex key for assembly of band buckle