© Sensorlink Swarm AS 2021
− Calliper to monitor the deployment kit alignment
6.3.3 Pipe preparation
Prior to installation of the (U)HT ultrasound sensors, the pipe surface should be prepared through the following steps
(for each sensor):
1. If the pipe is insulated, about 150mm of the insulation along the flow direction should be removed from the
whole circumference of the pipe. No residual should be left on the pipe.
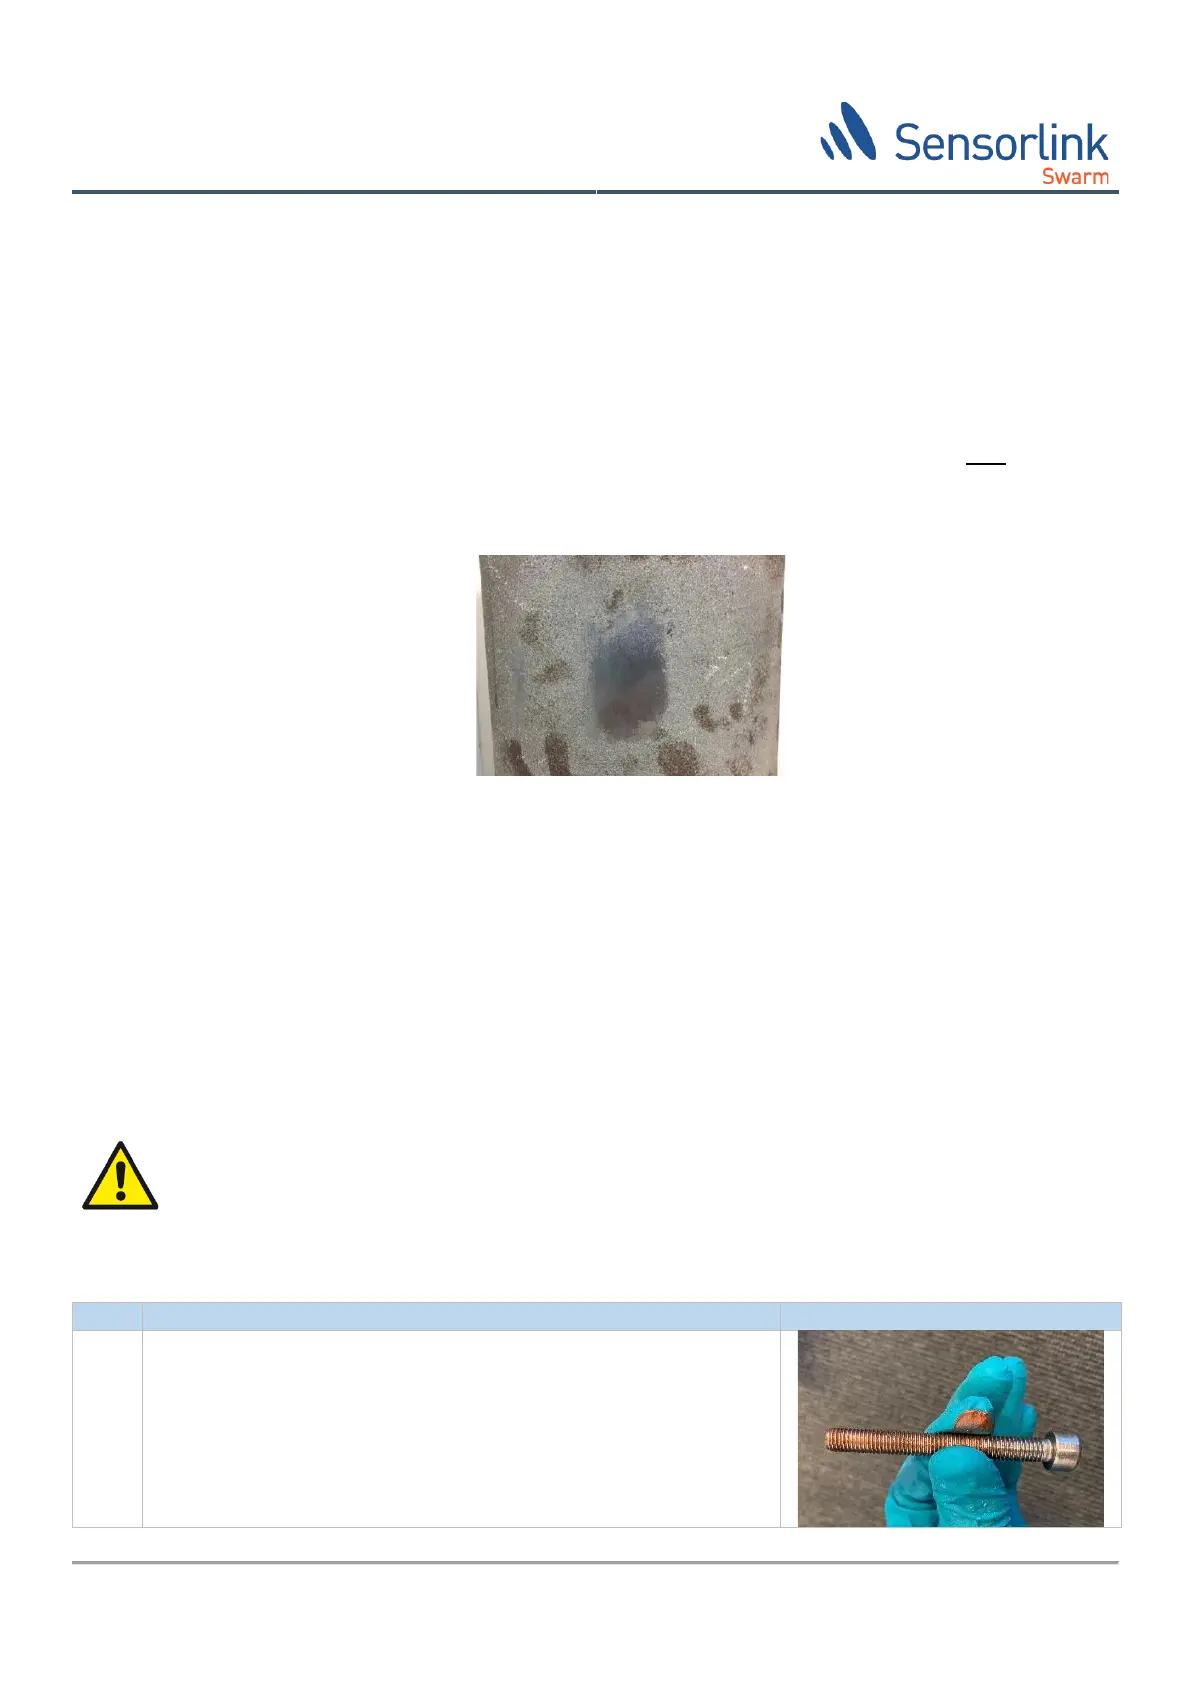
2. At the desired installation point, an area of roughly 30mm diameter should be cleaned and sanded until a
smooth finish is reached (see Figure 5). Note that the goal here is to get a smooth surface and NOT to flattening
the pipe. Therefore, excessive material removal should be avoided.
Please consult with pipe owner about this process!
Figure 5 Pipe preparation prior to ultrasound sensor installation (from HotSense® instructions)
6.3.4 Swarm S2 (U)HT Sensor mechanical installation
Follow the steps in Table 6 to install an (U)HT ultrasound sensor on the pipe. For installation on bends and other curved
surfaces please make sure that the deployment system attaches in all four corners (see Stem 13) and that the strap is
secured against sliding off its position. If install on large pipes and vessels one may use an extension to the steel band,
please consult Sensorlink Swarm for guidance.
The description anticipates the pipe to be at ambient temperature. In case installation is done at full operational
temperature, please confer with the pipe operator to instate all necessary HSE precautions required to work on hot
pipes.
WARNING:
Working on hot pipe surfaces up to 550°C represent an immediate danger for severe health risk and
imminent danger to body and limbs. Please only attempt to perform such installation under the strict
guidance of the pipeline operator/owner or other assigned competent management.
Required PPE and procedures should be supplied and specified by the competent body.