SCORPIO 38’ - 45’ - Crane assembly & transport process - Assembly of the Scorpio 38’-45’
Version 1.02 May 27, 2022
108
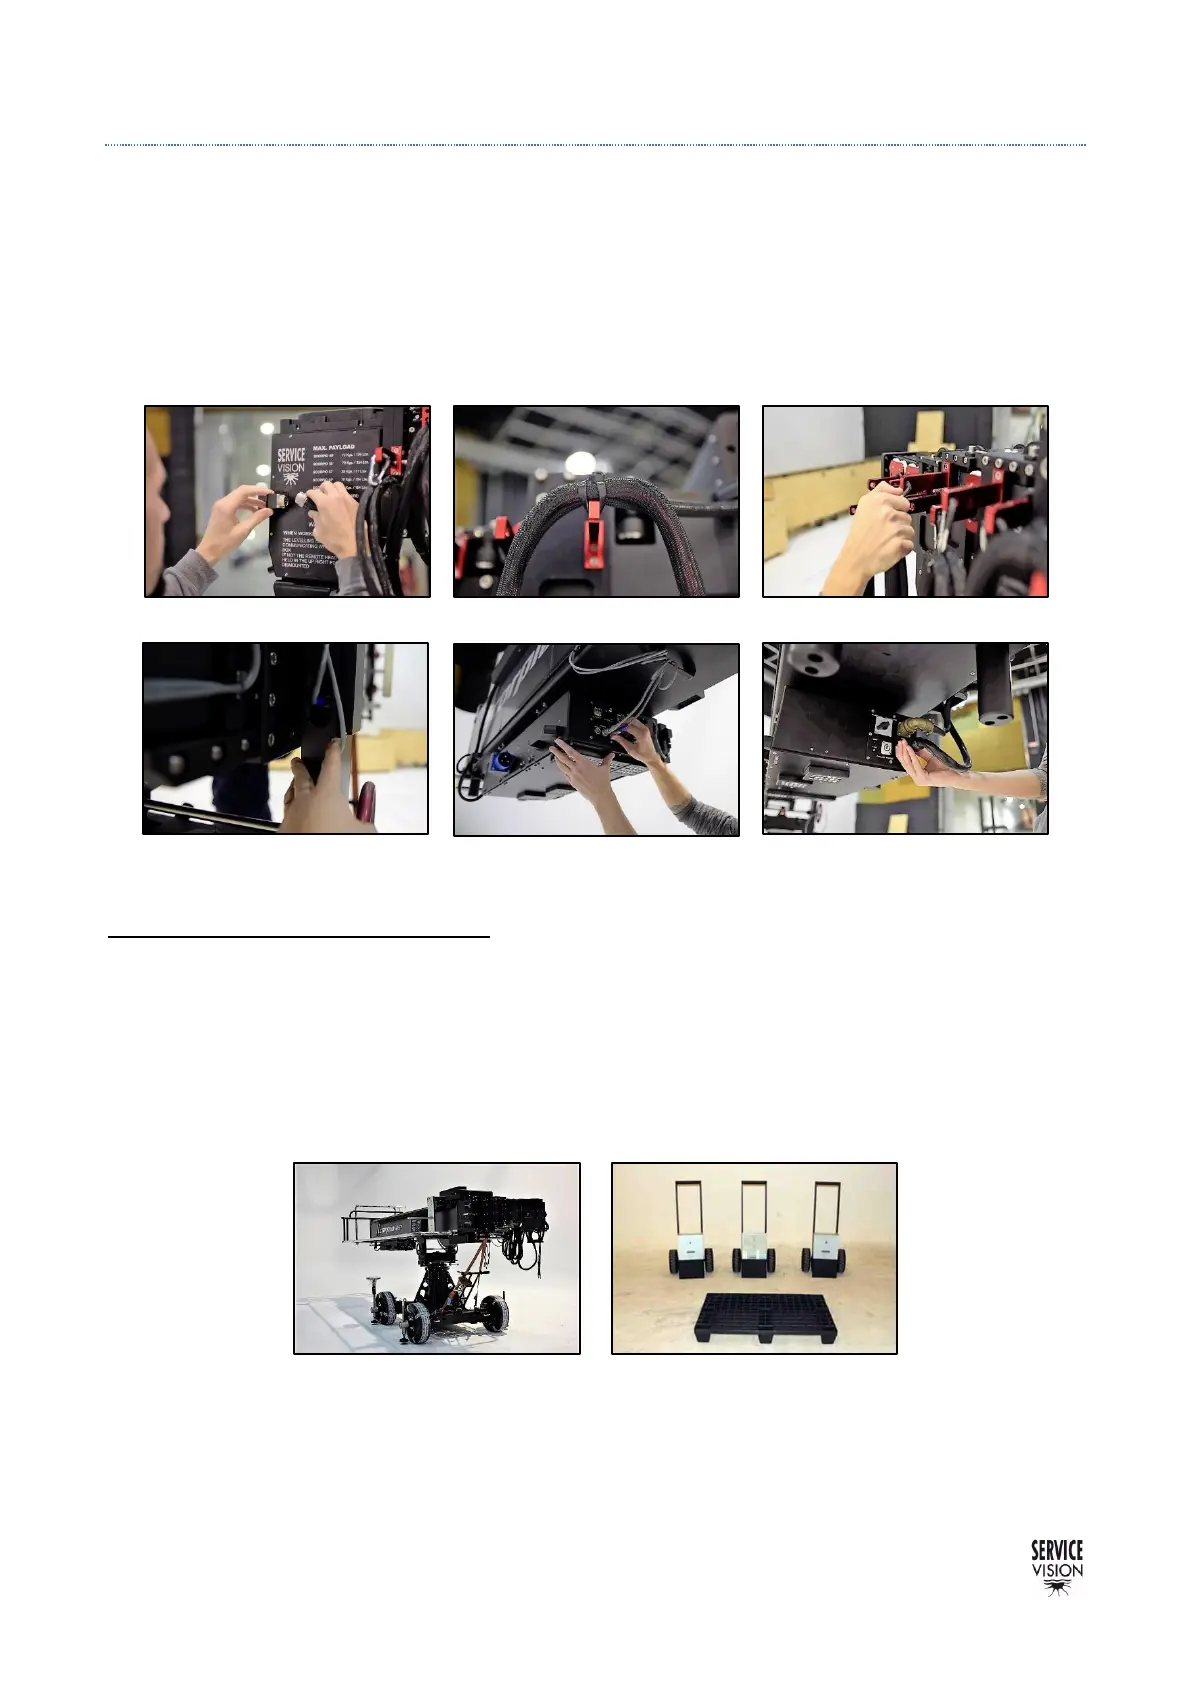
EIGHTH STEP: CABLE CONNECTIONS
Once all the parts of the crane are assembled, is time to connect them with the different cables
provided. All the cables are color coded, or they only fit in one place. Here next will be some pictures
of the different connections of the crane.
Noteworthy that there are also pictures of how to run cables along the arm using the cable holders.
These cable holders need to be attached from the side of the red support, it is the only way to mount
them in and out.
In the event it is needed to mount an extra cable (BNC, Fiber cable…), the arm needs to be extended
to reach the magnetic limit of extension. With the arm fully extended at that position, attach the extra
cables to the cables already mounted and move the arm in and out to verify the optimal behavior of
the cable loom.
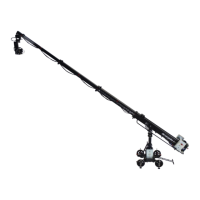
Here next are pictures of the crane fully assembled and the counterweight dollies with the weights
on them.