EasyManuals Logo

Sharp MX-2010U Installation Manual

Sharp MX-2010U
126 pages
To Next Page IconTo Next Page
To Previous Page IconTo Previous Page
Page #75 background imageLoading...
Page #75 background image
MX-3610N AR-SU1 (STAMP UNIT) 17 – 3
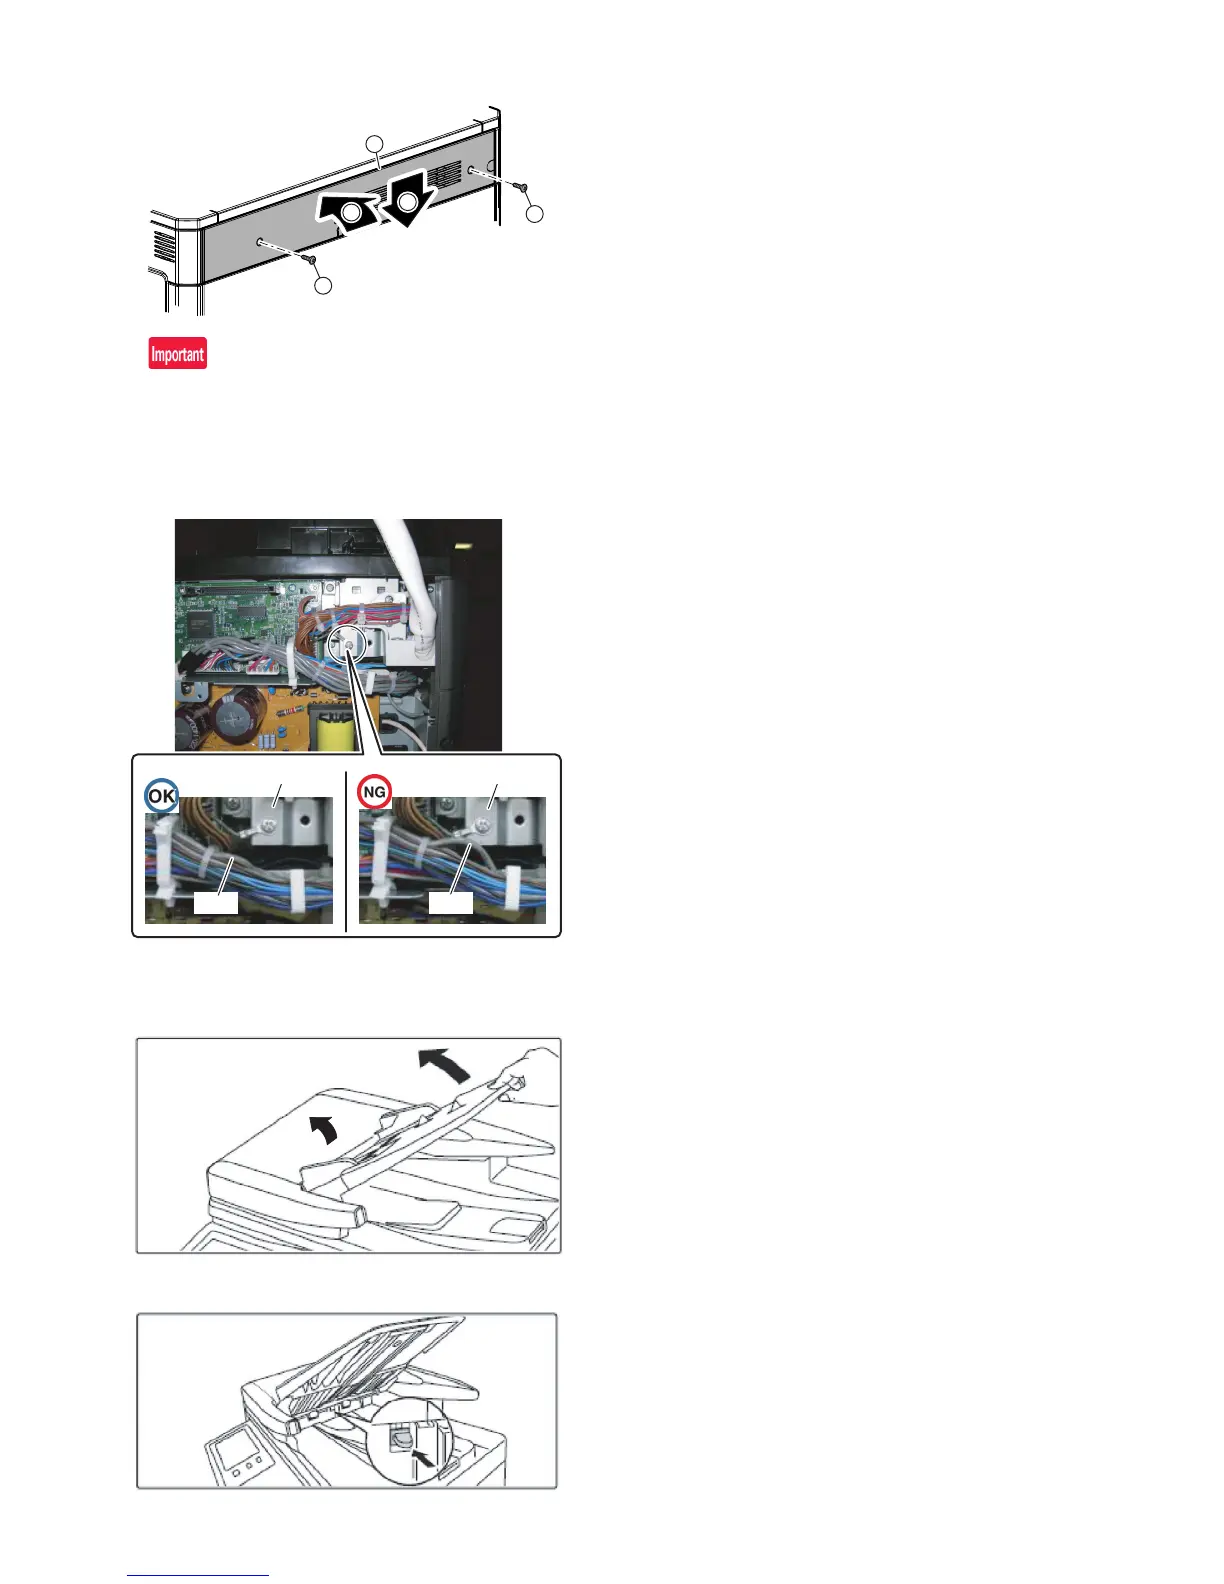
3) Attach the rear upper cabinet.
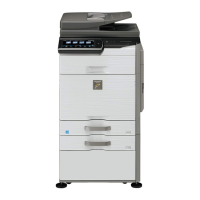
Check to confirm that the wire is not in contact with the har-
ness fixing plate.
If the wire should be in contact with the harness fixing plate
and the upper rear cabinet should be installed under this con-
dition, the wire may be caught between the both parts to be
damaged, causing a short circuit.
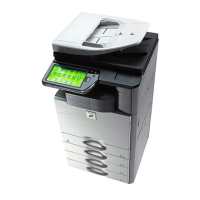
D. Finish stamp cartridge attachment
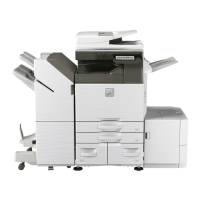
1) Open the left cover, and open the document tray.
2) Attach the finish stamp cartridge.
E. Turn ON the power of the main unit
1) Connect the power plug of the machine to the power outlet,
and turn ON the main power switch and the operation panel
power switch.
F. Installation check
1) Use SIM22-10 to check to confirm that the finish stamp (AR-
SU1) is recognized.
1
2
2
2
1
wire
harness fixing plate
wire
harness fixing plate

Other manuals for Sharp MX-2010U

Questions and Answers:

Question and Answer IconNeed help?

Do you have a question about the Sharp MX-2010U and is the answer not in the manual?

Sharp MX-2010U Specifications

General IconGeneral
Print TechnologyLaser
Print Speed20 ppm
Print Resolution600 x 600 dpi
Scan TypeColor Scanner
FunctionsPrint, Copy, Scan, Fax
Copy Speed20 cpm
Copy Resolution600 x 600 dpi
Scan Resolution600 x 600 dpi
Fax Transmission Speed33.6 kbps
Duplex PrintingYes
Maximum Paper SizeA3
ConnectivityUSB, Ethernet
Hard Drive80 GB
Weight73 kg

Related product manuals