9
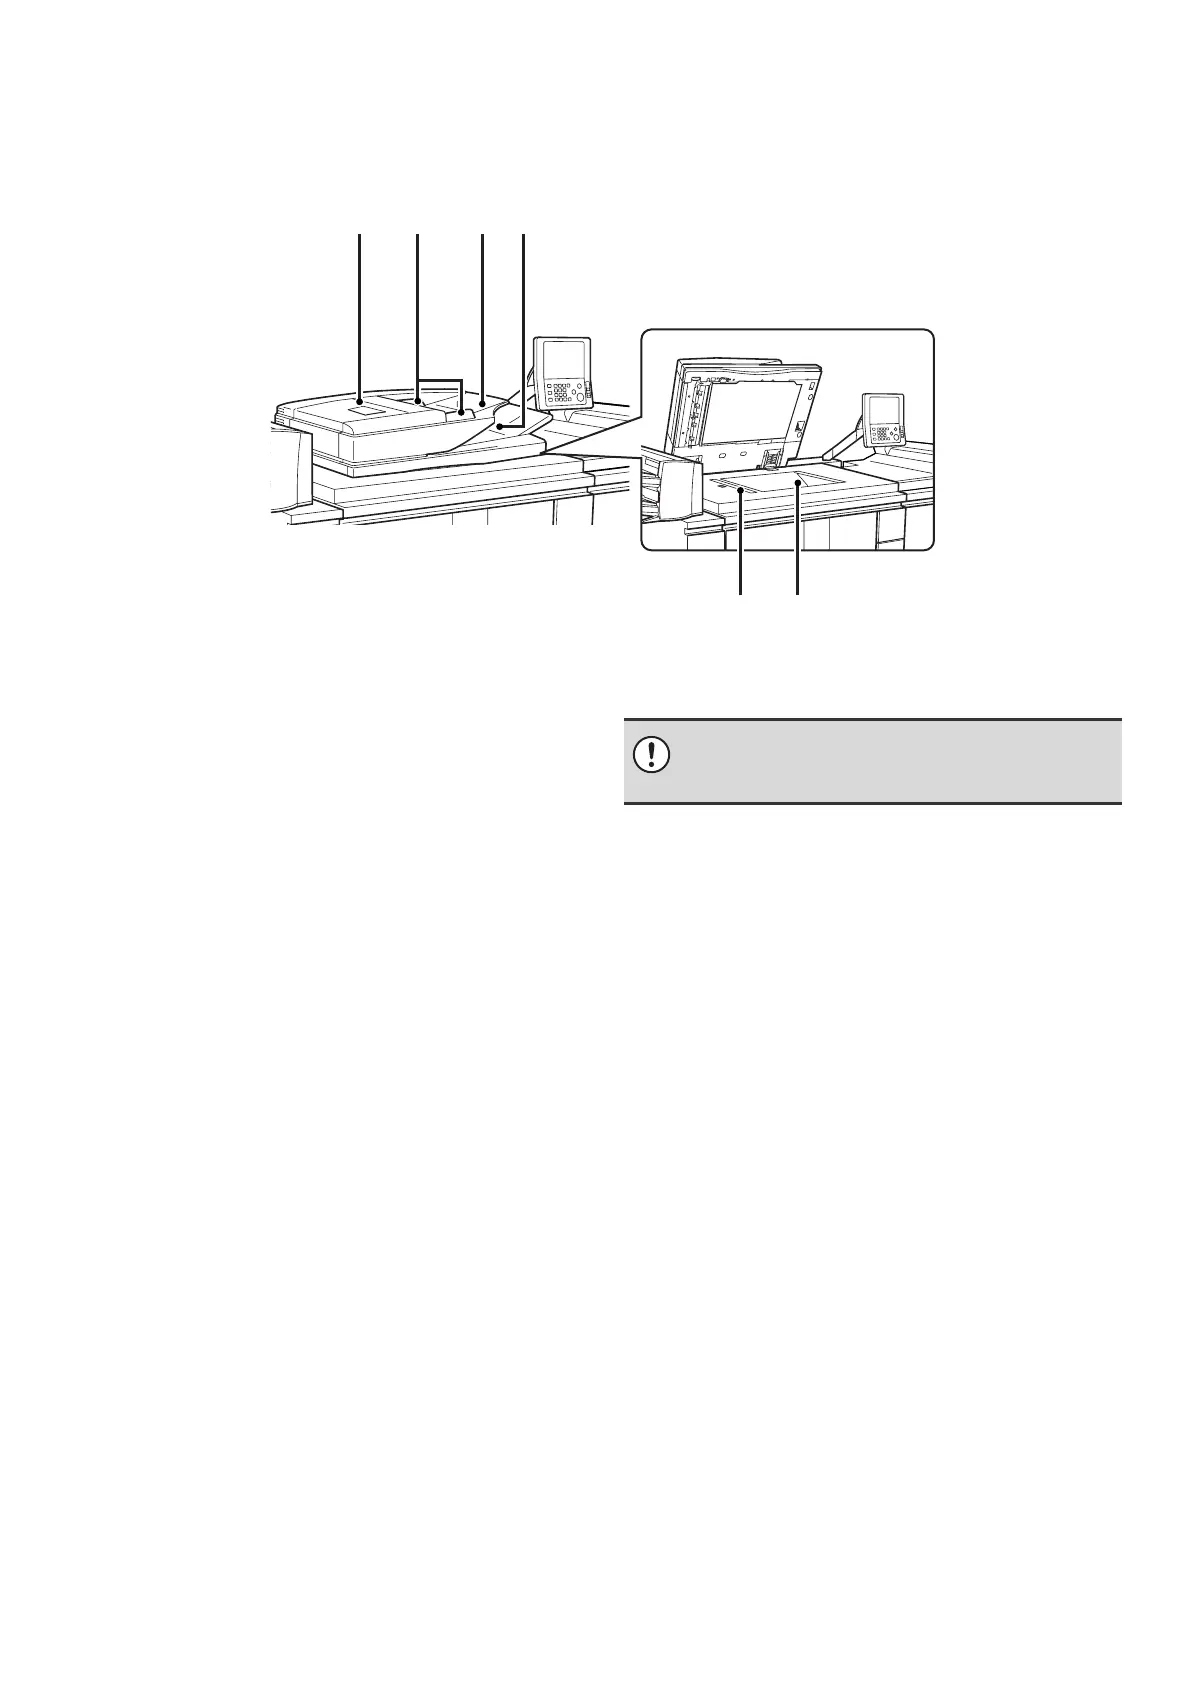
AUTOMATIC DOCUMENT FEEDER AND DOCUMENT
GLASS
(1) Document feeding area cover
Open to remove a misfed original.
(2) Original guides
These help ensure that the original is scanned correctly.
Adjust the guides to the width of the original.
☞ PLACING THE ORIGINAL (page 53)
(3) Document feeder tray
Place originals in this tray. 1-sided originals must be
placed face up.
☞ PLACING THE ORIGINAL (page 53)
(4) Original exit tray
Originals are delivered to this tray after scanning.
(5) Scanning area
Originals placed in the document feeder tray are scanned
here.
(6) Document glass
Use this to scan a book or other thick original that cannot
be fed through the automatic document feeder.
☞ PLACING THE ORIGINAL ON THE DOCUMENT
GLASS (page 55)
(5)
(2)(1) (3) (4)
(6)
Do not allow paper or other material to cover the
scanning area or black sheet next to the scanning
area. This will prevent proper scanning of the original.