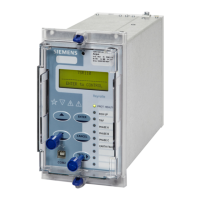
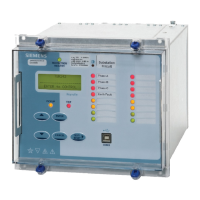
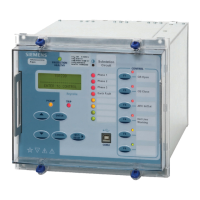
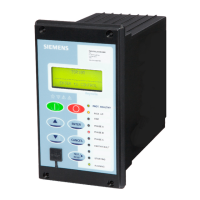
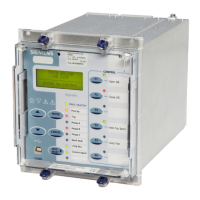
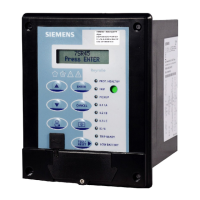
Mounting Instructions
²
The physical dimensions of the relay and the required cut-out dimensions are shown in 2.1 Drilling
Patterns and Device Dimensions
²
Insert the rear-side of relay into the RMU/protection panel cut-out.
²
Fasten the relay to the RMU/protection panel using 4 M4x20 Pan Phillips SS screws and nuts provided in
the 7SR45 packing box with a torque of 0.5 Nm to 0.6 Nm.
²
Carry-out all other installation steps and wiring connections from the protection panel.
²
In the rear side of the relay, wire the device in accordance with the schematic diagrams as required.
Refer to the terminal connector diagram for more information.
Refer to Table 2-1 for the recommended terminal lugs.
²
Wire the earthing cable using a non-stranded cable of 2.5 mm
2
/4 mm
2
.
Terminate the wire in the shortest possible path to the earth terminal or busbar in the panel or cubicle.
²
Maintain a minimum clearance from the relay to ensure safety and accidental touch of terminals.
For more details about the minimum clearance, refer to Figure 2-4 and
If the working area is restricted in a cubicle, then suitable protective terminals to be provided in the
cubicle.
NOTE
The earthing point (E) of auxiliary supply is connected to the ground (GND) point of the relay. The earth
connection of relay casing should be solidly connected to the panel earth.
2.2
Installing the Device
2.2 Mounting Instructions
Reyrolle, Operating, Manual 23
C53000-B7040-C101-1, Edition 08.2020