Service and maintenance
5.2 Replacing components
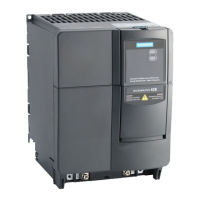
Power Module PM240
62 Hardware Installation Manual, 07/2009, A5E00807525B AD
Preparatory steps
● Disconnect the Power Module from the power supply.
● Allow unimpeded access.
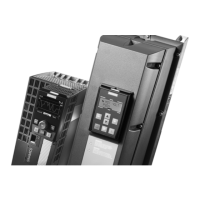
● Remove the front cover.
● Remove the Control Unit. If necessary, remove the communication plugs and terminal
wiring.
Removal
The steps for the removal procedure are numbered in accordance with the diagram.
1. Remove the two retaining screws for the Control Unit bracket.
2. Disconnect the cable from the Control Unit bracket to the CIM.
Remove the cables to the Brake Relay or Safe Brake Relay, if it is installed.
Remove carefully the Control Unit bracket.
Disconnect the connectors for the fiber optic cables (3 plugs) and release the cable
connection for the signal cables (2 connectors).
Remove the IPD module by loosening two curled screws. The IPD module remains
connected to the current sensor cables.
3. Remove the two retaining screws for the slide-in electronics unit.
When removing the slide-in electronics unit, you have to disconnect 5 further plugs one
after the other (2 at the top, 3 at the bottom).
CAUTION
When removing the electronics unit, ensure that you do not damage any signal cables.
The Control Interface Board can then be removed from the slide-in electronics unit.
CAUTION
When removing the connector of the ribbon cable, make sure that you actuate the locking
lever on the connector very carefully (e.g. with a screwdriver) otherwise the lock could be
damaged.
Installation
For re-installation, carry out the above steps in reverse order.

 Loading...