Commissioning
3.3 Setting the Parameters
FUP1010 IP67 Portable Quick Start
Operating Instructions, 01/2013, CQO:QSG003 Revision 05
23
'
$
6LHPHQV,QGXVWU\,QF
0DGHLQ86$
66'7&6
%
66
UHY
;;;;+L3UHFLVLRQ
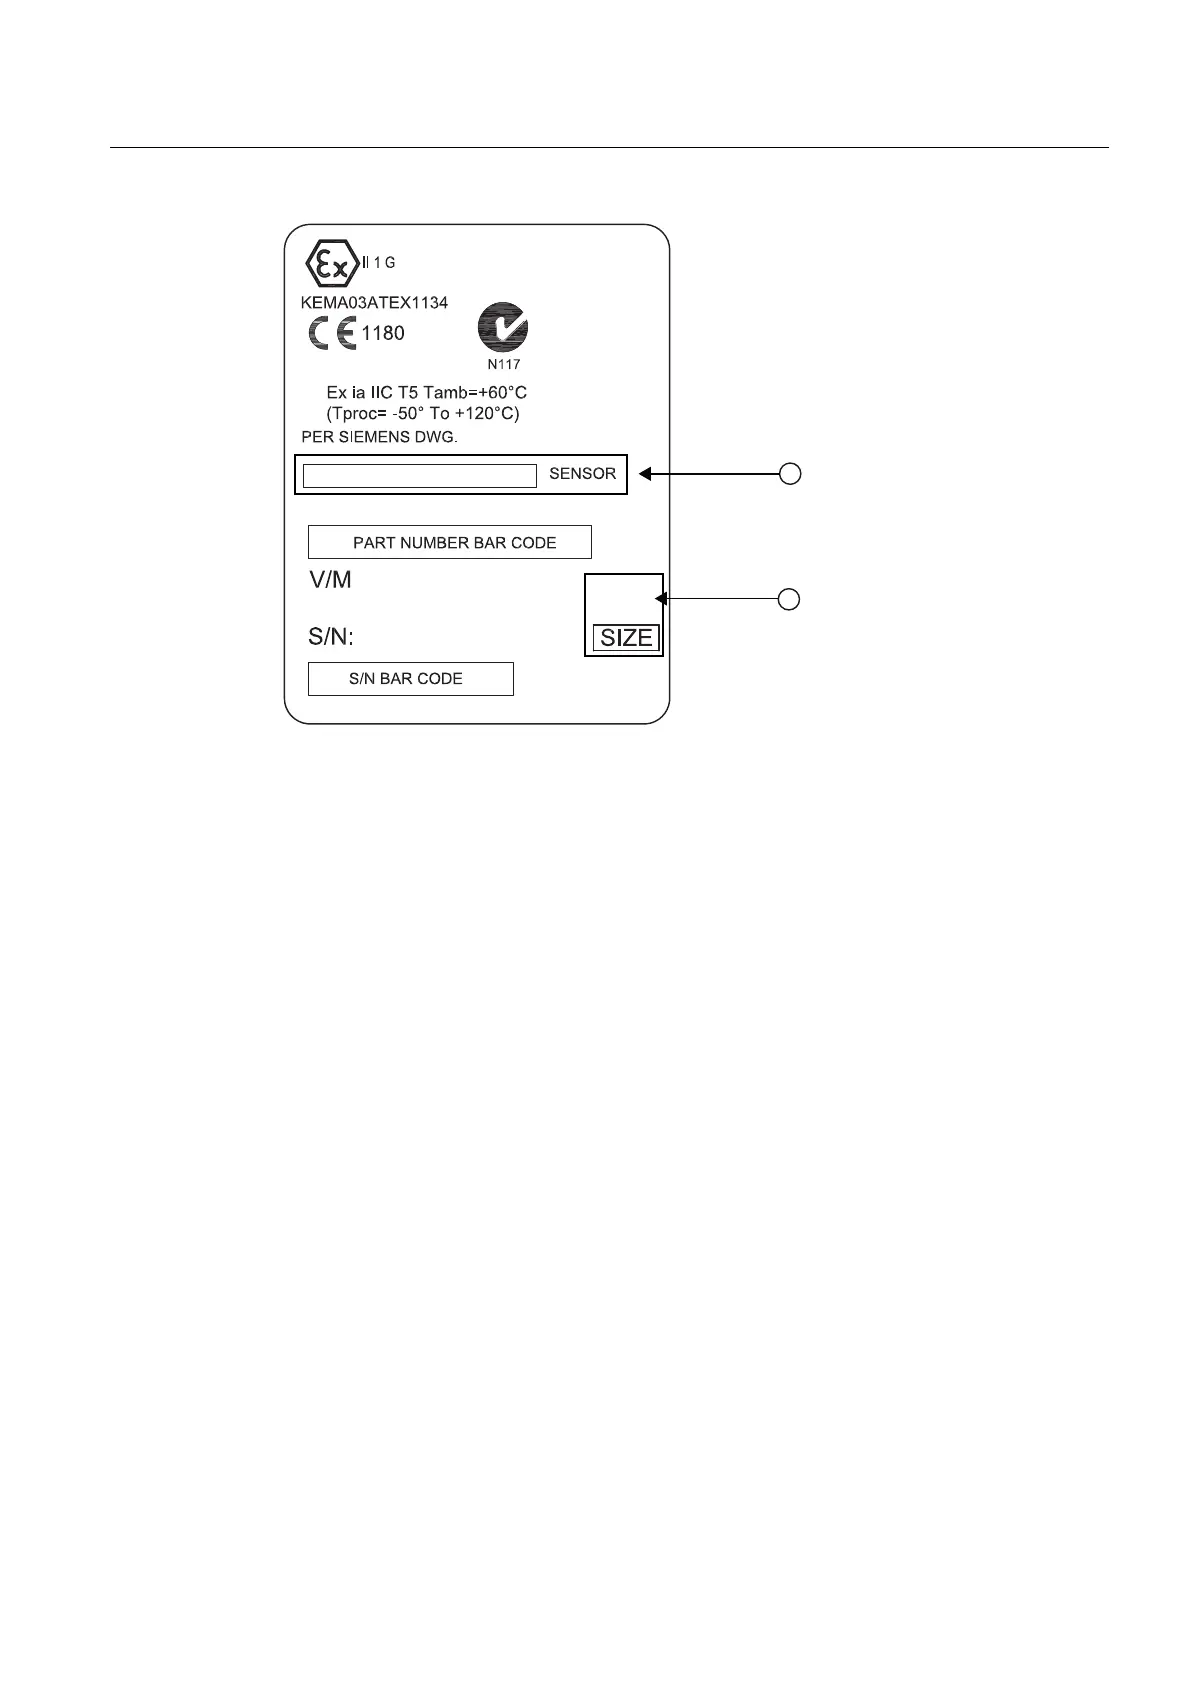
① Hi Precision sensor model number
② Sensor size
Figure 3-5 Hi-Precision Sensor Label
Sensor Selection
The following is a typical sensor installation procedure.
1. Press <Left Arrow> to return to Main Menu. At [Meter Type], press the <Right Arrow> and
then <ENTER>.
2. The [Channel Setup] menu will appear.
3. Press the <Down Arrow> to select [Install Sensor].
4. Press the <Right Arrow> to [Sensor Model]. Press <Right Arrow> and scroll to select the
sensor model number on the sensor label.

 Loading...


