86
3
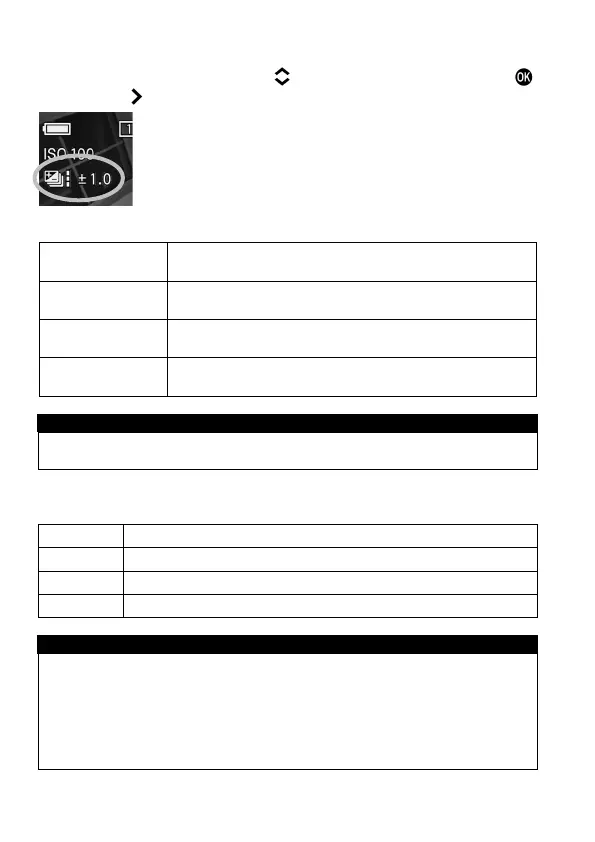
Select a desired value with the button. Finalize by using the
button or the button.
4
Press the shutter button ‘‘half-way’’ to return to the
shooting mode. (The Auto Bracketing icon will be
displayed on the color LCD monitor.)
The operations in each Drive Mode are shown below.
Single Capture
Each time the shutter button is pressed, an image will
be taken one frame at a time.
Continuous
The set number of frames will be taken continuously
by pressing and holding the shutter button.
Two seconds after pressing the shutter button, the set
number of frames will be taken continuously.
Te n seconds after pressing the shutter button, the set
number of frames will be taken continuously.
CAUTION !!
This function cannot be used with the interval timer shooting.
The exposure bracketing can be used with 4 different modes.
Both shutter speed and aperture value will be changed.
Only shutter speed will be changed.
Only aperture value will be changed.
Only shutter speed will be changed.
WARNING !!
Once you set the auto bracketing mode, the camera will continuously
hold that auto bracketing mode until you set the bracketing amount to
“±0.0”.
Auto Bracketing cannot be used with a flashgun.
Auto Bracketing cannot be used with Bulb shooting.