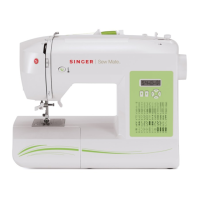
A
B
C
E
D
F
Preparations – 19
There are many threads on the market today developed for dif-
ferent purposes. The quality and structure of the thread as well
as the shape and size of the thread spool can aect the behavior
of the thread. Threads can also behave dierently if the spool is
full or nearly empty.
If experiencing problems, try the tips and hints below.
Note: Always test sew on a scrap piece of fabric to check the
sewing result.
If the Thread Spool is Pulled up on the Spool Pin
When the thread on the spool is running low, the thread can
snag on the edge of the spool and pull the spool up on the spool
pin. Place a spool cap on top of the thread spool to keep it in
place. Always use a spool cap slightly larger than the thread
spool to prevent the thread from snagging. The at side of the
spool cap should be pressed rmly against the spool. There
should be no space between the spool cap and the thread spool.
Threading Tips and Hints
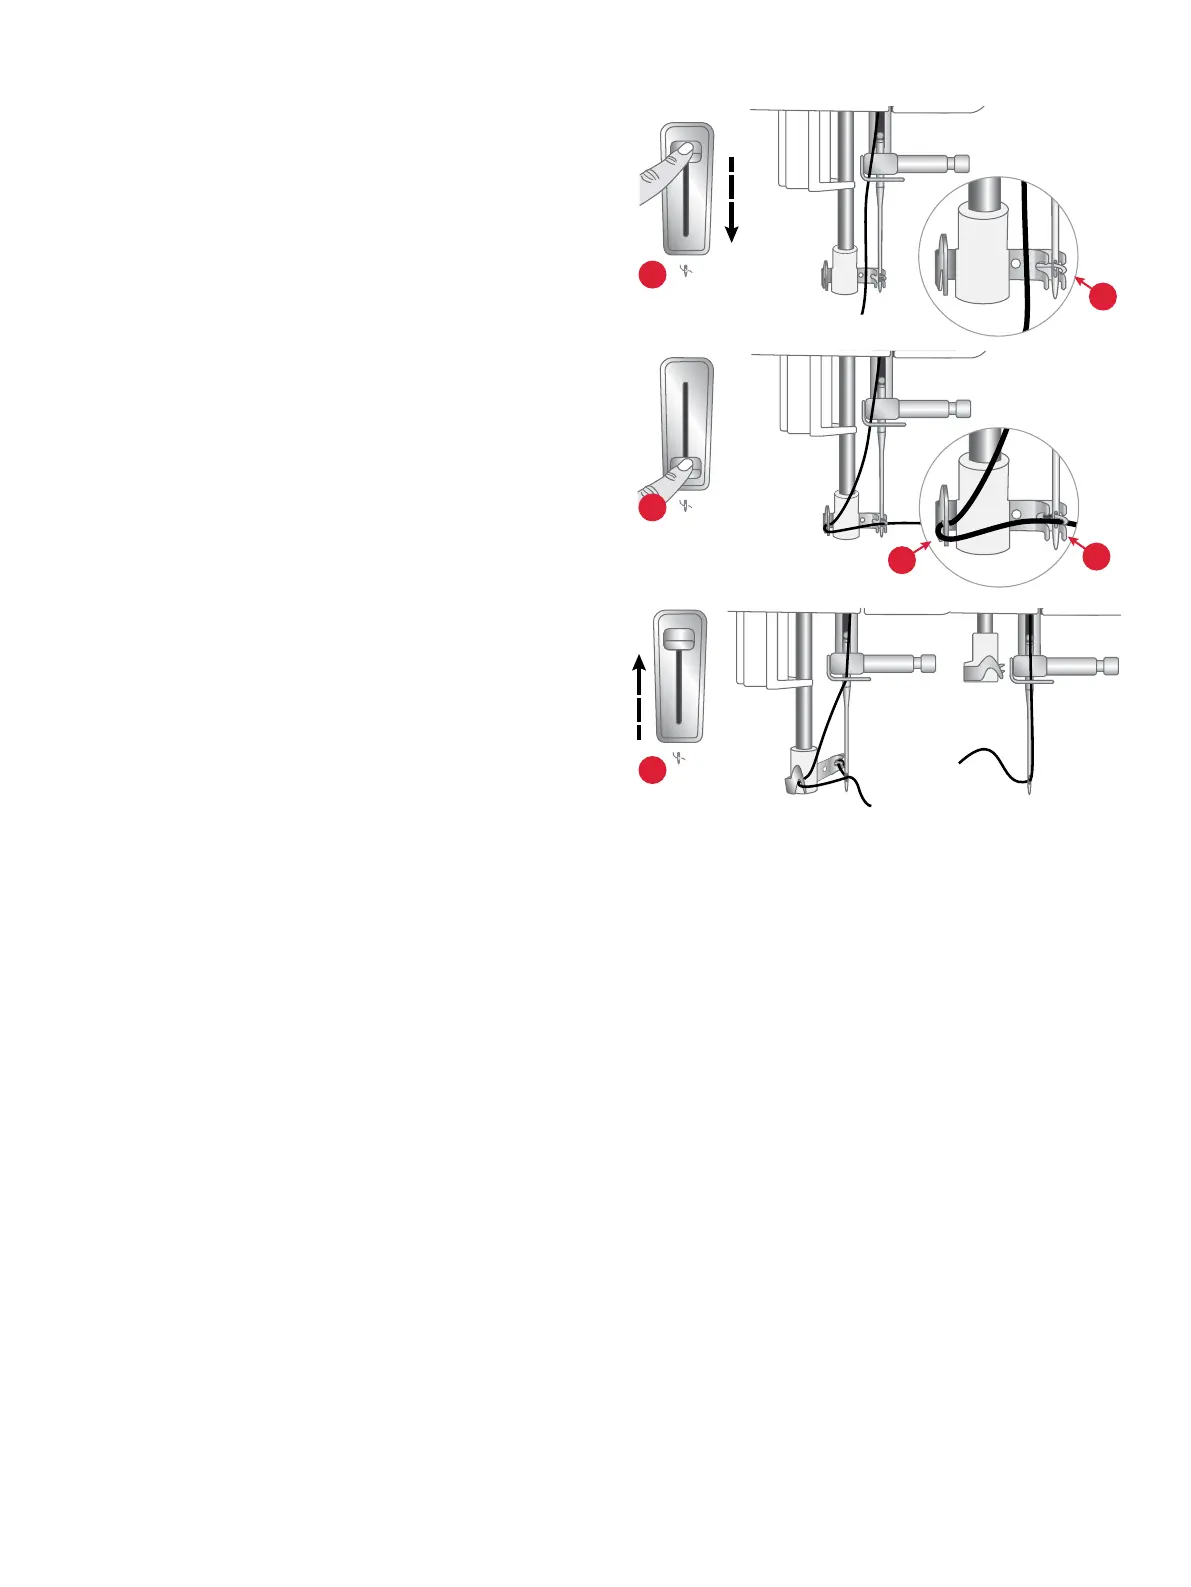
Needle Threader
The built-in needle threader allows you to thread the needle
quickly and easily.
The needle must be in its highest position to use the built-in
needle threader. Turn the hand wheel towards you until the
needle is in its highest position. It is also recommended that
you lower the presser foot.
1. Use the lever (A) on the left side of the sewing head to pull
the needle threader all the way down. The metal anges
cover the needle. A small hook will pass through the needle
eye (B).
2. Keep the needle threader lever down (C).
3. Place the thread from the right over the thread guide (D)
and under the small hook (E).
4. Gently release the needle threader lever (F). The hook pulls
the thread through the needle eye and forms a loop behind
the needle. Pull the thread loop out behind the needle.
5. Raise the presser foot and place the thread under it.
6. Pull out about 4” (10cm) of thread beyond the needle eye.
This will prevent the machine from coming unthreaded
when you start to sew.
Note: The needle threader is designed to be used for size
70-110 needles. You cannot use the needle threader for size
60 needles or smaller, or twin needles. There are also some op-
tional accessories that require manual threading of the needle.
When threading the needle manually, make sure that the needle
is threaded from front to back.
If the Thread Slides Down on the Standing Thread
Spool
If the thread is of a quality that unwinds easily and slides down
on the standing thread spool it can get caught under the thread
spool around the spool pin and break. Place the large spool cap
on the spool pin with the at side up before placing the thread
spool.
If the thread spool has the same diameter as the large spool cap,
place a thread net from below over the spool before placing it
on the spool pin.