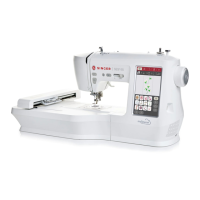
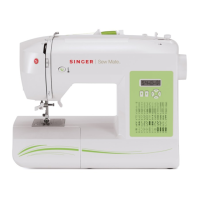
Sewing – 35
Stitch Width
Stitch Length
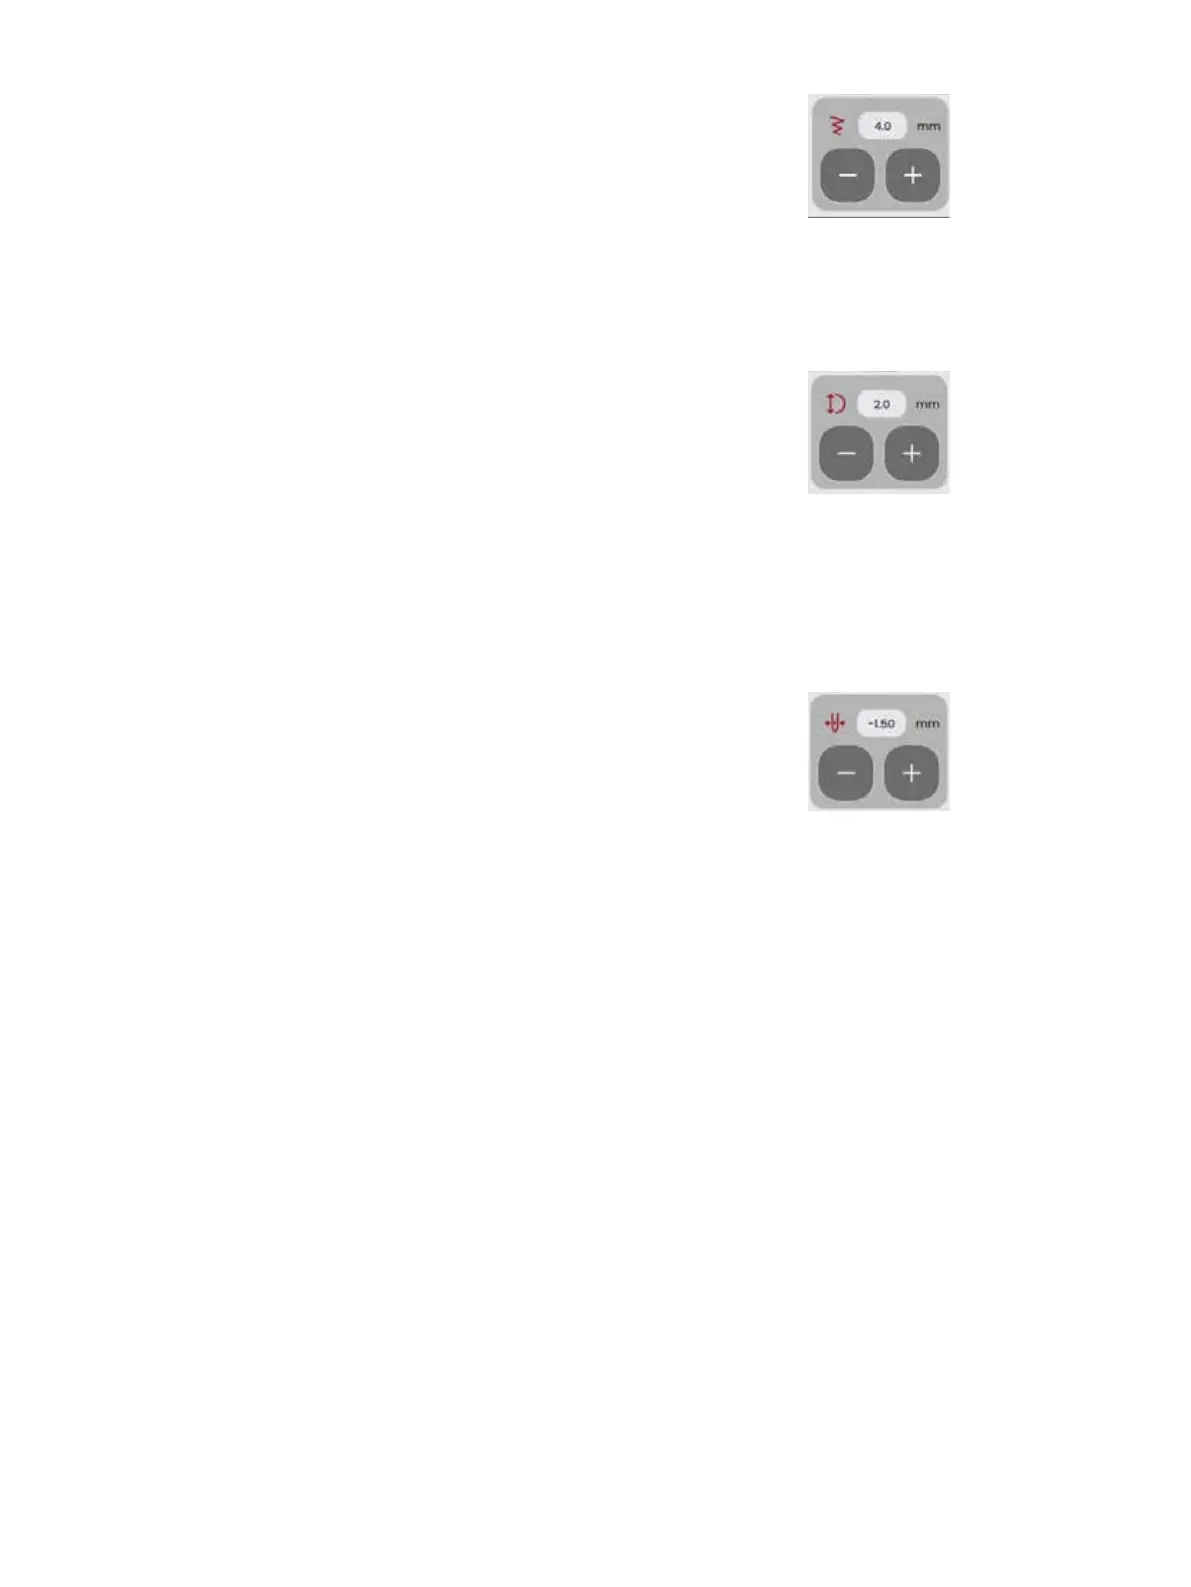
Needle Position / Stitch Positioning
Increase or decrease the stitch width using + and - in the con-
trol. The number above the control shows stitch width in mm.
Changed stitch position may limit the stitch width adjustments.
Increase or decrease the stitch length using + and – in the con-
trol. The number above the control shows the set stitch length
in mm/inch. If lengthening a zigzag stitch or a decorative
stitch, the entire stitch will be stretched out.
On certain stitches with a width less than 7mm it is possible
to change the stitch position. Use + to move the stitch to the
right and - to move the stitch to the left. The number above the
control shows the needle start position in mm/inch in relation
to center needle position. The machine has a maximum of 29
needle positions (for a straight stitch).
The stitch position can only be changed to the limit of the max-
imum stitch width. Changing the stitch positioning will also
limit the stitch width adjustments.
Tie-O
The tie-o function is used to secure a stitch. Tie-os consist
of four stitches performed at the same spot. To activate or
deactivate the tie-o function, simply touch the button in the
settings menu. When you begin sewing with the tie-o func-
tion enabled, the machine will sew a few tie-o stitches before
continuing with the selected stitch. However, if the machine
has stopped before the Cut button is pressed, no tie-o stitches
will be performed before cutting.
Once a cut has been made, the machine will automatically start
with tie-o stitches the next time you begin sewing.
Note: The tie-o function can be selected for all stitches except
buttonholes