Images
Main menu
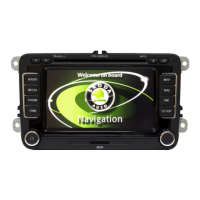
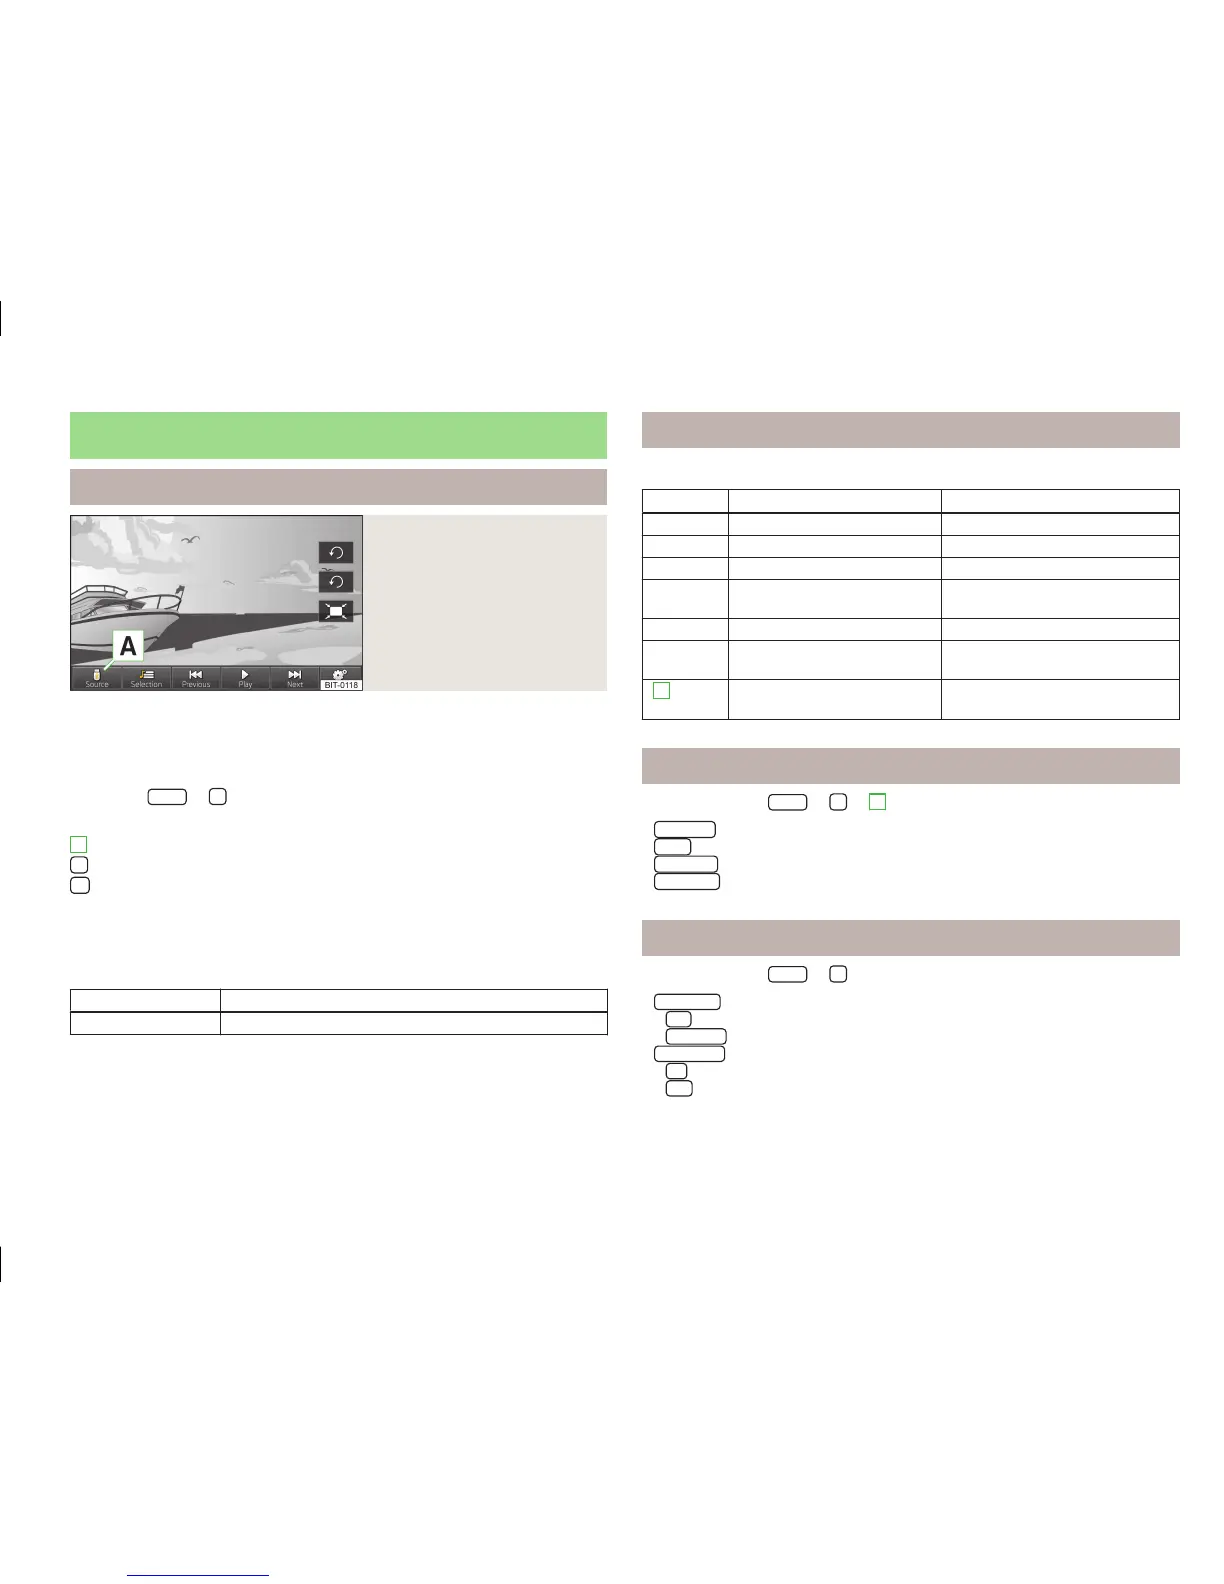
Fig. 20
Images: Main menu
First and foremost, pay attention to the safety instructions » page 4.
Select and confirm all functions as described at the beginning of this man-
ual » page 6.
Call up the main menu
›
Press the
MENU
→
button.
Explanation of graphic
Select the image source
Select the images or folder from the list
Image settings
You can adjust the size of the image by touching the screen with two fingers and
pulling the fingers together or apart. You can move the image in the desired di-
rection by touching and dragging it with your finger.
Supported file types
File type
Supported formats
Images jpg, jpeg, png, bmp, gif
A
Operation
Displaying images
Button Action Operation
Press Display the previous image
/
Press Switching on/off the slideshow
Press Display the next image
Press
Rotate the image 90° anticlock-
wise
Press Rotate the image 90° clockwise
Press
Display the maximum image size
while retaining the aspect ratio
2
» Fig. 1
on page 6
Rotate the image clockwise or
anticlockwise
Enlarge/reduce the size of an im-
age
Select image source
›
Press the button
MENU
→
→
A
» Fig. 20 on page 31.
■
CD/DVD
- switches to an inserted CD/DVD
■
USB
- switches to a data medium connected to the USB input
■
SD card 1
- Changes to an inserted memory card SD 1
■
SD card 2
- Changes to an inserted memory card SD 2
Adjust image display
›
Press the button
MENU
→
→
.
■
Image view
- Adjust the display of the image
■
Full
- Display the maximum image size while retaining the aspect ratio
■
Automatic
- Full screen display
■
Display time
- Set the display time for the slideshow
■
5 s
■
10 s
31
Images
 Loading...