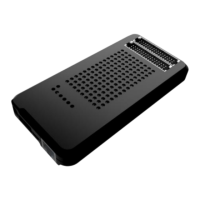
Note: Keep FlashRunner LAN 2.0 Next Generation always in a well-
ventilated area in order to prevent product overheating, which could
affect product performance and, if maintained for a long time, it could
damage product hardware components.
This chapter will explain how to set up FlashRunner LAN 2.0 Next Generation for the
first time. The new FR2.0 WorkBench project Wizard allows an easy and fast system
setup.
When moving FlashRunner LAN 2.0 Next Generation to the production environment,
you can take full advantage of the FR2.0 WorkBench GUI Production Tool (Host
mode) or let the instrument be controlled through the “ATE Control” interface
(Standalone mode).
For more information about Standalone mode and Host mode, see the FlashRunner
2.0 Programmer’s Manual.
3.2 Software Setup
Please refer to the “System Setup/Upgrade” chapter of FlashRunner 2.0
Programmer’s Manual.
3.3 Hardware Setup
To set up FlashRunner LAN 2.0 Next Generation, you must follow the steps below in
the following order: