Scanner Viewing and Saving Data
24
Pressing the Save icon more than once in the same data collection session will
create multiple (.SCM) files. Each file will contain gray (vertical cursors)
(Figure 4-19) indicating where the data was paused.
Figure 4-20
z To view saved data (on a PC)
Saved data files can also be downloaded to a personal computer (PC) using the Mini
USB jack. Once connected to the PC, the data files can be printed, transferred, and
copied using ShopStream Connect. ShopStream Connect is an application that
creates an interface between the diagnostic tool and a PC. The ShopStream Connect
application is available free online, see ShopStream Connect ™ on page 50.
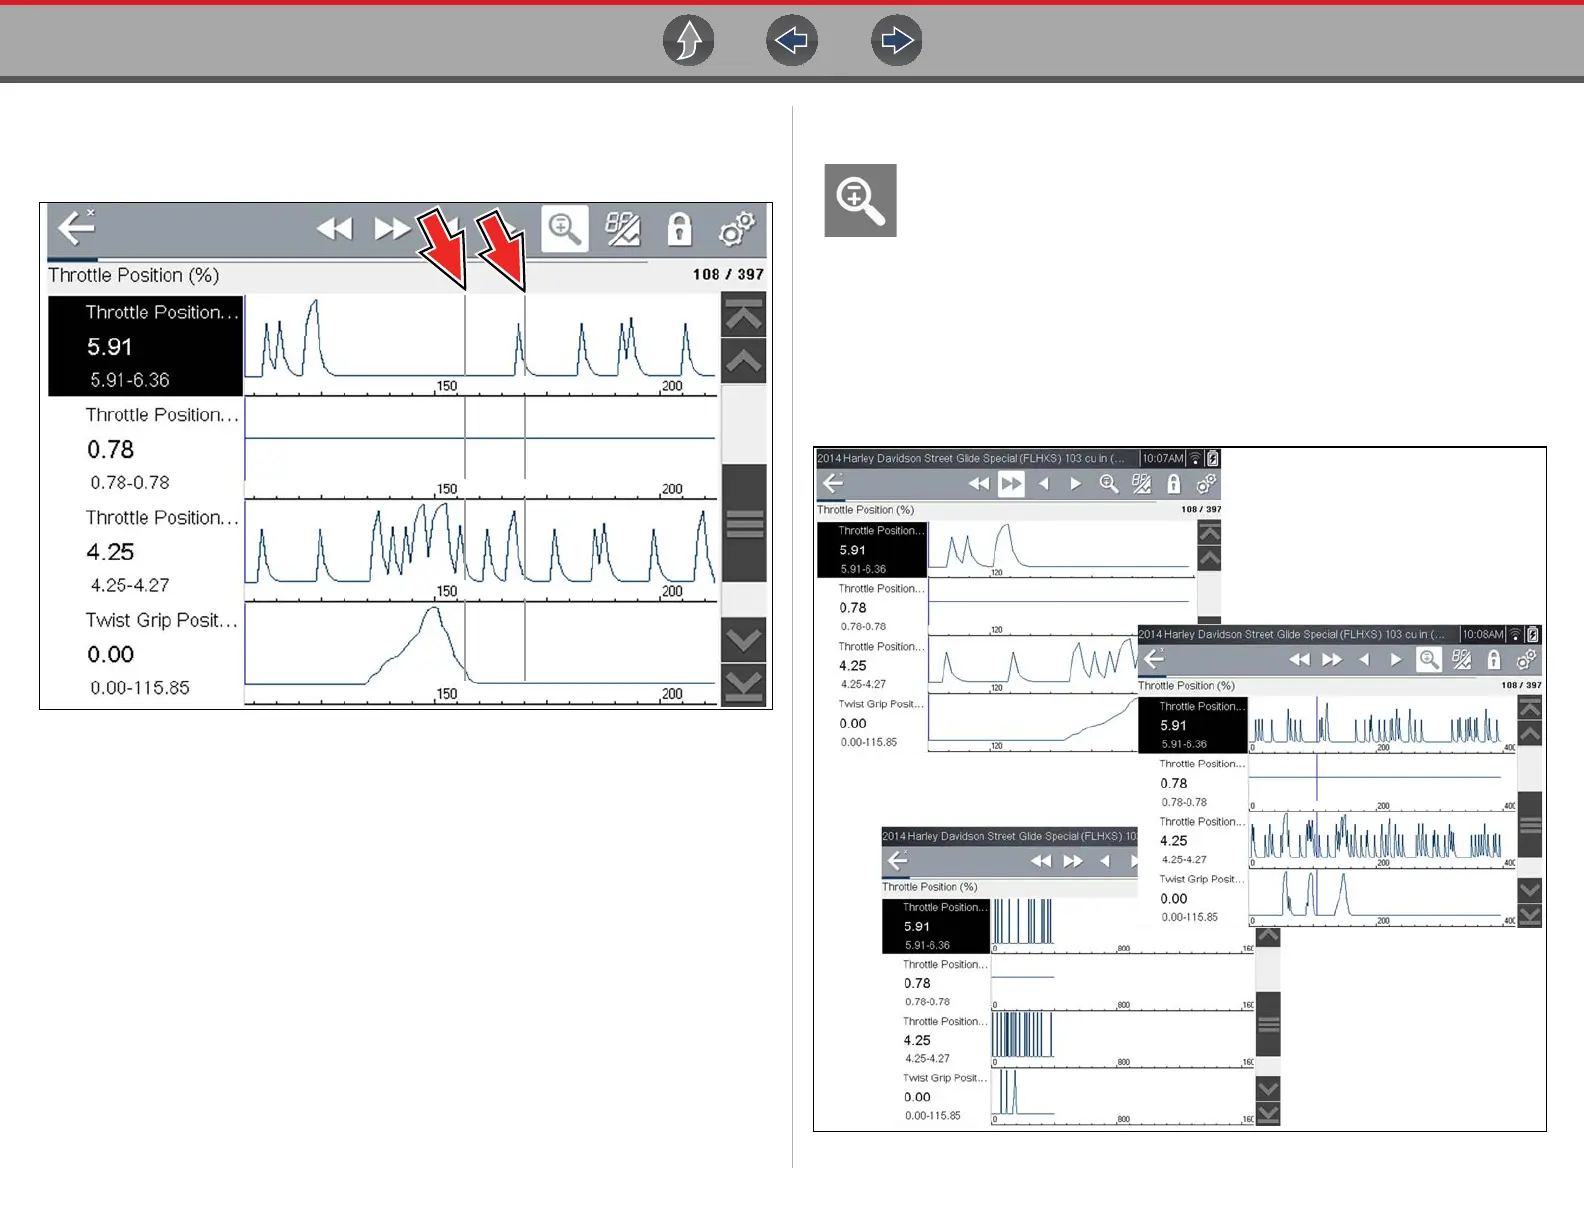
4.5.5 Using Zoom
The zoom function allows you to change the magnification level of the
graphed data during data collection and review. Changing magnification
levels allows you to compress or expand the displayed data to quickly
find glitches, or signal losses.
When the Zoom icon is selected the dropdown menu allows you to select the display
magnification level from a range of -2X to +8X. The "Zoom Out" option displays up to
half of the maximum amount of data that can be collected, on one screen. The default
magnification level is 1x.
Examples: Top (+4X), Middle (1X), Bottom (Zoom Out)
Figure 4-21 Zoom examples