35
Scanner Scanner Operation
Setting Trigger Levels
The trigger icon allows you to configure the Diagnostic Tool to automatically save PID data from
buffer memory to a file when a parameter value crosses a threshold. When triggering is armed, a
"Trigger event" pauses data collection and saves data to a file.
Selecting the Trigger icon opens a menu that includes:
• Set Trigger—establishes upper and lower signal values to initiate an event capture for the
highlighted parameter.
• Arm Trigger—activates the Diagnostic Tool to capture an event when the signal crosses a
threshold value.
Trigger lines change colors to indicate the trigger is armed.
• Clear All Triggers—deletes all previously set trigger levels.
If triggers are set the menu options are:
• Clear Trigger—deletes set trigger levels for the highlighted parameter.
• Disarm Trigger—de-activates event capture capability.
• Clear All Triggers—deletes all previously set trigger levels.
z To set trigger levels:
1. Highlight the parameter to be used for triggering the recording.
2. Select the Trigger icon.
3. Select Set Trigger from the drop-down menu.
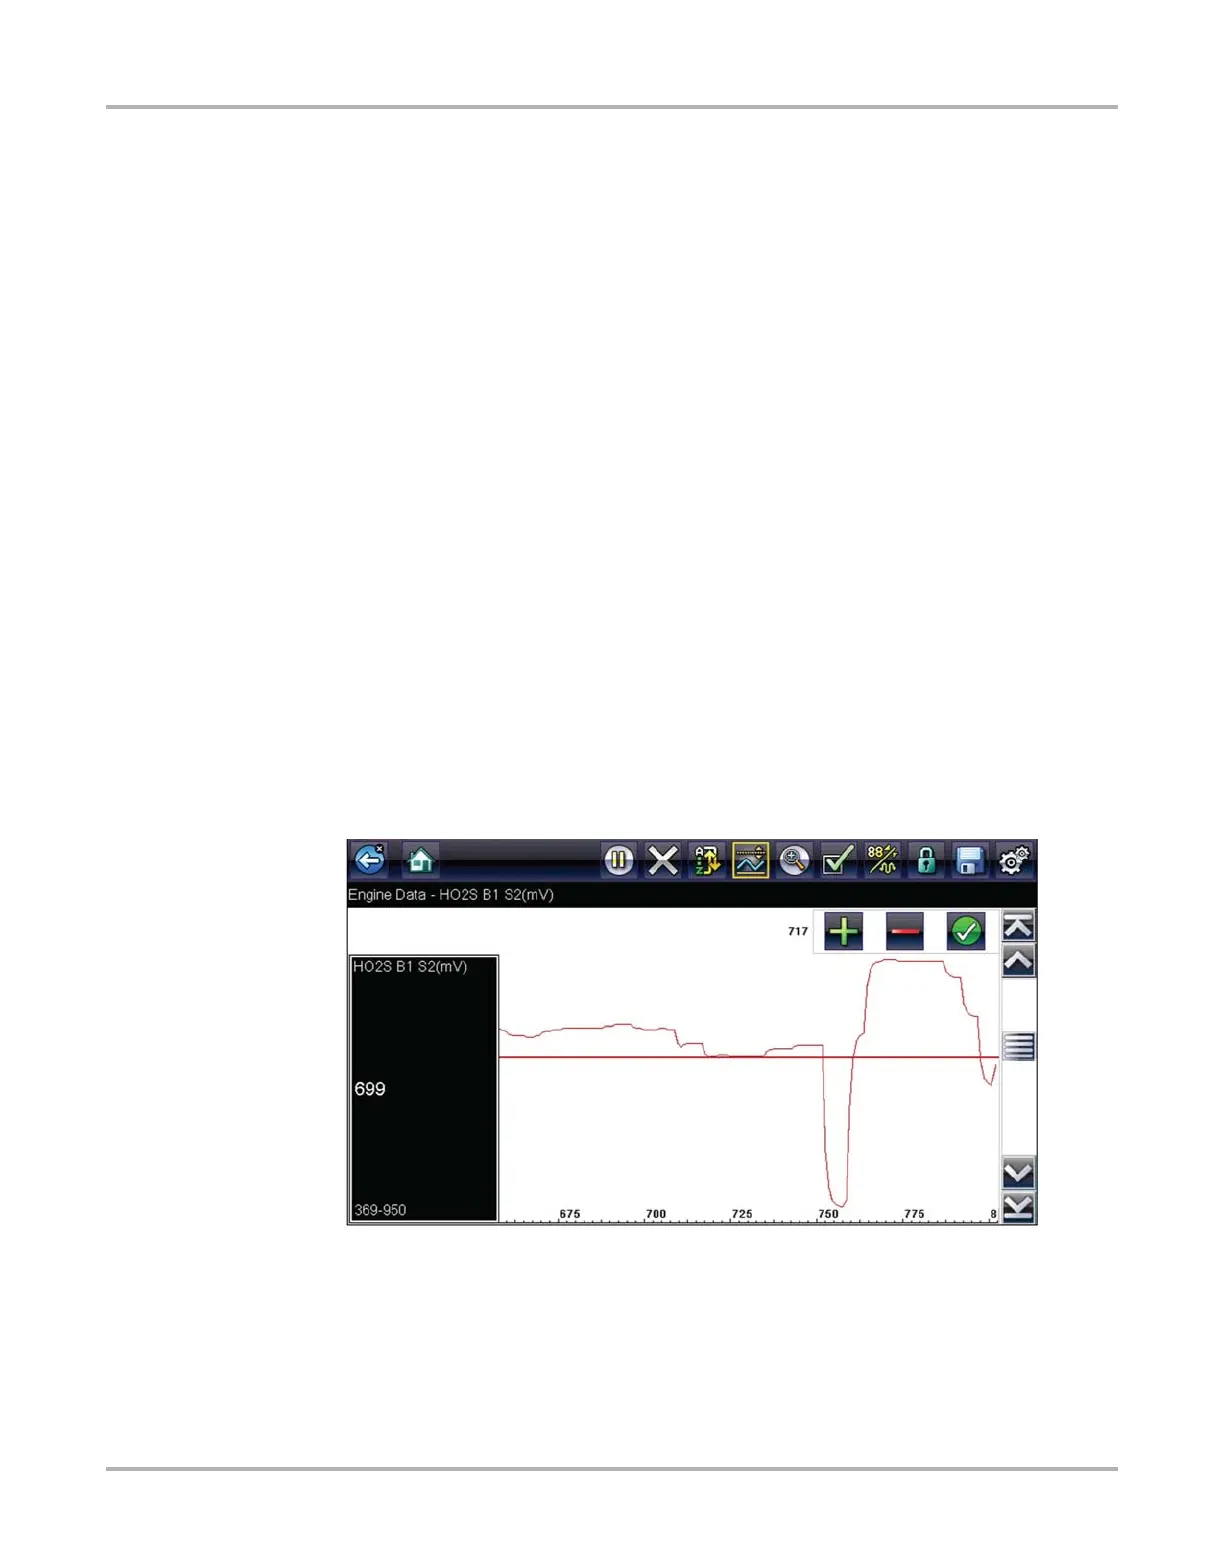
A graph of the highlighted parameter with a trigger toolbar above it fills the main body of the
screen (Figure 4-15).
Figure 4-15 Trigger set screen
The trigger level line displays as a solid line running horizontally across the data graph. An
upper and lower trigger level must be set, the upper level is set first.
4. Select the plus (+) and minus (–) icons on the toolbar, or use the up b and down d arrow
buttons to position the upper trigger level to where you want it on the graph.