Appendix D: Fan Maintenance and
Replacement
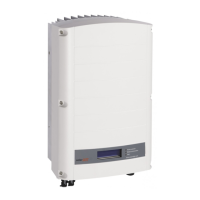
The three-phase inverter has two fans, one is internal and requires a SolarEdge technician to replace it
(Fan 1) and the other is accessible from the outside of the inverter (Fan 2). A replacement kit is available
from SolarEdge.
Figure 32: Inverter Fan 2
Fan Maintenance
1 Keep the fan and the screen clean by blowing the dust away when it accumulates, or at least once a
year.
2 Check the Fan Health Status screen on the LCD (refer to Fan Health Status – Three Phase Inverters
on page 39).
3 If one of the following occurs, replace the fan as described in below:
When the fan stops operating
Fan status is Replace
Fan status is Not Working; Before replacing the fan turn the inverter AC off and on and check if
the status is cleared
The following Error is displayed:
Fan 2 F a i l u r e
Fan 2 Replacement
1 Turn OFF the inverter ON/OFF switch, and wait until the LCD indicates that the DC voltage is safe
(<50V), or wait five minutes before continuing to the next step.
WARNING!
If you cannot see the inverter panel, or if a malfunction is indicated on the LCD panel, wait five
minutes for the input capacitors of the inverter to discharge.
2 Turn OFF the AC switch of the main distribution panel.
3 Use a Philips screwdriver to unfasten the single screw of the fan cover.
4 Open the fan door.

 Loading...