23
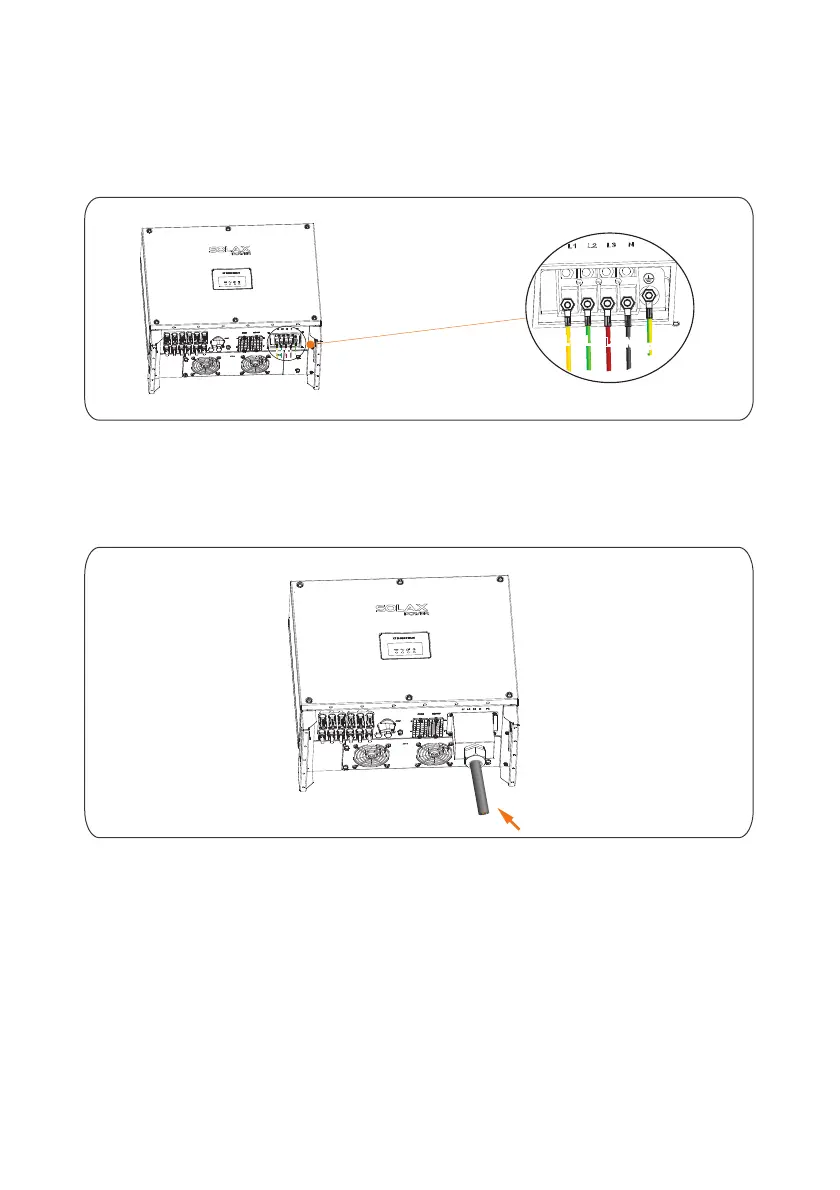
Step 3 Loosen the four screws lock on AC OUTPUT door, and connect L1, L2, L3, N and PE
through AC OUTPUT terminal cover to the terminal block, use a screw driver to tighten screws
to a torque of 3N·m, as shown in Figure 5.6.
Step 4 Lock the AC OUTPUT terminal shell back to the original position, Stretch all the lines on
the AC end naturally and then tighten the plug, as shown in Figure 5.7.
Figure 5. Tighten AC wire6
Figure 5.7 Tightening the wiring board
L1
L2
L3
N
PE
L1
L2
L3
N
PE

 Loading...


