92
GB
3 Press X/x to select [CUSTOM], then
press .
The Setup Display appears.
4 Press X/x repeatedly to select
[SPEAKER SETUP], then press or c.
5 Press X/x repeatedly to select [TEST
TONE], then press or c.
6 Press X/x repeatedly to select [ON],
then press .
You will hear the test tone from each
speaker in sequence.
7 Press C/X/x/c to adjust the value of
[LEVEL (FRONT)] or [LEVEL
(SURROUND)].
The test tone is emitted from only the
speaker which you are adjusting.
8 Press when you have finished
making adjustments.
9 Press X/x repeatedly to select [TEST
TONE], then press .
10Press X/x repeatedly to select [OFF],
then press .
Note
• The test tone signals are not output from the HDMI
OUT jack.
Ti
• To adjust the volume of all the speakers at one time,
press VOLUME +/–.
• To return to the default setting when changing a
setting, select the item, then press CLEAR. Note that
only the [CONNECTION] setting does not return to
the default setting.
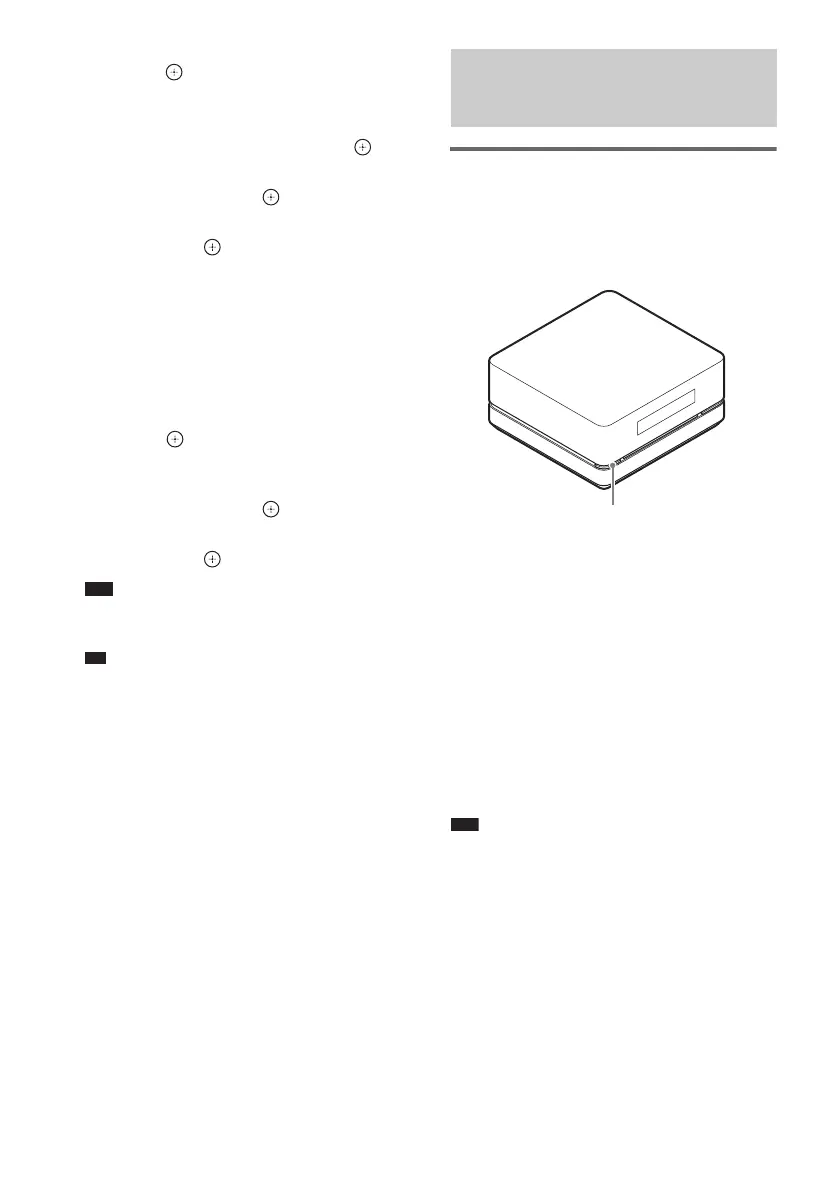
Returning the system
parameters, such as preset
stations, to the default
settings
1 Turn off the power.
2 Press and hold "/1 on the control unit
about 5 seconds.
“MEMORY CLR” and “PUSH POWER”
appear alternately in the front panel display
about 10 seconds.
3 Press "/1.
“CLEARING” appears in the front panel
display and the default settings are returned.
After “CLEARED!” appears, the system is
turned off.
Note
• In step 3, if you do not press "/1 or press any buttons
other than "/1 on the control unit, the system turns
on. The setting is not made.
• When you turn on the system after returning to the
default settings, wait about 20 seconds before turning
on the power by pressing "/1.
Returning to the Default
Settings
"/1