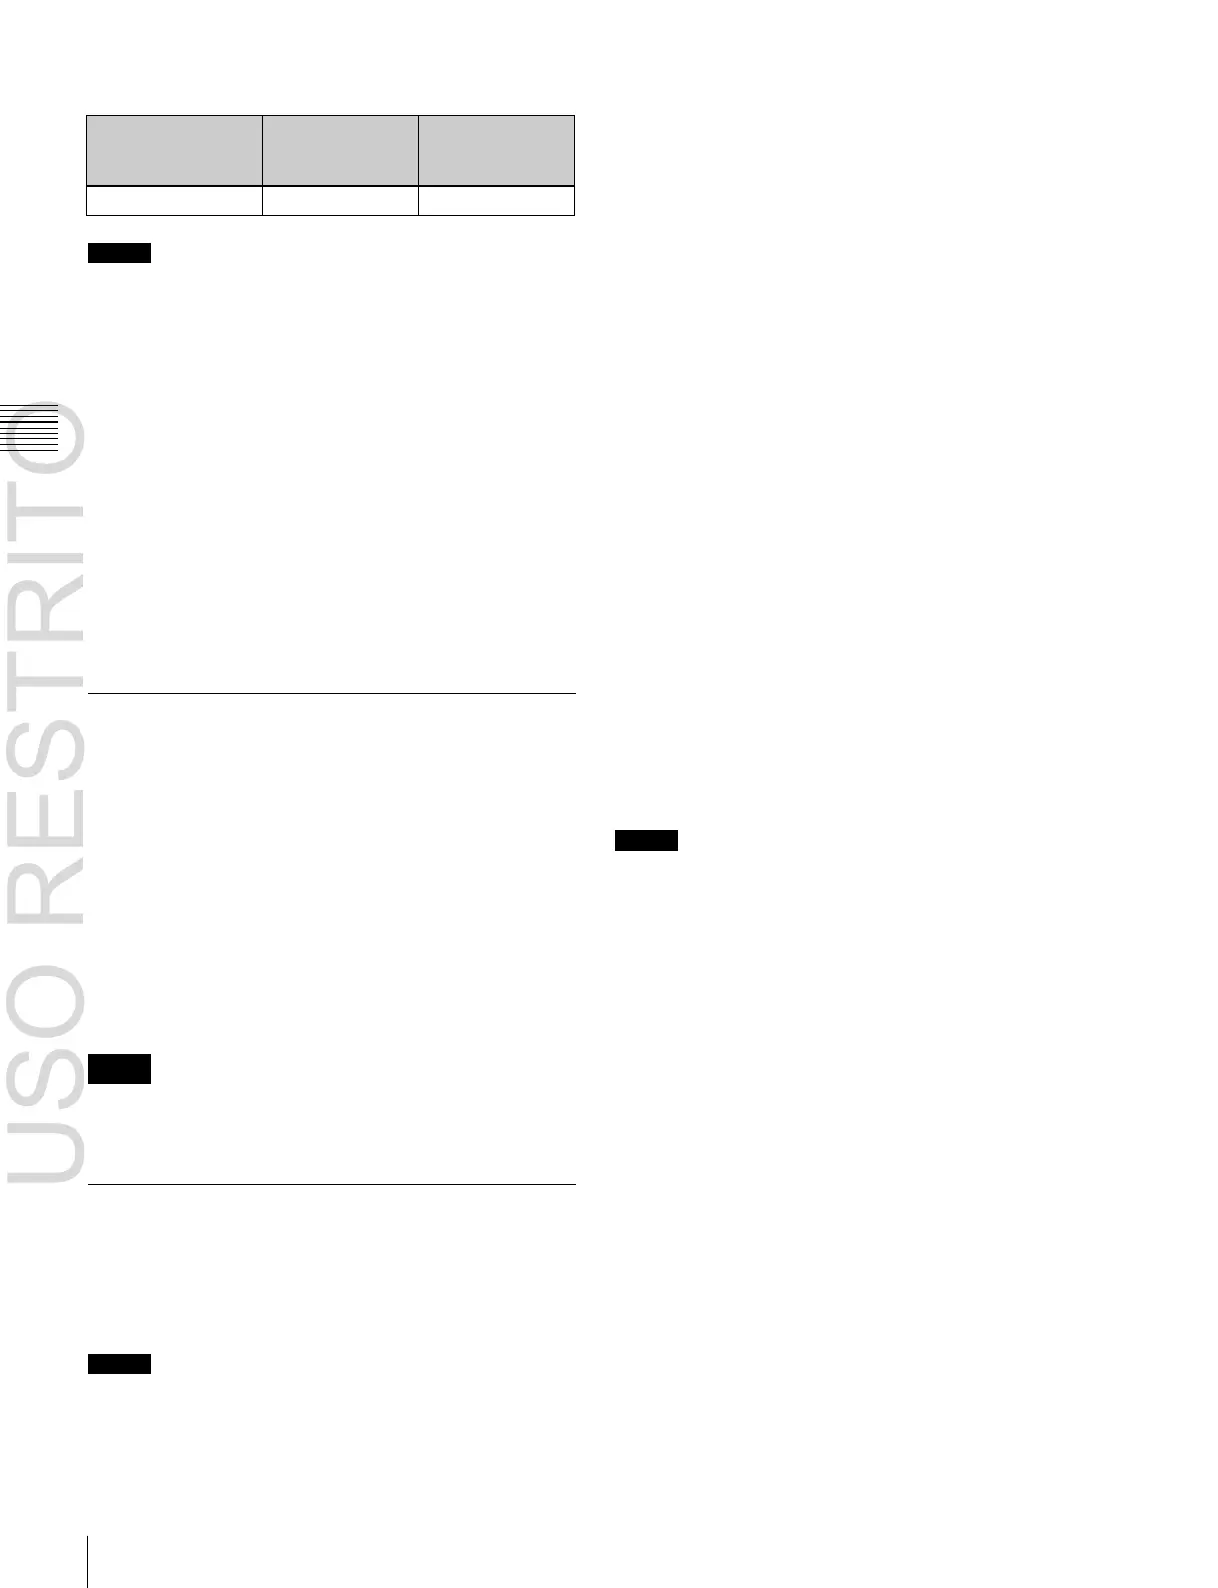
Number when
the shift button
is not pressed
Number when
the shift button
is pressed
Chapter
3
Signal
Selection
and
Transitions
Notes
Cross-point control block button numbers
Buses for which operations can be
inhibited
This setting applies to the cross-point buttons in each
switcher bank.
If you make the setting for one cross-point button, this
inhibits operation of all cross-point buttons with the same
number in the following buses.
The corresponding name also disappears from the source
You can use the rightmost (24th) button as a [SIDE FLAG]
button. In this case, the shift button moves one to the left,
to the 23rd, and the button numbers are offset by one.
For details about the [SIDE FLAG] button,
1
“Assigning
a Cross-Point Button to Enable/Disable Side Flags”
(p. 333).
Switching button numbers
The rightmost (24th) button functions as a shift button. The
shift button function can be disabled in the Setup menu.
When selecting the signals of button numbers 1 to 23,
press the cross-point button for the desired signal.
To select button numbers 24 to 46, hold down the shift
button, and press the cross-point button for the desired
signal.
Interchanging the M/E and PGM/PST
Banks
On the ICP-6520/6530, you can use the M/E bank
selection buttons on the cross-point control block to
interchange the M/E bank and PGM/PST bank.
For example, if you press the [M/E1 SEL] button on the
bank that is being used as PGM/PST, the bank will become
the M/E-1 bank.
At the same time, the bank that was being used as M/E-1
will become the PGM/PST bank, effectively interchanging
the M/E and PGM/PST banks.
The change will also be reflected in the M/E bank display.
Notes
On the ICP-3000/3016, you cannot interchange banks
using control panel buttons.
name display.
•
Background A, background B
•
Keys 1 to 4
•
Utility bus
•
DME external video bus
Assigning the function of disabling cross-
point button operation to a button
In the Setup menu, assign “Inhibit Set” to any of the
buttons in the 1st row.
For details,
1
“Assigning a Bus or Function to 1st Row
Buttons” (p. 340).
Inhibiting operation of a cross-point button
Hold down the button to which “Inhibit Set” is assigned,
and press the cross-point button whose operation you want
to inhibit.
The button you pressed flashes amber, and its operation is
inhibited.
Notes
Even when you inhibit operation of a cross-point button,
macro attachment settings are still possible.
For details,
1
“Setting and Canceling a Macro
Attachment” (p. 292).
Clearing a cross-point button operation
inhibit setting
Hold down the button to which “Inhibit Set” is assigned,
and press the button whose operation is inhibited (flashing
amber).
This clears the operation inhibit setting for the button you
pressed.
Inhibiting Cross-Point Button
Operations
For each cross-point button, you can temporarily inhibit
operations.
Clearing all operation inhibit settings
Press the button to which “Inhibit Set” is assigned and the
button to which “Inhibit All Clear” is assigned
simultaneously.
Notes
This setting is cleared when you reset the control panel.

 Loading...


