24
Basic Menu Operations
Chapter 2 Menu
4
Repeat steps 2 and 3 until the desired menu is
displayed.
For more information about setting and adjustments,
see below.
To abort menu operation
Press the MENU button. The menu of the upper level is
displayed.
The setting or adjustment being performed is canceled, and
data loading or saving is aborted.
If “NG” or “ERROR” appears during menu
operation
Press the MENU button to return to the menu in use.
Choosing one of two or more selections
Selecting in setting mode
1
Using the UP or DOWN button or PHASE knob, move
the cursor to the desired item and press the ENTER or
Ent button.
The selected item is displayed in yellow text and set to
setting mode.
2
Using the UP or DOWN button or PHASE knob,
change the setting.
3
Press the ENTER or Ent button.
The setting is confirmed (The item is displayed in
white text again).
Selecting from the setting list
1
Using the UP or DOWN button or PHASE knob, move
the cursor to the desired item in the setting list.
2
Press the ENTER or Ent button.
The display returns to the menu of the upper level, and
the selected setting is executed.
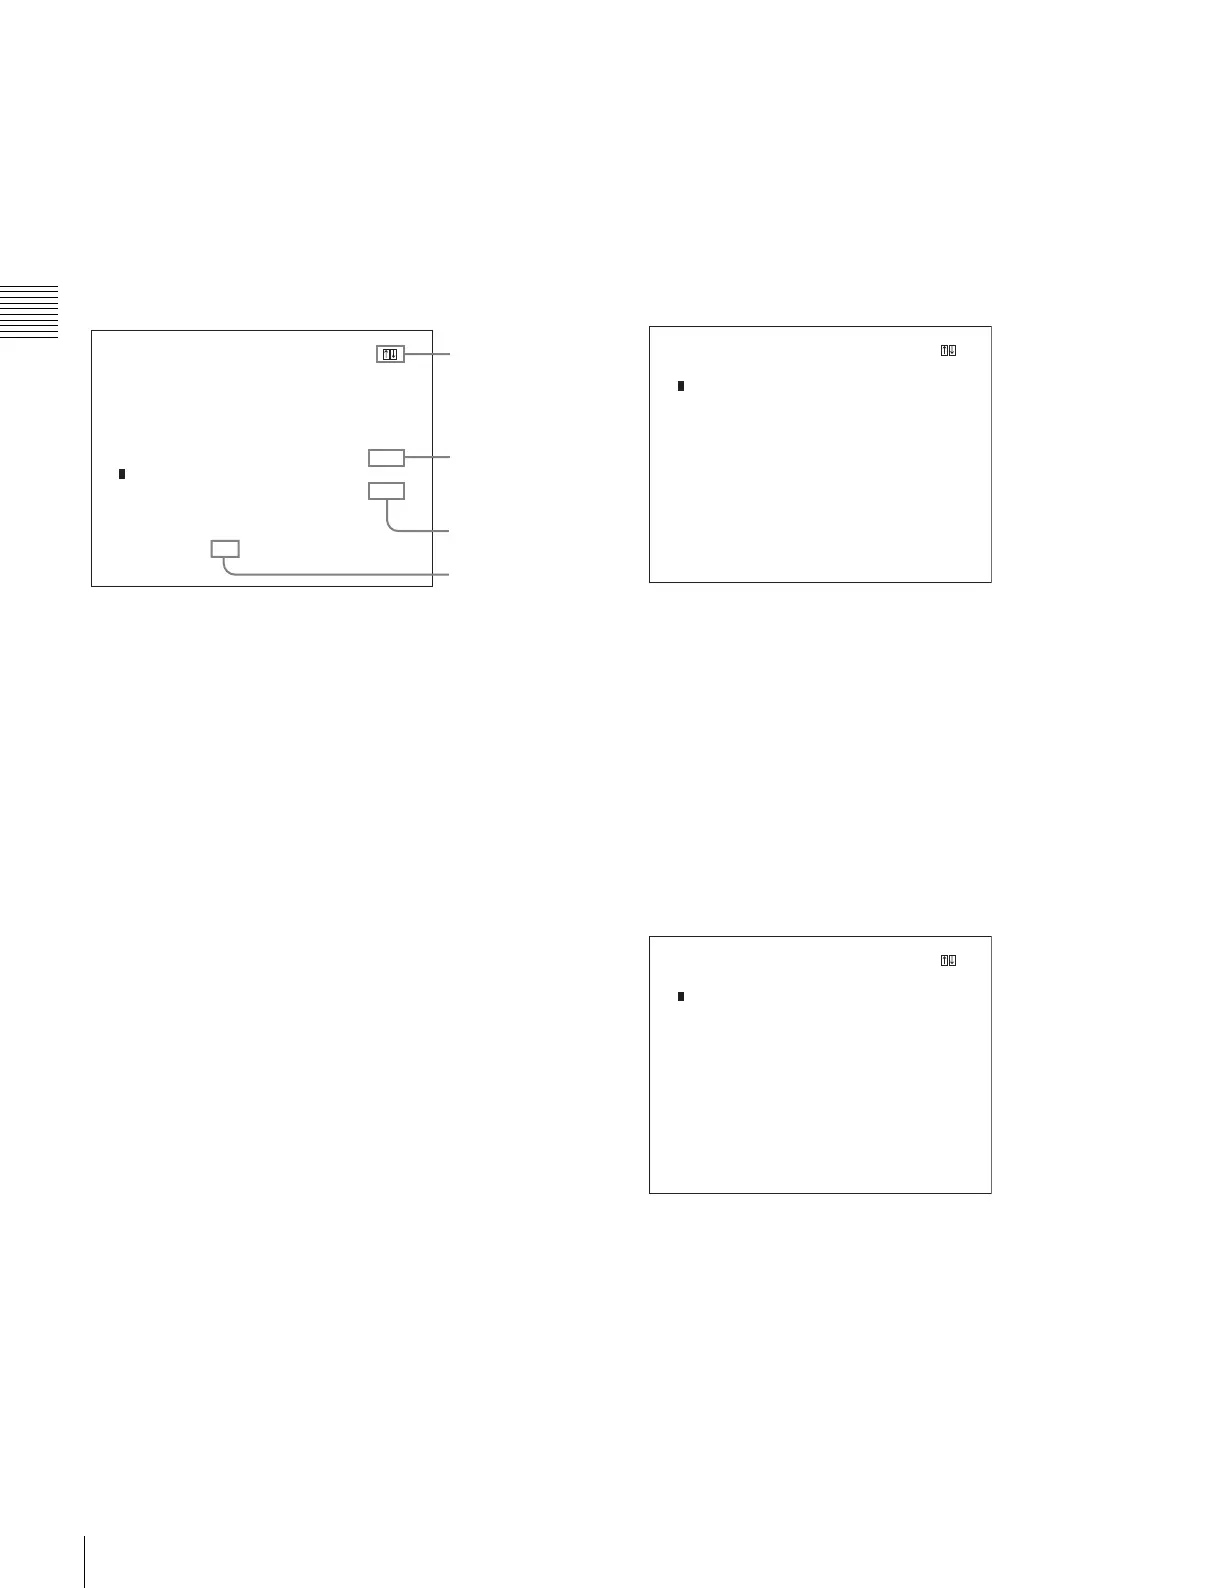
INPUT CONFIGURATION
CH01
APERTURE OFF
VALUE 000
YC SEP ---
NTSC COMB FILTER ---
MARKER DISPLAY OFF
MODE...
H PHASE 000
CHANNEL NAME...
COPY FROM...
[R] indicates that
the menu
continues onto
next page.
[r] indicates that
the menu is
continued from
previous page.
Selects from
various options.
Enters
numerical
values.
Indicates that
this item has
sub-list. You
can go to the
lower level.
CH01
FORMAT... SDI HD/D1 AUTO
SLOT NO OPTION1
INPUT NO DIGITAL1
SCREEN ASPECT 16:9
SCAN SIZE NORMAL
SYNC MODE ---
COLOR TEMP D93
PICTURE PRESET PRESET1
MATRIX...
INPUT CONFIGURATION
1 PIN
BLUE ONLY
R OFF
G OFF
B OFF
CHROMA UP
MARKER
TALLY
DEGAUSS
POWER OFF
PARALLEL REMOTE(2/2)