1-47
VPL-PS10/PX10/PX15
9
On cleaning
• To keep the cabinet looking new, periodically clean
it with a soft cloth. Stubborn stains may be removed
with a cloth lightly dampened with a mild detergent
solution. Never use strong solvents, such as thinner,
benzene, or abrasive cleansers, since these will
damage the cabinet.
• Avoid touching the lens. To remove dust on the lens,
use a soft dry cloth. Do not use a damp cloth,
detergent solution, or thinner.
• Clean the filter at regular intervals.
On repacking
Save the original shipping carton and packing
material; they will come in handy if you ever have to
ship your unit. For maximum protection, repack your
unit as it was originally packed at the factory.
Overview
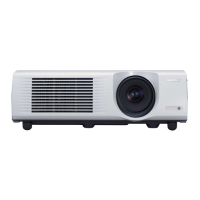
This manual describes how to install the Sony LCD
Data Projector VPL-PX15/PX10/PS10. It also
describes how to install the optional lens and provides
installation diagrams. When you install the lens, also
refer to the Operating Instructions.
Installing the Lens
You can install the following two types of lenses on
the projector.
•VPLL-CT10 Long Focused Converter Lens
•VPLL-CW10 Short Focused Converter Lens
Follow the steps below to install the lens.
For details on installing the lens, also refer to the
installation manual supplied with the lens.
1
Turn off the power and disconnect the power
cable.
2
Remove the lens caps (×2) from the lens you wish
to install.
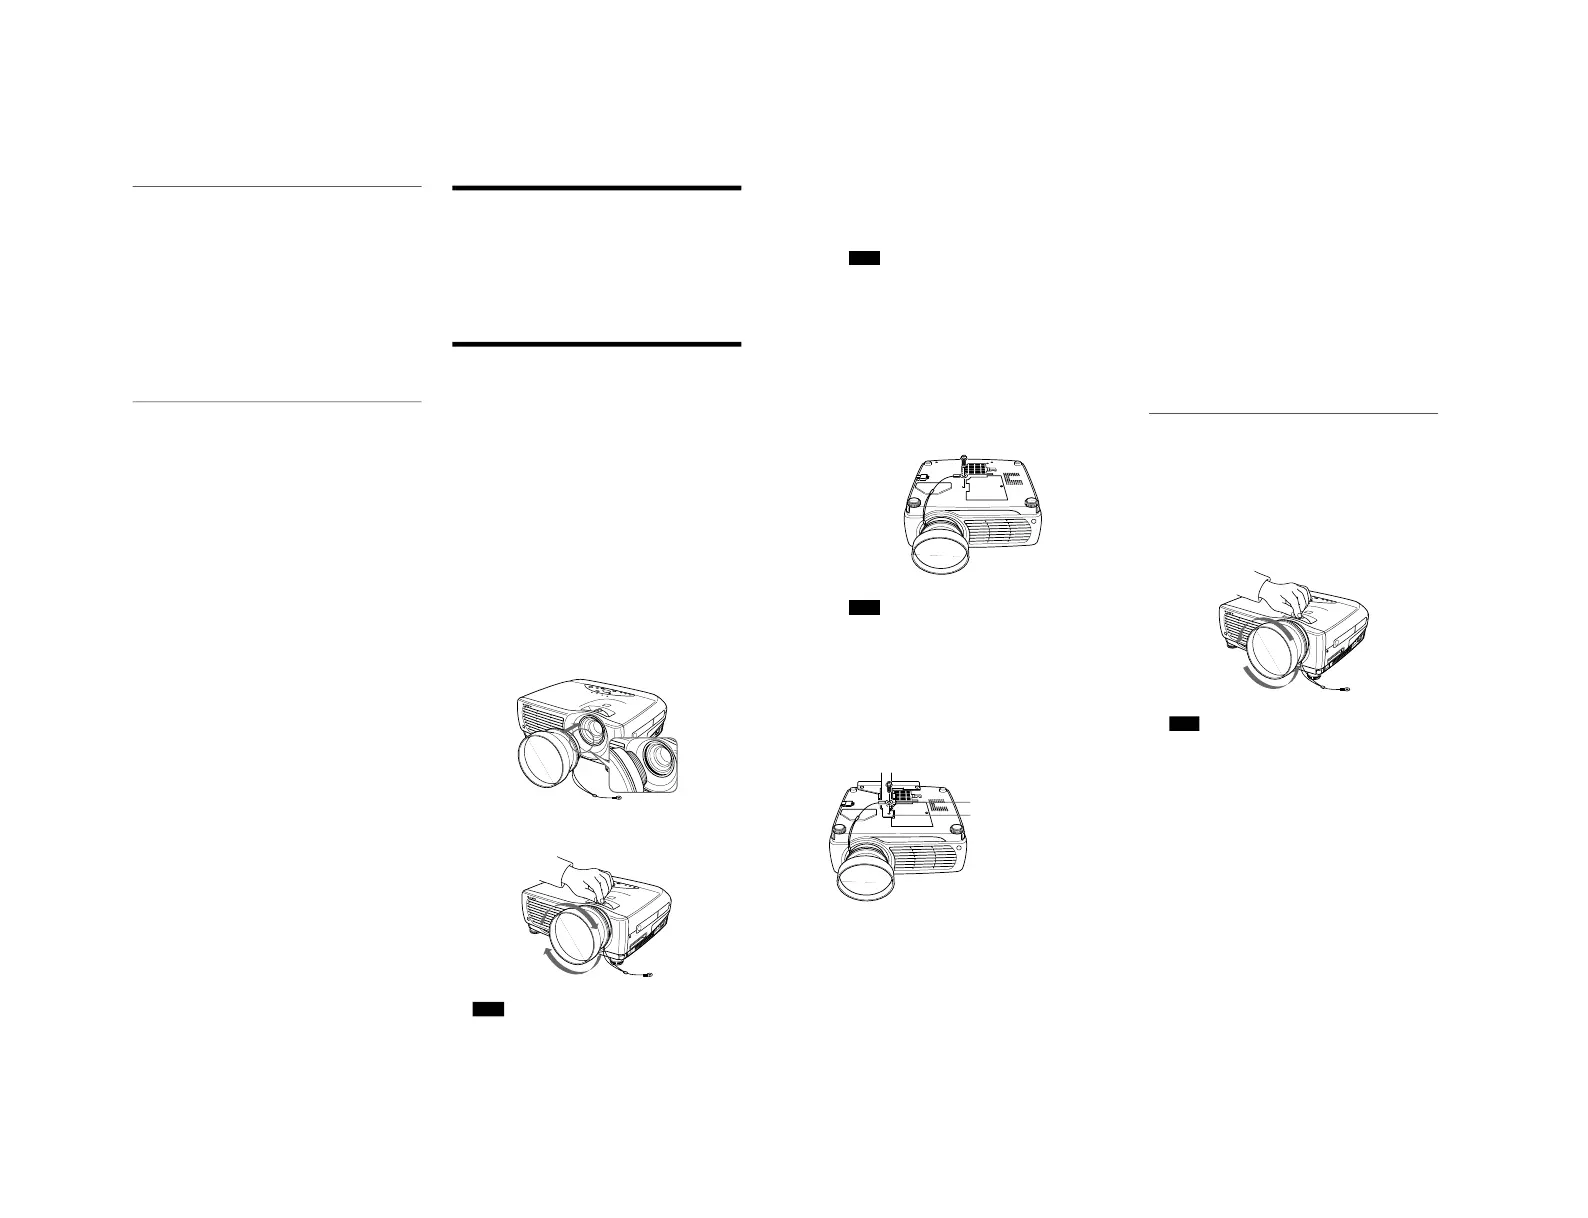
3
Align the screw of the lens with the thread around
the standard lens of the projector as illustrated
below.
4
While holding the focus ring in place, turn the lens
clockwise until you hear it click.
Note
If the lens is hard to turn, turn it slightly
counterclockwise first, then turn it clockwise.
10
5
Place a thick cloth (e.g., a cushion) beneath the
projector. Grasp the projector handle and place
the projector face down.
Note
The lens projects from the top of the projector
when the lens is installed on the projector. Before
installation, place an adequately thick cloth
beneath the projector to keep the lens from
contact with the floor or a desk top. Otherwise,
the lens may malfunction if it receives too much
pressure from the weight of the projector.
6
Fasten the end of the safety wire of the lens to the
bottom of the projector using the screw supplied
with the lens (M5×8, with washers).
Note
Be sure to fasten the end of the safety wire of the
lens to the bottom of the projector.
When installing the projector on the ceiling
Insert the PSS-610 Projector Suspension Support
between the end of the safety wire of the installed lens
and the bottom of the projector, and use the screw
(M5×12) supplied with the PSS-610 as described in
step 6 above to connect them as illustrated below.
WARNING
Be sure to use the screw (M5×12) supplied with the
PSS-610. Never use the screw supplied with the lens.
If you use the screw supplied with the lens, the lens
may fall from the projector and may cause injury.
Notes on installation of the lens
•The lens scratches easily, so when handling it,
always place it gently on a stable and level surface in
a horizontal position.
•Be sure not to bump the lens on the surface of the
standard lens of the projector.
•Avoid touching the lens surface.
Removing the installed lens
1
Remove the end of the safety wire of the installed
lens from the bottom of the projector by removing
the screw.
2
While holding the focus ring in place, turn the
installed lens counterclockwise until the lens can
be removed.
Note
Be sure not to drop the uninstalled lens.
The end of the safety wire
The PSS-610 Projector
Suspension Support