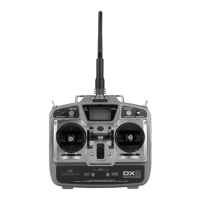
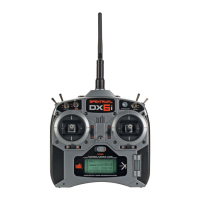
Moving the Throttle Limiting Wedges
Throttlelimitingwedgesareusedtolimitthemaximumthrottle
travel. When changing between Modes 1 and 2, or between
Modes 3 and 4, you must move the throttle limit wedges.
1. Remove four screws from two boards near the top of the front
of the case. These screws are different sizes for electrical
safetypurposes;youmustreturnthemtothesameplaces
you remove them from.
2.Carefullymovetheboardsasmallamounttogettothescrews
holding the gimbal cages on the gimbals.
3. Use a Phillips screwdriver to remove eight screws and two
gimbal cages from the gimbals. Make sure no wire connectors
are disconnected when moving the gimbal cages.
4. Move the gimbals a small amount to remove a screw and
wedge from the top and bottom of the throttle gimbal.
5. Install the wedges on the other gimbal using two screws.
6. Install the boards using the four screws.
7. Install the cages on the gimbals using the eight screws.
Adjusting the Elevator Centering Screw
When changing between Modes 1 and 2, or between Modes 3
and 4, you must adjust the elevator centering screw.
1. Hold the Elevator or Throttle stick in the full up or full down
position when you are adjusting the elevator centering screw.
Holding the gimbal stick reduces the load on the elevator
centering mechanism and makes it easier to adjust the
centering screw.
2. Locate the gimbal where the elevator centering spring is
engaged. Use a Phillips screwdriver to tighten the elevator
centering screw. Tightening the screw will disengage the
centering spring.
3. Using a Phillips screwdriver, loosen the opposite elevator
centering screw until the lever engages.
Re-assembling the Transmitter
1. Put the back of the transmitter case on the main case, taking
care to not pinch any wires. Also install the top antenna cover.
2. Install and tighten the eight Phillips screws including the 2
antenna cover screws.
3. Install the rubber grips on the transmitter.
4. Power on the transmitter. When a calibration screen shows,
movethecontrolstickstoextremesandtocentersasdirected
to correctly calibrate controls.

 Loading...