EN
Import Model
This function overwrites all model memories. Ensure that the
models currently in your transmitter are saved on an SD card
separate from the transmitter before performing this function.
To import an individual model file from the SD Card:
1.SavethemodelletotheSDCard.
2. Select the Model List location where you wish to import the
new model file.
3.IntheSDCardmenu,scrolltoSelectOptionandpressthe
scroll button once.
4. Scroll to Import Model and press the scroll button again to
save the selection. The Select File screen appears.
5.Selectthemodelleyouwishtoimport.TheOverwritescreen
appears.
IMPORTANT: When you select Import, the transmitter leaves the
System Setup List.
6. Select the model that you would like to import the model to.
7. Select Import to confirm overwriting the current model file. The
transmitter activates the new model file and the Main Screen
appears.
APreightChecklistmayappearpriortotheMainScreenifthe
checklistwasactiveduringthemodelleexport.SelectMAINto
exitthePreightChecklist.
See “Preflight Setup” for more information.
Import All Models
ToimportallmodelsfromtheSDCard:
1. Select Import All Models
2.ConrmbyselectingIMPORT.
IMPORTANT: After importing a model, you must rebind the
transmitter and receiver. The Main Screen must show DSM2 or
DSMX in the upper left corner.
You can import a model to any location you want. If you prefer
touseImportAll,youcanuseyourPCtorenametheSPMle.
The first two digits (01 to 50) are the destination model number.
Your SD card can only contain 50 models. Save files to folders on
the card then remove from the card all unused models. Files are
selected by their position in the directory table.
Export Model
YoucanusetheExportModeloptiontoexportasinglemodelle
totheSDCard.
1.MakesuretheactivemodelleistheoneyouwishtoExport.
2.ScrolltoSelectOptionandpressthescrollbuttononce.
3.ScrolltoExportModelandpressthescrollbuttonagainto
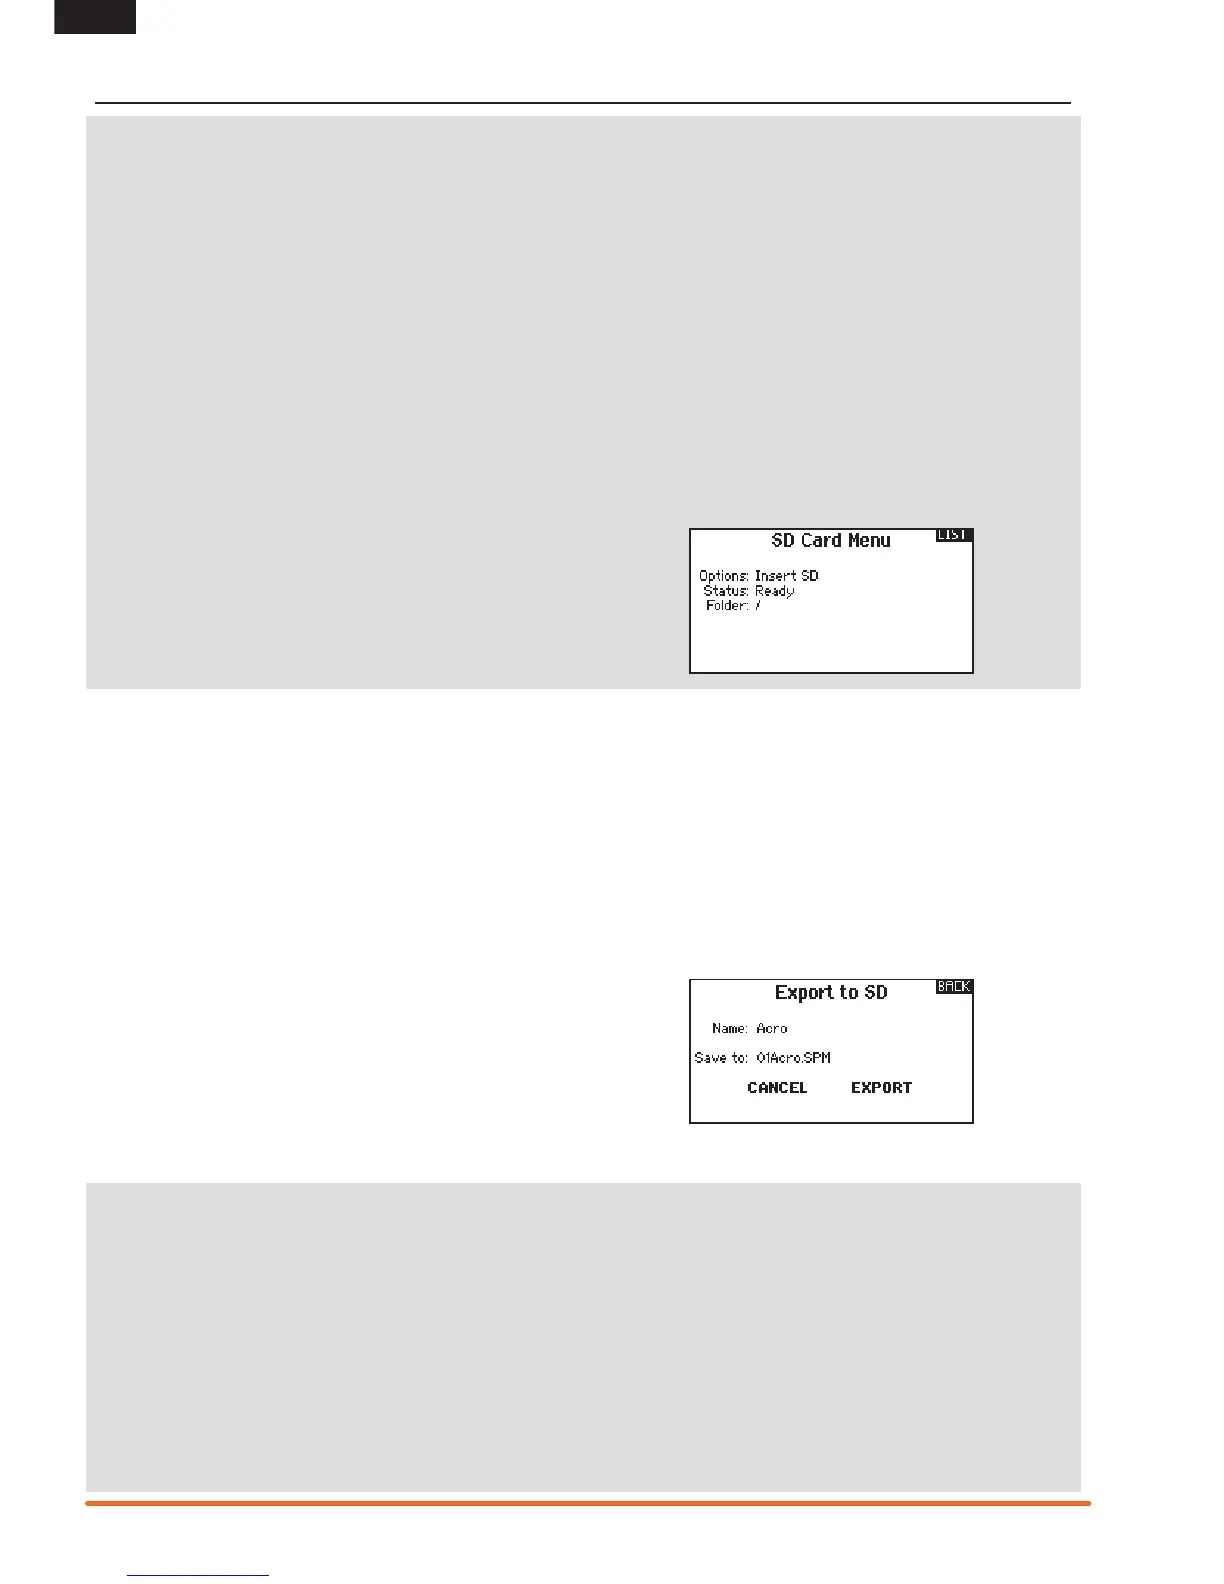
savetheselection.TheExporttoSDscreenappears.Therst
two characters of the file name correspond to the Model List
number(01,forexample).
4.(Optional)Ifyouwishtorenamethemodellebeforeexporting
ittotheSDCard:
a. Scroll to “Save to:” and press the scroll wheel. The File
Name screen appears.
b. Assign a new file name. The file name can contain up to
25charactersincludingthe.SPMleextension.
c. When you are done assigning the new file name, press
theBackbuttontoreturntotheExporttoSDscreen.
5.SelectExporttosavetheletotheSDCard.Whentheexportis
complete,thetransmitterreturnstotheSDCardMenuscreen.
Export All Models
To export all models to the SD Card:
1.SelectExportAllModelsintheSDCardMenuoptions.The
ExportAllModelsscreenappears.
IMPORTANT:ExportAllModelswilloverwriteanymodellesthat:
• ArealreadysavedontheSDCard.
• Have the same name. Always save model files to a different SD
Cardifyouarenotsure.
2.SelectExporttooverwritelesontheSDCardorCancelto
returntotheSDCardMenu.
TRANSFER SD CARD
Updating Spektrum DX9 Sound Files
NOTICE: NEVER disconnect the battery from the transmitter while
the file transfer is in process. Doing so will damage the transmitter,
and the transmitter will need to be returned for service.
You have the option of installing new sound files in the DX9
transmitter. Before updating the sound files, make sure the transmitter
battery is fully charged.
To install new sound files:
1. DownloadthedesiredsoundlefromtheSpektrumCommunity
atwww.SpektrumRC.com.SavetheletotheSDcardforyour
transmitter.
2. Insert the SD card in the DX9 transmitter.
3. Enter System Setup in the transmitter.
4. SelecttheSDCardmenu,andthenselectUpdateSound.
5. Select the new sound file you want to install. The transmitter will
scan the file and check for any errors.
6. TheTransferSDCardscreenreappearswhentheletransferis
complete.
IMPORTANT:Thesoundlewilltakeapproximately1hourto
update. Do not disconnect the battery or power off the transmitter
during the update.

 Loading...