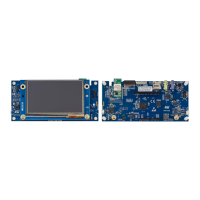
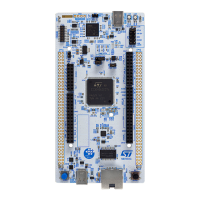
6 Getting started
1. Ensure that the JP1 jumper is set to STLK.
2. Connect a Type-A to Micro-B USB cable from the STM32H7B3I-DK board (Connect USB STLINK CN14) to
a PC to power the board. Then LD5 (+5V) and LD4 (STLINK COM) light up.
3. Take advantage of three graphical stacks running on the same board with many featured applications for
each selected Sub-Demo:
– Menu launcher
– Audio player TGFX application (MP3 support)
– Clock and Weather with Alarm feature
– Video player TGFX application (enabled)
– TGFX Graphic demonstration
– STemWin Graphic demonstration
– EWZ Graphic demonstration
4. The demonstration application software as well as other software examples and applications for exploring
STM32H7 features are available from STM32H7B3I-DK.
Note:
The audio and video player applications play audio and video files from the microSD
™
card.
UM2569
Getting started
UM2569 - Rev 1
page 7/54