22
_________________________________________________________________________________
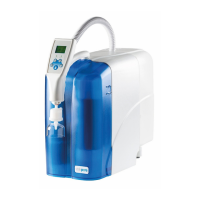
OmniaTap xs
basic
; Version August 2023
Subject to technical changes
10.3 Wall mounting
Risk of injury from falling and crushing!
The OmniaTap xs system may only be attached to a suitable wall using the optionally
available wall holder. Use the wall mount exclusively for the OmniaTap xs system.
Make sure that the wall and the fastening material have a sufficient load-bearing
capacity of at least 100kg. The mounting hardware supplied with the wall mount is
designed for use in conjunction with concrete or solid brick. Check the suitability of
the fastening material in relation to the material of the wall and replace it with a
suitable one if necessary.
With the optionally available wall holder, you can attach your OmniaTap xs system to a suitable wall
to save space. The free wall area should be approx. (W x H) 300mm x 600mm. For professional and
safe wall mounting, we recommend installation by our customer service.
First, your OmniaTap xs system must be prepared for wall mounting. The parts required for this are
included in the scope of delivery of the wall bracket. Screw the four M8 standoffs into the M8 threaded
bushings located on the back of the system. Then screw the two locating bolts into the spacer bolts at
the top. The two stop buffers are screwed into the two lower spacer bolts on the back of the system
(see illustration).