– 16 –
ENGLISH
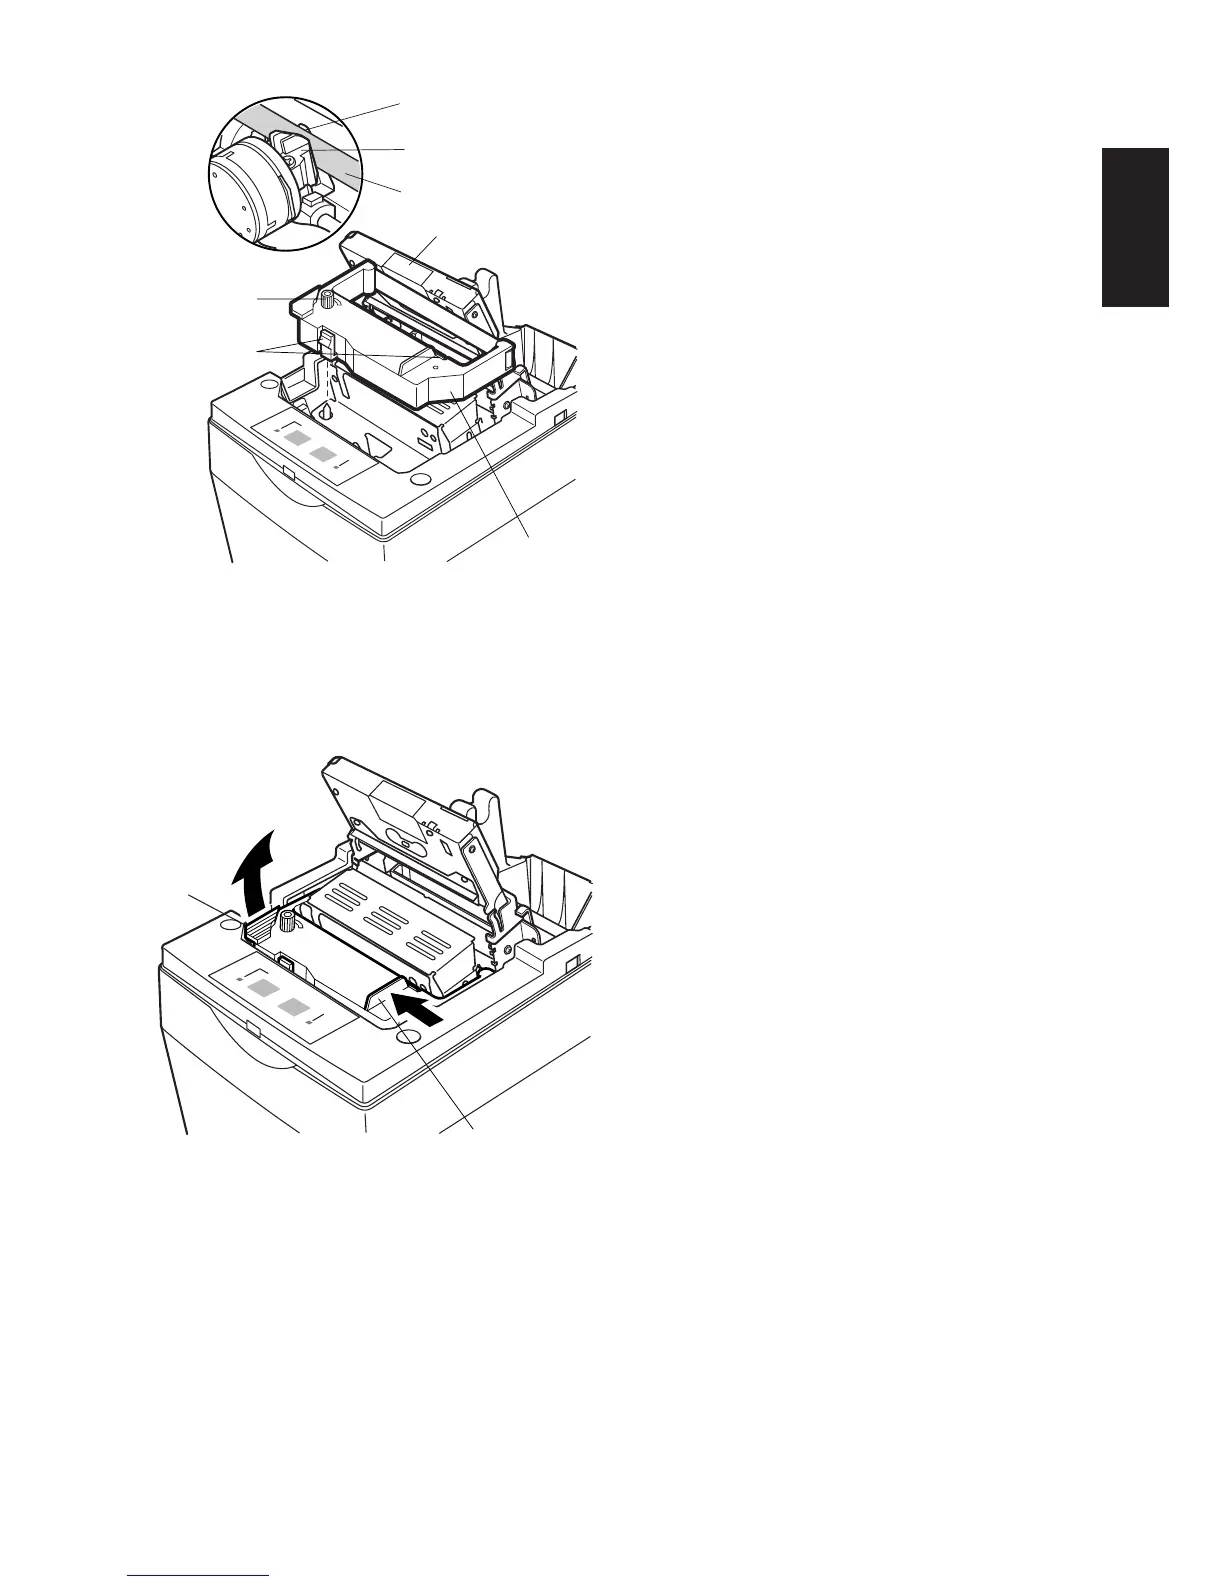
4 Place the ribbon cartridge in the
direction shown in Fig. 6-10 and
press it down to load it. If loading of
the ribbon cartridge is not satisfac-
tory, press down the cartridge while
rotating the ribbon feed knob in the
direction of the arrow.
5 Turn the ribbon feed knob of the
ribbon cartridge in the direction of
the arrow to remove slack in the
ribbon.
6 Close the Auto Cutter.
7 Mount the cover by reversing the
procedure outlined in step 2 above.
8 When removing the ribbon cartridge,
raise the A section and then remove
it by holding the B section as shown
in Fig. 6-11.
Fig. 6-10 Loading the ribbon cartridge
Fig. 6-11 Removing the ribbon cartridge
Ribbon separater
Print head
Ink ribbon
Ribbon
feed knob
Notched
part
Ribbon
cartridge
A
B
Auto cutter