41
EN
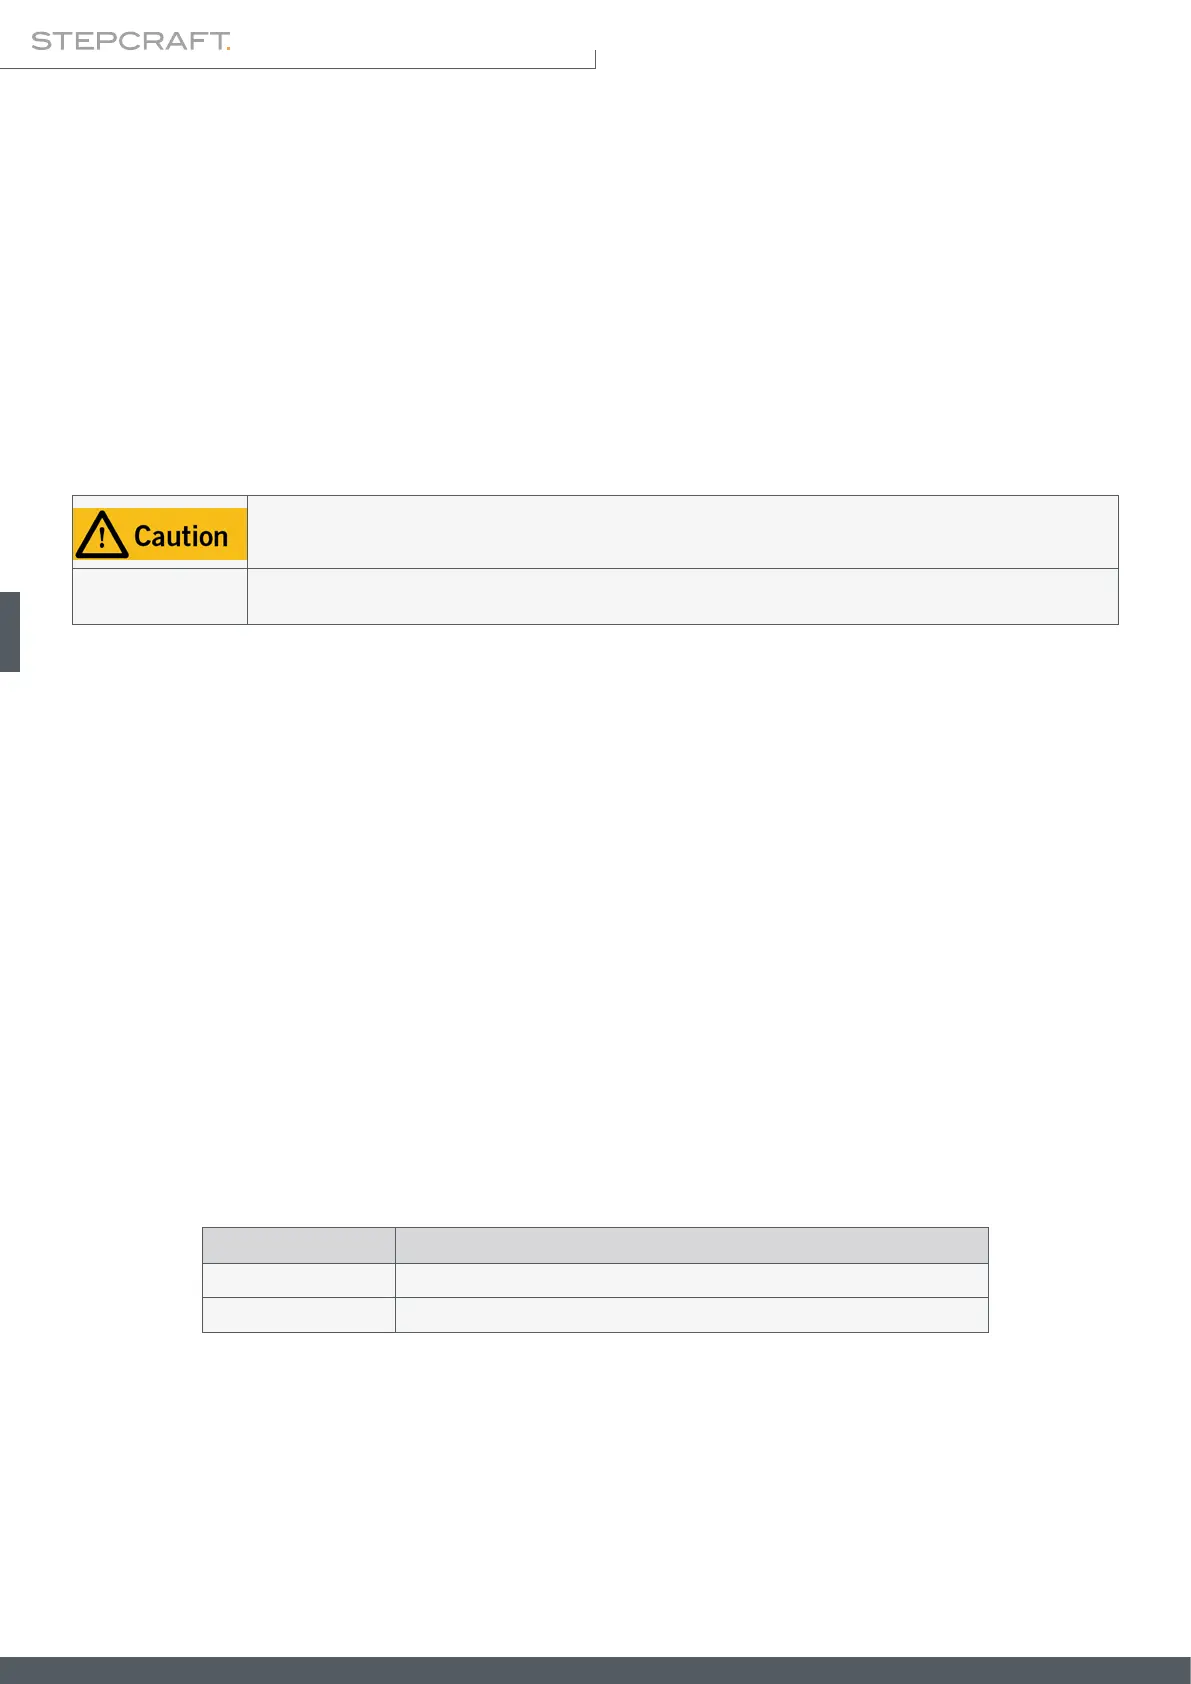
4 Setup of the System
4�1 Environmental Conditions
General safety warnings regarding the work space are to be found in chapter „1.2 General Safety Instructions“. The ma-
chine is solely suitable for the operation in dry, interior spaces. Protect the machine against wetness and humidity. The
humidity should be within normal limits for indoors (40 to 60% rH). The ideal environmental temperature for the system
is between 15°C to 25°C, respectively between 59°F and 77°F. Particularly protect the electronics against overheating
by avoiding direct sun radiation or indirect heating up nearby a radiator. Keep the environment of the machine dust-free.
Place the machine on a suitable table or on a machine stand. To provide a comfortable working height, we recommend
a working height of approximately 840 mm. For a torsion-free stand, the surface of the machine stand needs to be solid
and even. The machine is to be secured in a way that prevents shifting or falling. All movable parts of the machine must
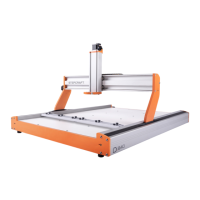
be able to operate collision-free. The routing of the tool’s cables, such as with the milling motor, has to be guided in a
way that ensures the cable not to be clamped between the guide ways of the machine. For this purpose, use the Flexi
Guides™ on the top of the X-axis. The machine has to be easily accessible and operable. Use the grounding cable.
4�2 Positioning the Machine
The emergency switch has to be easily accessible at all times. Otherwise the machine cannot be turned off
in case of an emergency.
NOTICE
The PC controlling the machine has to be placed in the vicinity of the machine in order to have both in clear
view.
4�3 Electrical Connection of the Machine
If you have purchased the machine as construction kit, the stepper motors as well as the reference switches and the
emergency stop switch have to be connected according to the assembly manual. Connect the power supply with its
low-voltage plug to the power connector socket at the rear side of the machine. Due to reasons of reverse polarity pro-
tection, you have to connect the adapter plug with the machine before connecting the power supply with the main
power socket as the machine has no separate main switch. Be absolutely sure that the adapter plug is aligned cor-
rectly: The notch and the attened insulation have to be inserted facing downwards� The computer has to be con-
nected to the CNC system via parallel port, USB or RJ45 network interface. The LED lights of the control board
are visible from outside. They represent following system conditions:
Signal Meaning
LED2 green System OK / Power amplier ON / emergency stop switch turned OFF
LED6 yellow Power ON