Strand 200 Console Manual Page 37
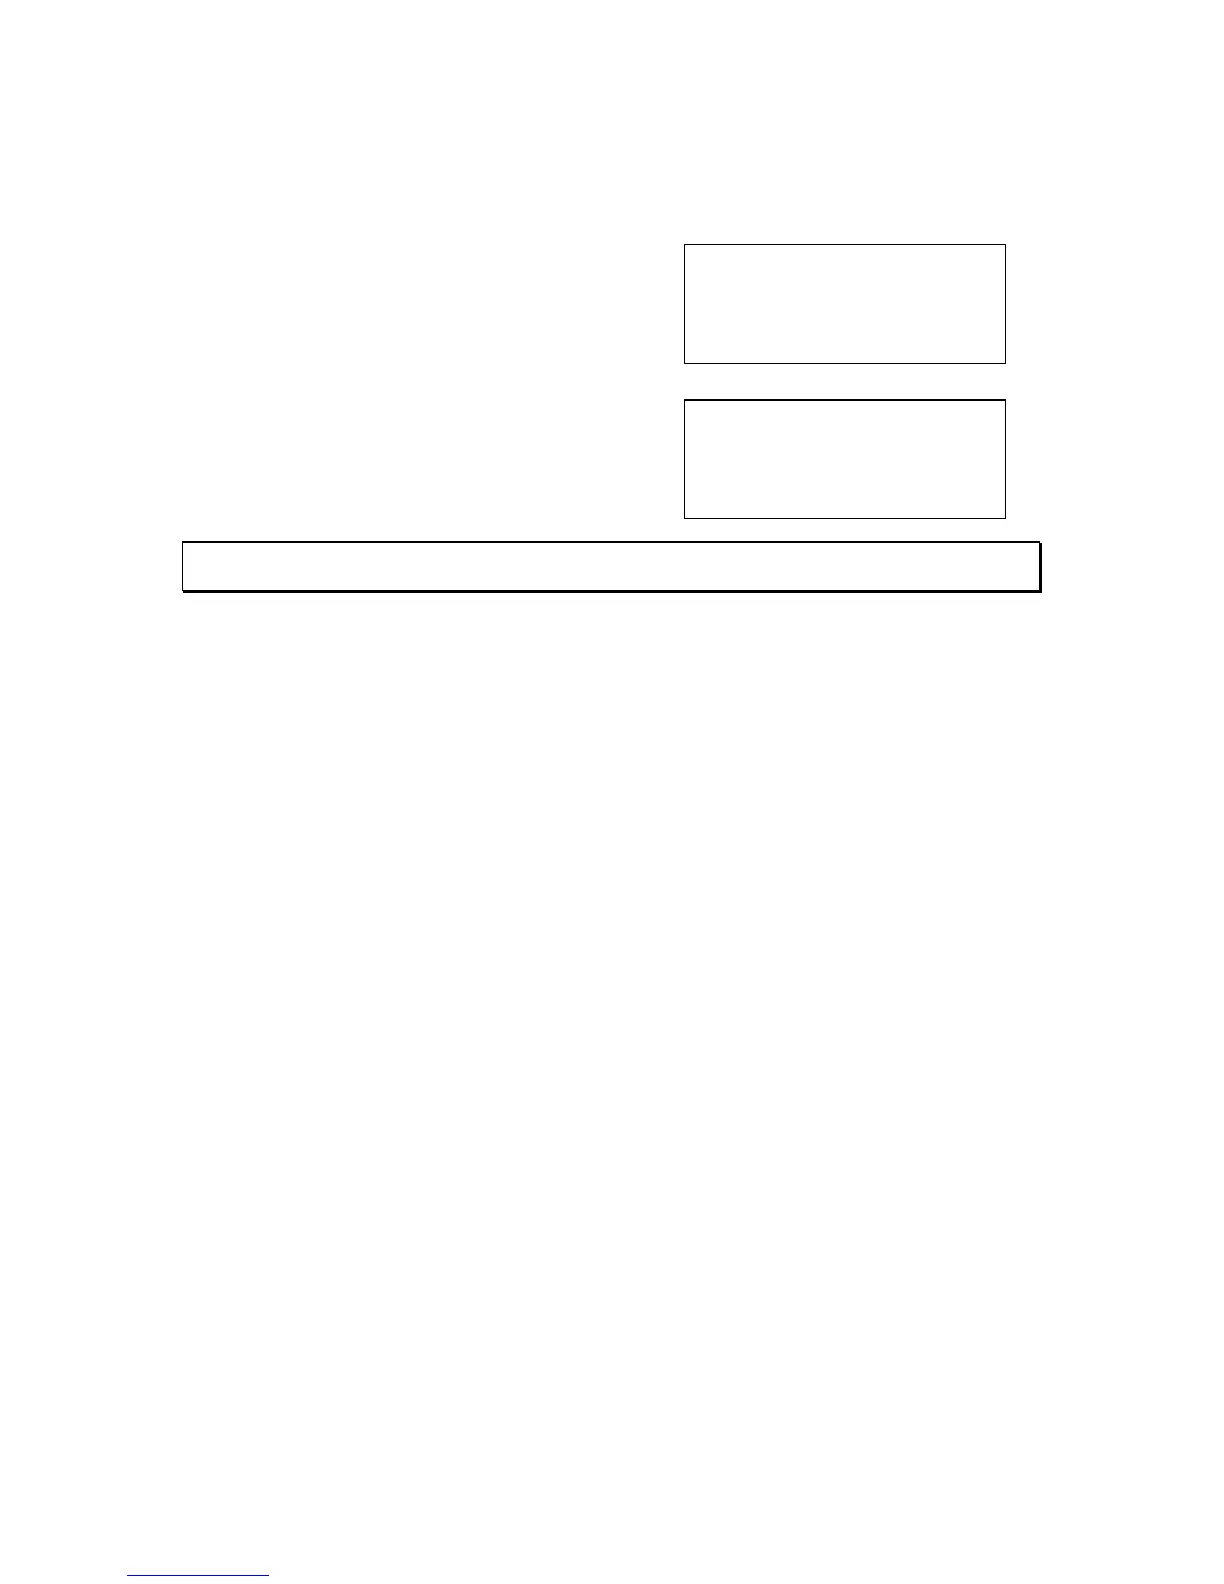
Midi
1. Channel
2. Assign
Esc Confirm
Assign Key:001
To Scene:1.01
Esc (+/-) Confirm
After selecting the channel, go to assign. This will allow you to assign a note (key) to control
a selected scene. All together there are 128 notes (keys) that can be assigned. After
assigned the note, then select the desired submaster (can be a scene or an effect
depending on what is loaded on each sub) that will be activated by that note.
Notice the cursor flashing over the 1 for channel.
Press the right arrow key to access Assign then
press F3 to Confirm.
Num lock LED will now be on and any effect(s)
disabled. Pick the note (key) then scroll with the
arrow keys and pick the scene number.
Note: The scene number refers to the page (to the left of the period) then the submaster (to the right
of the period.
Repeat this scene assignment for every note (key) that is needed.
When playing a midi source instrument, whenever a particular note for that channel is on,
the chosen scene or effect will be outputted. When the note is off or released, the scene or
effect will go fade out or stop.