Site Preparation Guide Preparing for Installation
Page 19
21. Using 10 inch channel locks, rotate the lock-nut counter-clockwise to secure the position of
the foot.
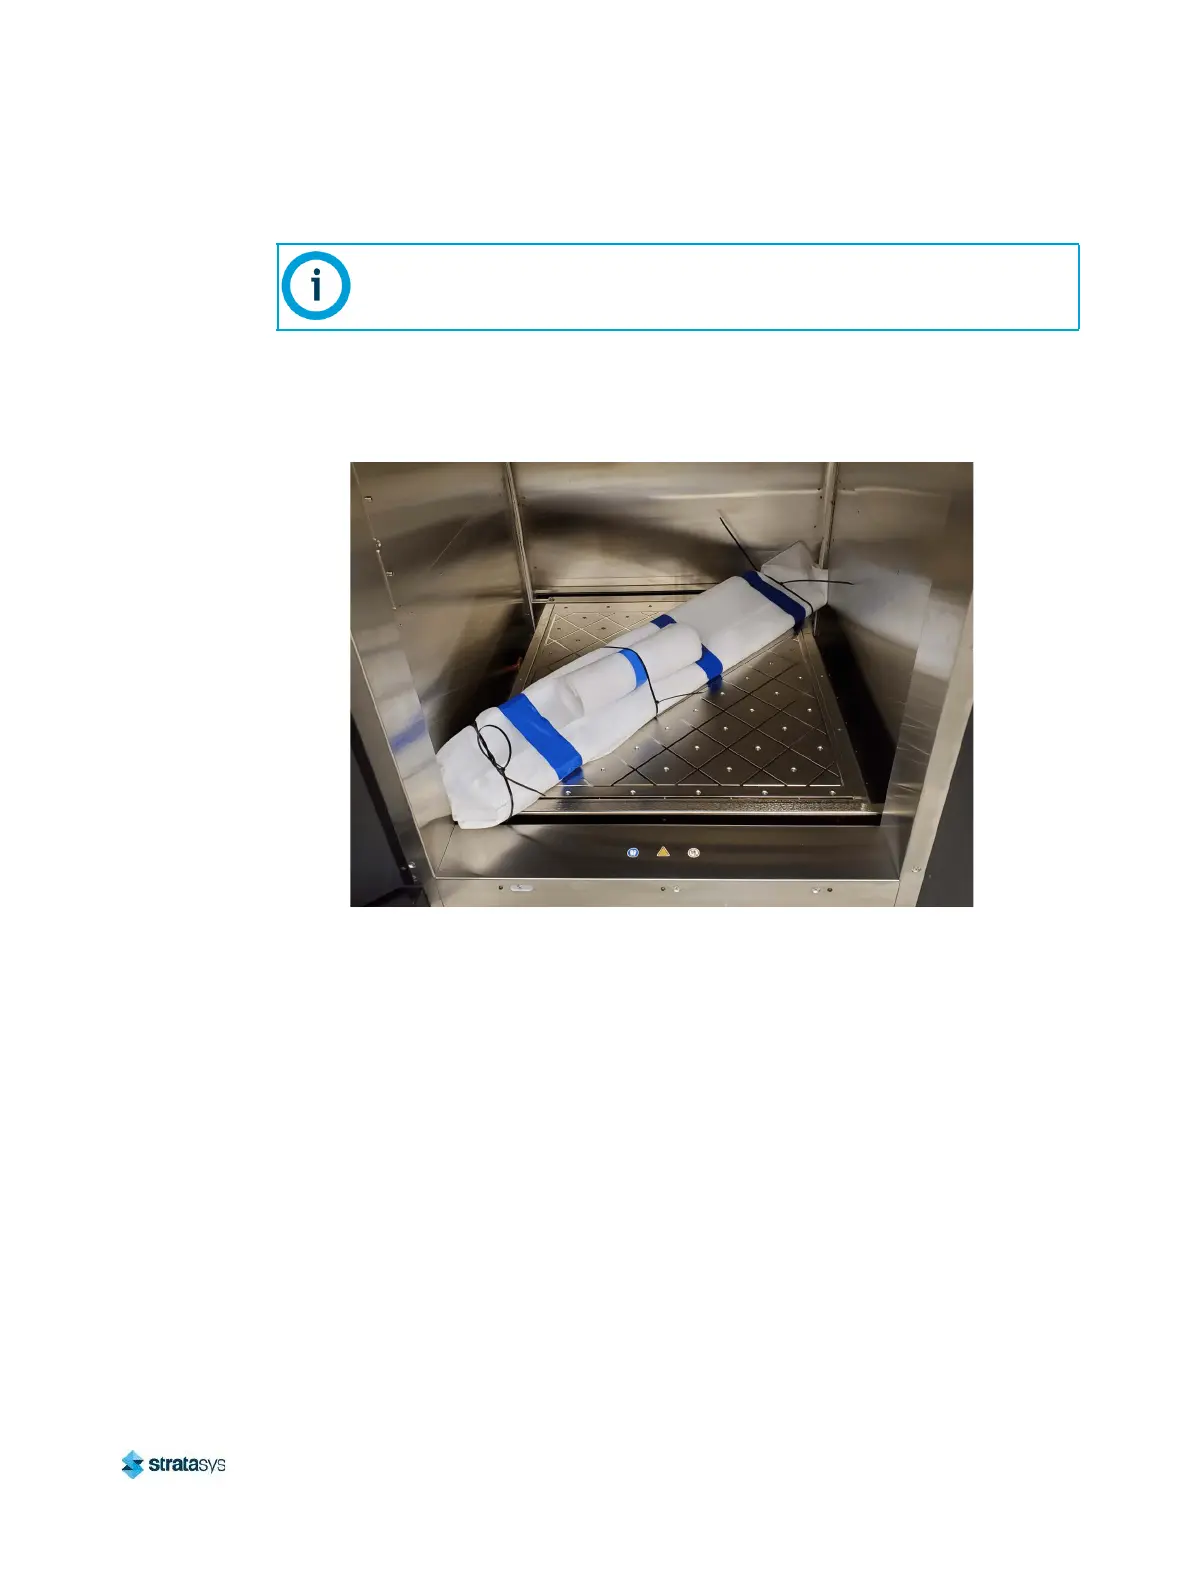
22. Remove the light tower and the Styrofoam-wrapped front center foot panel from the oven
enclosure.
Figure 21: Removing Oven Shipping Contents
23. Remove the cardboard piece from the top of the platen.
24. Using a 2.5 mm hex wrench, install the front center foot panel.
25. Using a step-ladder, install the light tower to the top of the printer.
26. Open the rear gantry service access door.
If necessary, temporarily remove the front right corner foot panel and use the 35
mm wrench to access the printer stabilizing foot lock-nut.