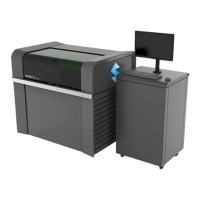
Stratasys J826 User Guide 4 Operating and Maintaining the Printer
DOC-28000 Rev. I 4-49
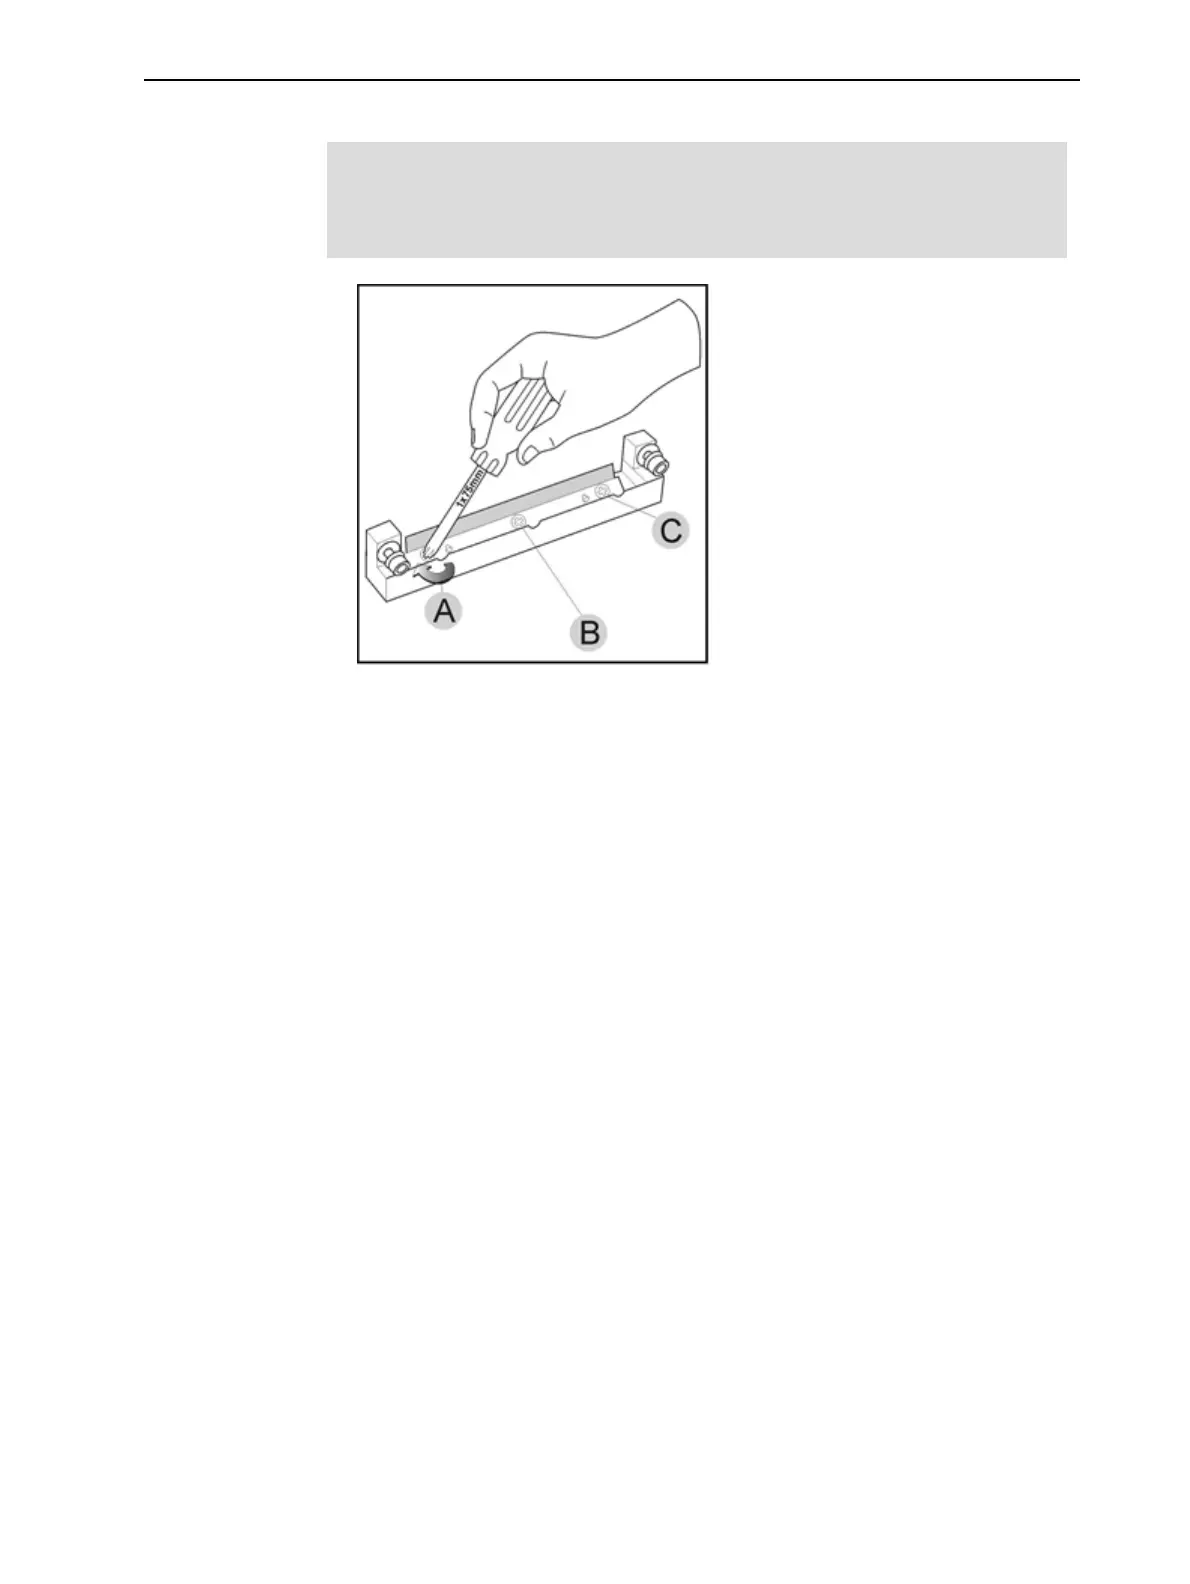
7. Insert and tighten the roller scraper blade screws.
Important:
l
Tighten the screws in the order shown in Figure 4-61.
l
Use the new screws supplied in the replacement kit
Figure 4-61 Tightening the roller scraper screws
8. After tightening the screws, inspect the blade and make sure that it is
straight. If necessary, loosen the screws and tighten them again, evenly.
9. Return the roller waste collector assembly and the right UV lamp to the print
block. (See steps 5 to 7 on page 4-44 in "Cleaning the Roller Waste
Collector and Inspecting the Roller Scraper".)
Aligning the Print Heads
You should check the alignment of the print heads—
• once a month
• after replacing one or more heads
• if quality is not acceptable even after cleaning the orifice plate on the bottom
of the print block (see "Cleaning the Print Heads, UV Lamp Glass, Roller
and Wiper" on page 4-38).
This procedure takes about 20 minutes.
To check the alignment of the print heads:
1. Prepare—
❒ a transparency sheet, about half of the standard A-4 or Letter size
❒ any type of adhesive tape, to fasten the transparency sheet to the build
tray
2. Start the Head Alignment wizard from the Options menu.
 Loading...