

M
michaellewisJul 28, 2025
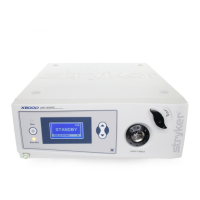
How to fix Stryker X8000 Medical Equipment with no light output?
- Llaurie33Jul 28, 2025
If your Stryker Medical Equipment isn't providing any light output, first, make sure the AC power cord is correctly plugged into both the hospital-grade outlet and the back of the console. Next, check that the power switch on the front is on and illuminated. Also, verify all fuses are working correctly. Ensure the bulb is correctly positioned in its housing, turned to the left, and that the bulb itself is in good working order, replacing it if needed. Confirm the light cable is properly connected to the port and that the bulb access door is fully closed. Finally, check that vents are not blocked. If none of these steps work or the safety shutoff has been activated, the X8000 needs to be returned for service.


