SunFounder PiCrawler Kit
Case
You can put the Raspberry Pi in a case; by this means, you can protect your device.
Sound or Earphone
The Raspberry Pi is equipped with an audio port about 3.5 mm that can be used when your screen has no built-in
speakers or when there is no screen operation.
Note: Hello, welcome to the SunFounder Raspberry Pi & Arduino & ESP32 Enthusiasts Community on Facebook!
Dive deeper into Raspberry Pi, Arduino, and ESP32 with fellow enthusiasts.
Why Join?
• Expert Support: Solve post-sale issues and technical challenges with help from our community and team.
• Learn & Share: Exchange tips and tutorials to enhance your skills.
• Exclusive Previews: Get early access to new product announcements and sneak peeks.
• Special Discounts: Enjoy exclusive discounts on our newest products.
• Festive Promotions and Giveaways: Take part in giveaways and holiday promotions.
Ready to explore and create with us? Click [] and join today!
3.1.2 2. Installing the OS
Required Components
• A Personal Computer
• A Micro SD card and Reader
1. Install Raspberry Pi Imager
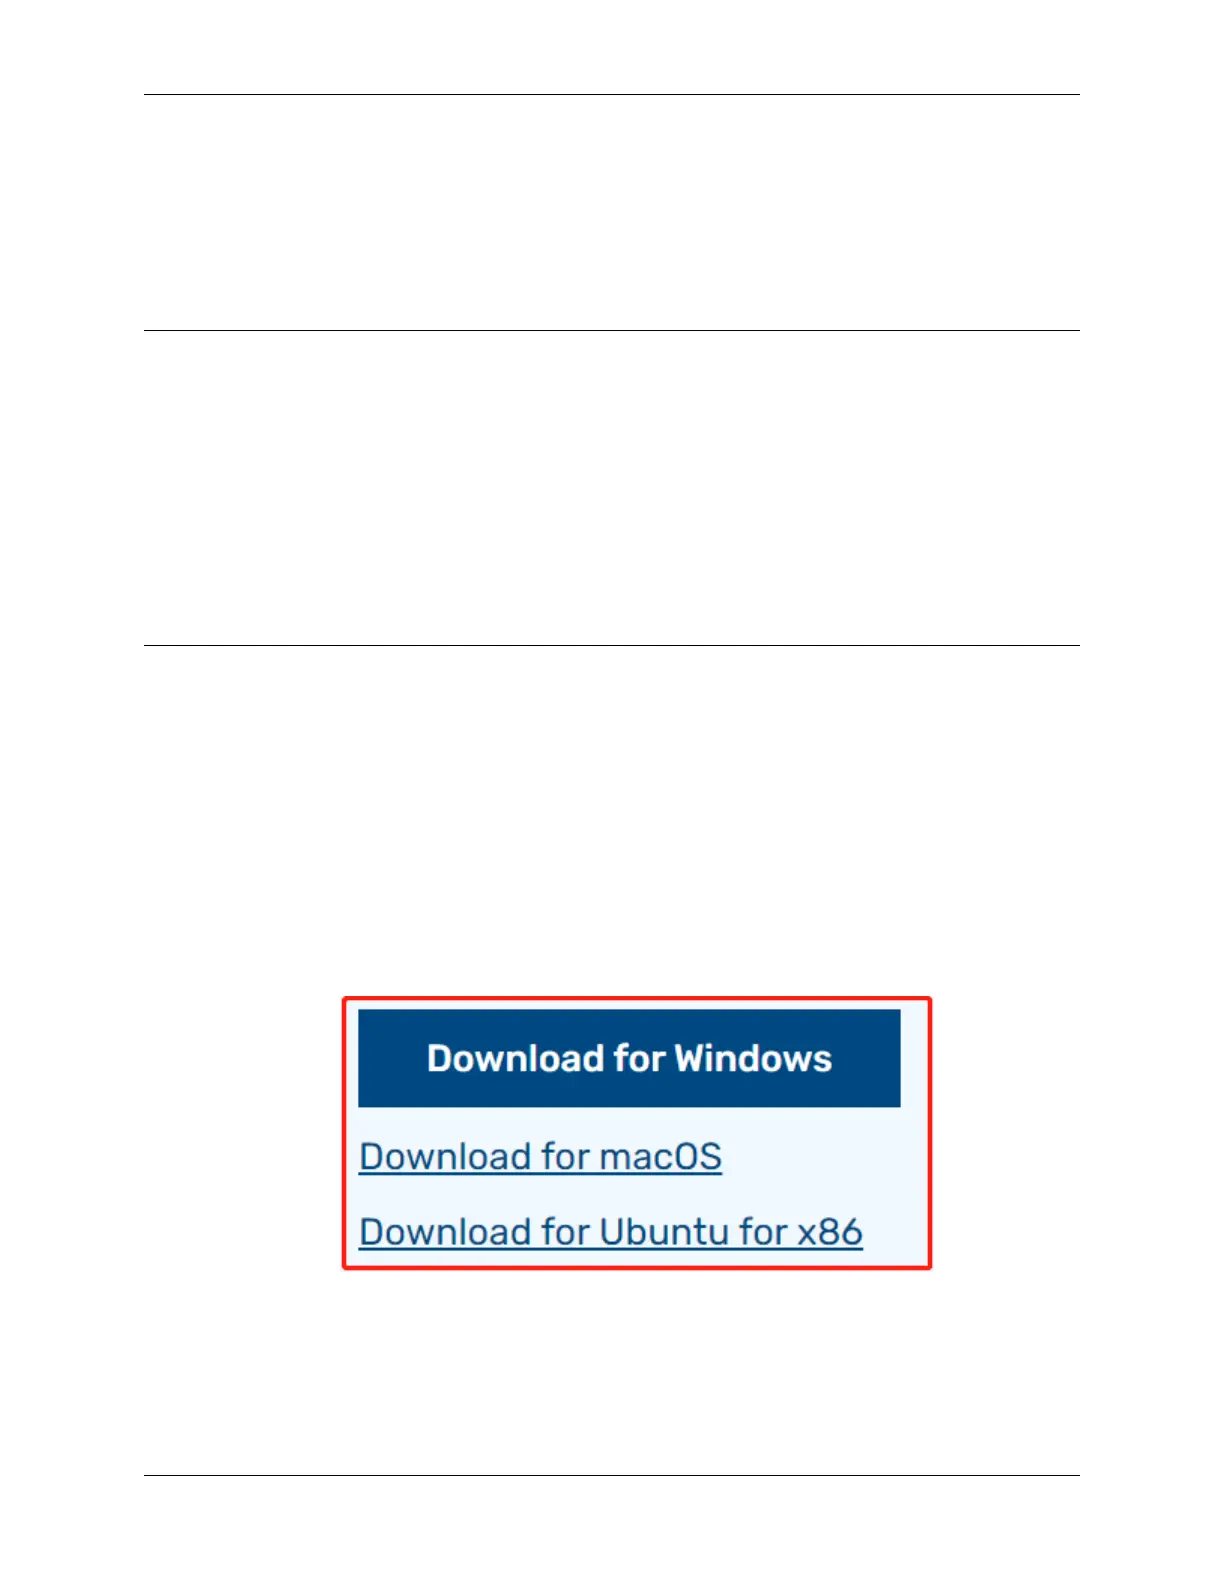
1. Visit the Raspberry Pi software download page at Raspberry Pi Imager. Choose the Imager version compatible
with your operating system. Download and open the file to initiate installation.
2. A security prompt may appear during installation, depending on your operating system. For example, Windows
might display a warning message. In such cases, select More info and then Run anyway. Follow the on-screen
guidance to complete the installation of the Raspberry Pi Imager.
3.1. Quick Guide on Python 9