31
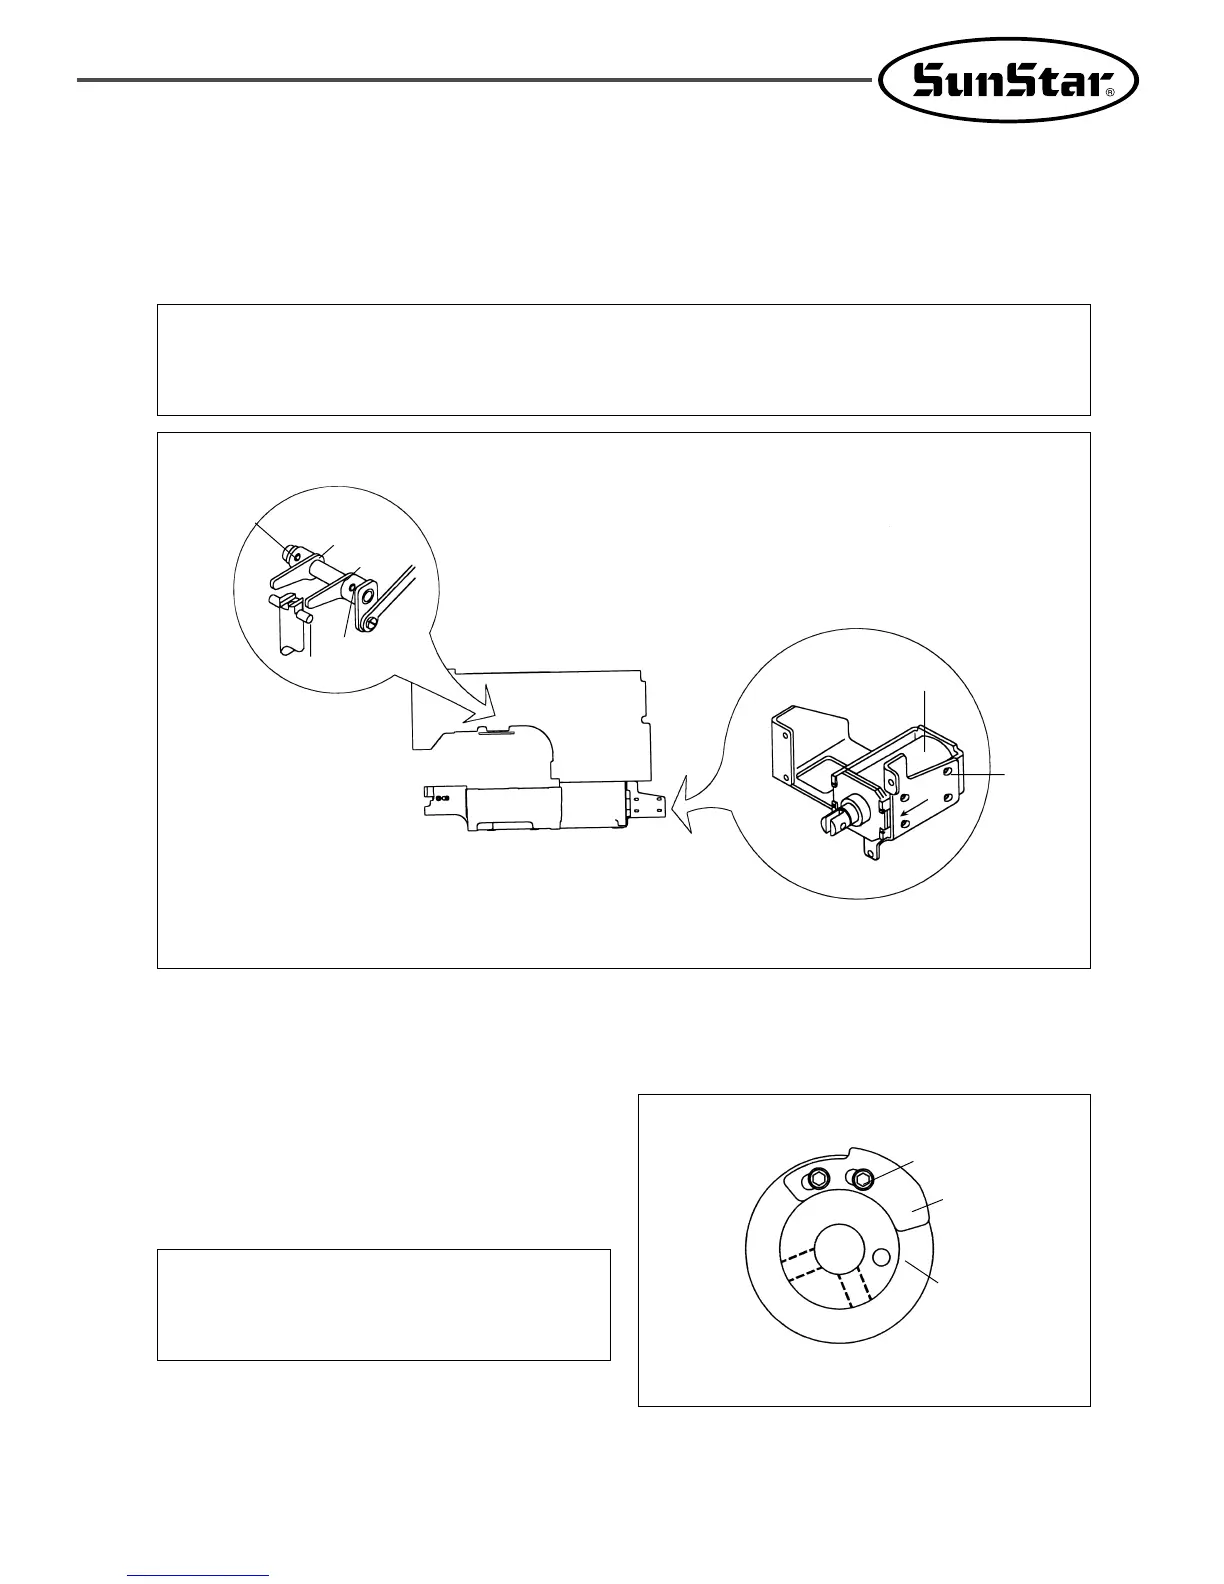
7) Adjusting the Parts for the Presser Plate
Place the left ① and right ② presser plate arms closer to each other so both arms will press the presser plate shaft
pin ③ equally and tighten screw ④. If thin material is to be sewed or if the presser is too weak, adjust the presser foot
solenoid ⑤ in direction A and tighten screw ⑥.
[ Fig. 43 ]
[ Caution ]
The screws may be damaged when the left and right presser plate arms are not set in the same angle. If the presser
plate solenoid is adjusted too much in direction A the presser plate may go up, and the presser may become weak or
the presser plate may be returned if adjusted too much in the opposite direction.
8) Adjusting the Parts for Thread Release
A. How to Set the Thread Release Notch
Place the notch so that the right side of the slot of the
thread release notch ① touches circumference of the
notch screw ②, and then fix with a screw.
[ Caution ]
The remaining amount of thread may not be enough or
not be regular and the thread may be unfastened from
the needle if the notch is not set in the right position.
[ Fig. 44 ]
①
Thread Trimming
Cam
②
④
④
②
①
⑤
A
⑥
③
 Loading...

