© Copyright Mission Critical Energy Inc, 2019 Version 1-2019
www.superwind.com
7.5.2 Mounting the hub to the generator shaft
In order to prevent the rotor from turning unexpectedly during
installation, place the stop switch into the STOP position before
assembly of the hub to the generator shaft. Another option is to
disconnect the batteries, then short circuit the two generator cables.
DISCONNECT THE BATTERIES BEFORE SHORT CIRCUITING
THE TWO GENERATOR CABLES!
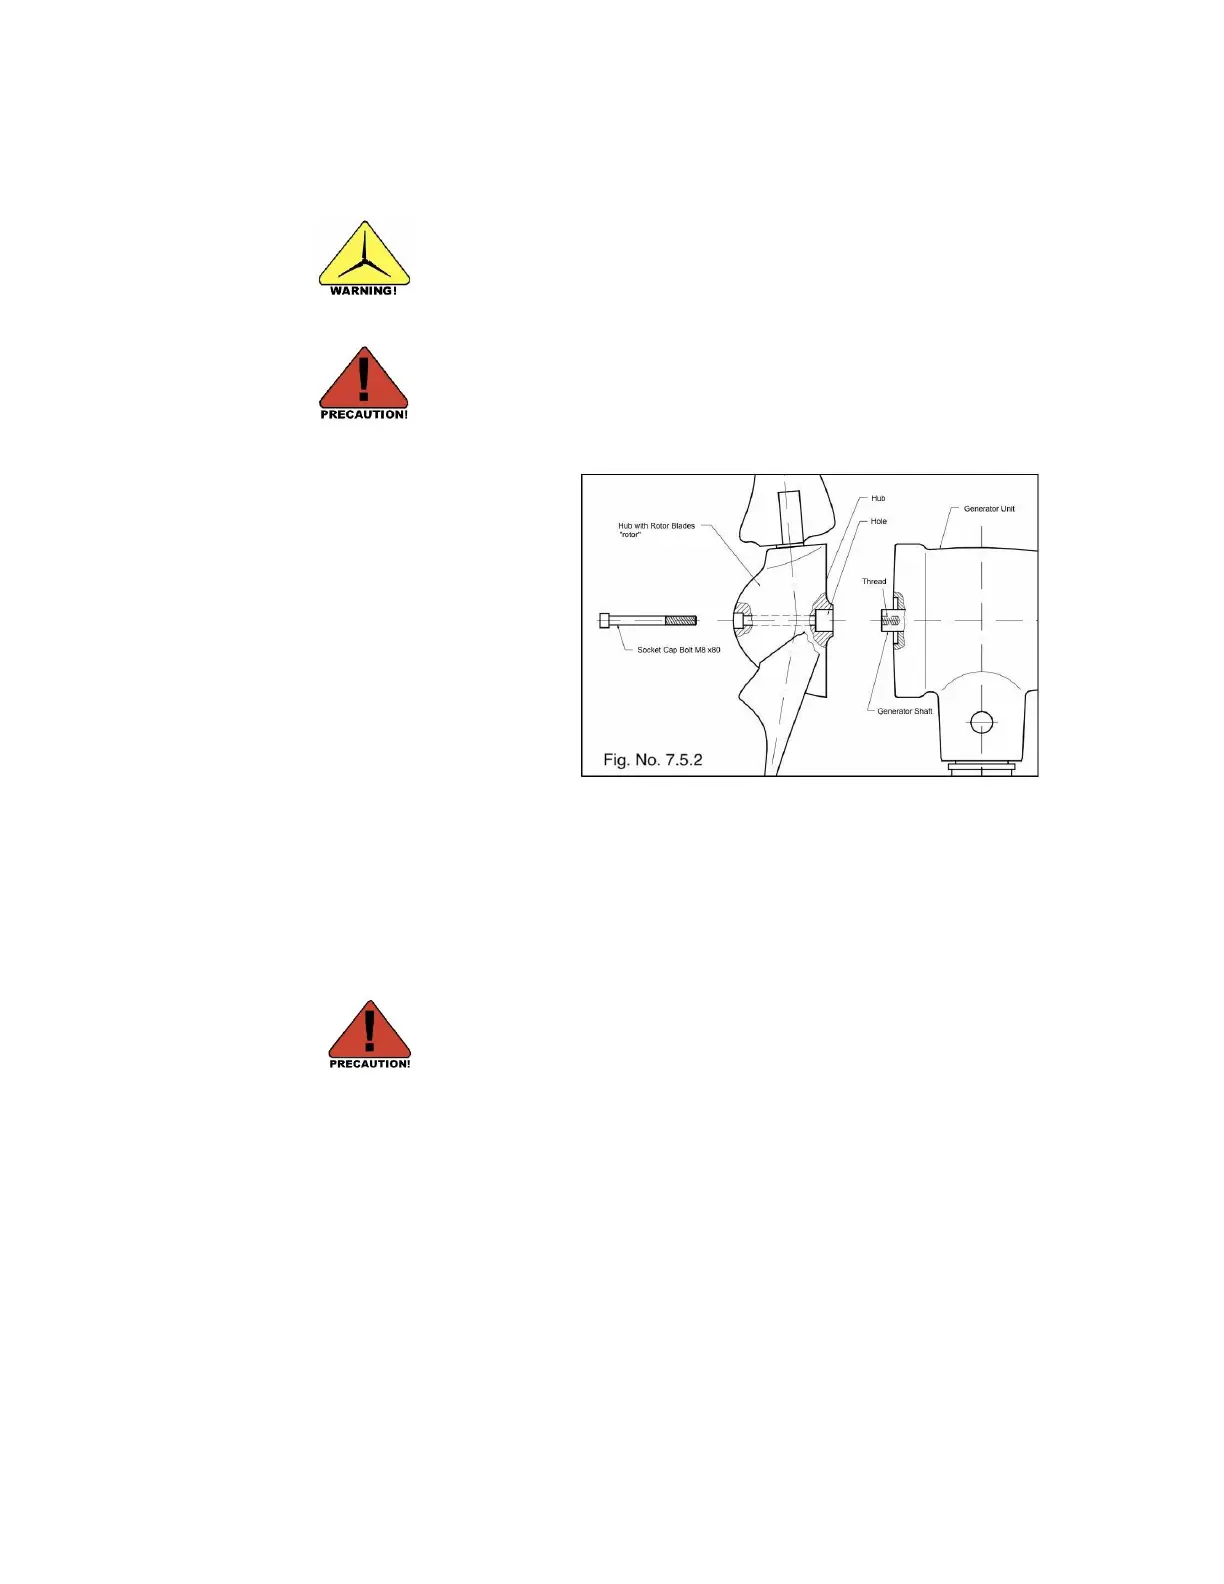
Once the rotor has been
assembled, hold the rotor by
the hub and center the hub
hole onto the generator shaft
(Fig. No. 7.5.2), paying close
attention to the alignment with
the generator shaft key. Avoid
holding or carrying the rotor
by the rotor blades. Doing so
will place unnecessary loads
on the blades and can cause
possible injury (as the edges
of the blades are sharp).
Gently slide the rotor onto the generator shaft, being careful not to push the generator
shaft into the housing of the generator unit. Next, insert the socket cap bolt M8 x 80
(Fig. No, 7.5.2) through the hub and tighten it until all axial play is removed. Torque
the socket cap bolt to 18 Nm. [13.27 lb/ft]. The socket cap hub bolt has TUFLOK (blue
color) thread lock applied to prevent loosening once installed and during operation.
Due to this coating, some resistance during installation is normal.
Do not push the generator shaft into the generator housing
during hub installation or damage to the generator will result.
This type of damage is not covered by the Superwind warranty!