ARES-G2 Getting Started Guide Page 71
2 Insert the motor PRT into the opening. While applying light downward force, rotate the PRT until it
slips into place, indicating that the PRT has aligned with the keyway in the electrical jack. When properly
installed, it will register the ambient temperature. See the figure below.
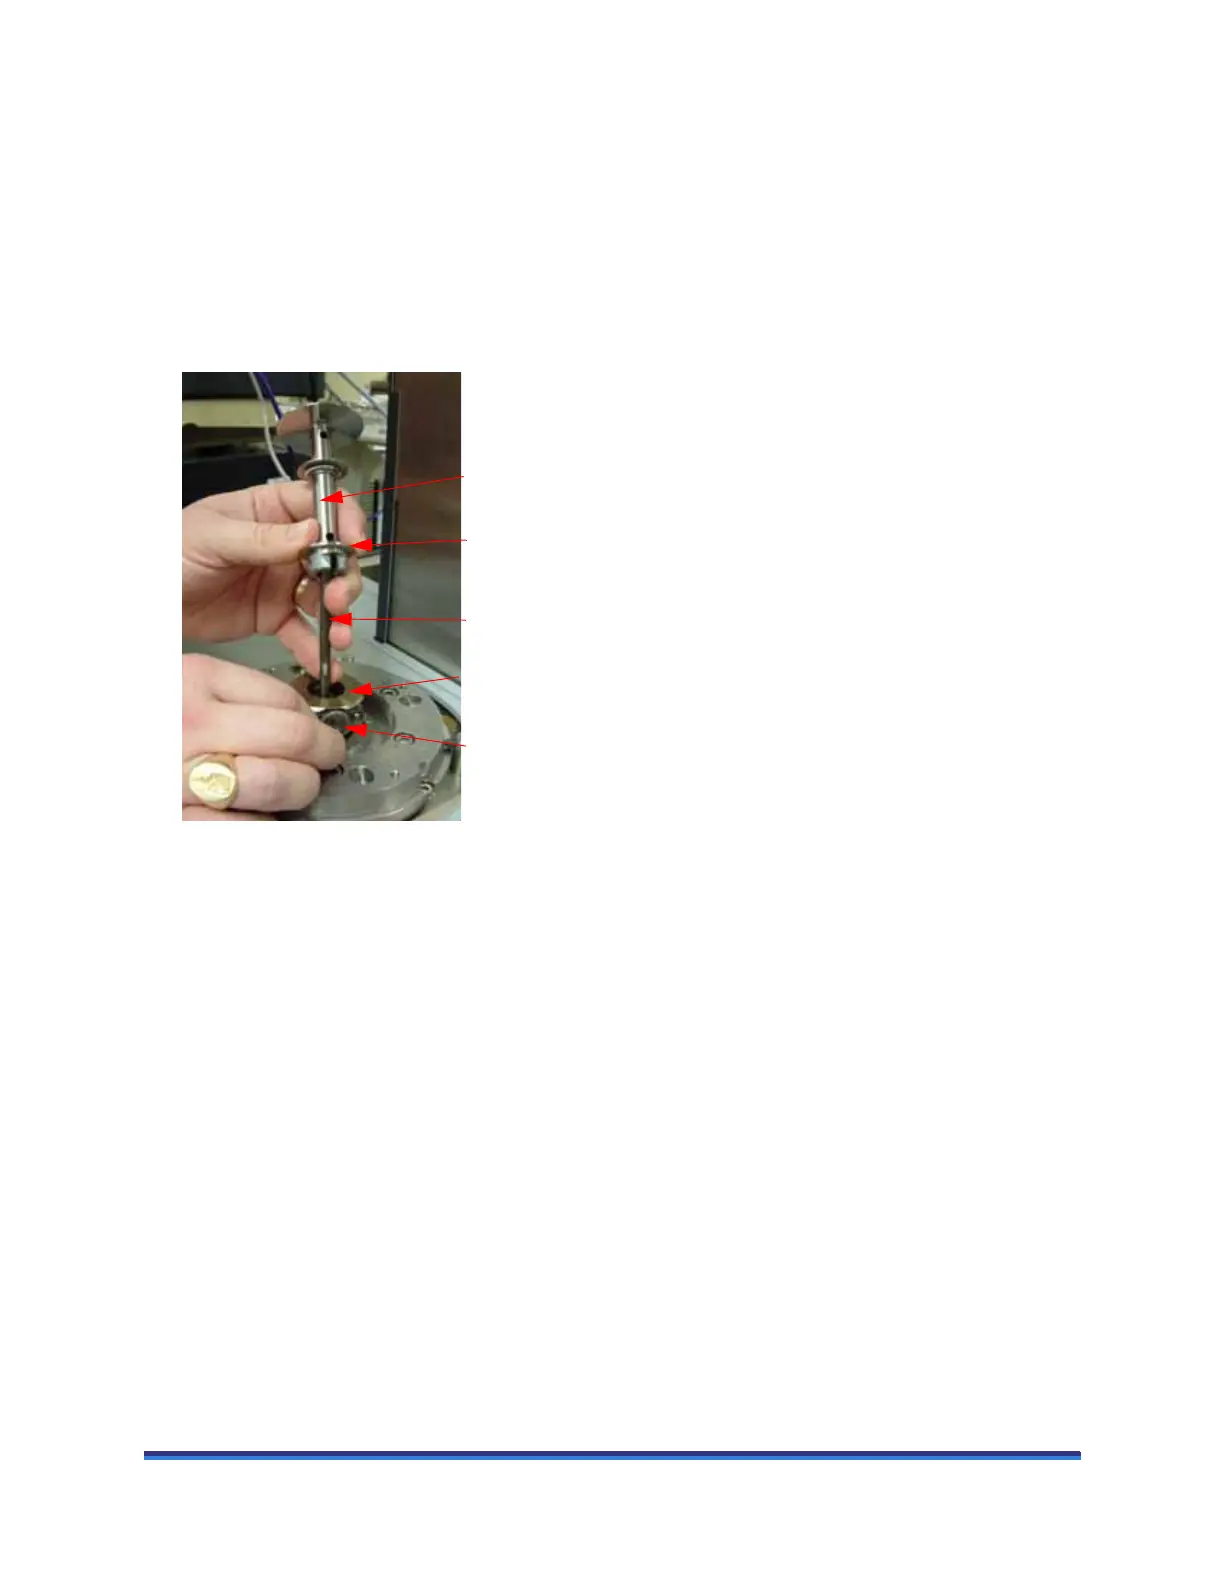
3 Obtain the desired geometry. Make sure there is no dirt or dust at the location surfaces for parallel and
concentric alignment. Holding the geometry by the shaft, carefully slide the geometry over the PRT.
The PRT temperature sensor is spring loaded and will need to be pushed downward as far as it will go
then hold it in place.
4 Tighten the knob. Hand tighten the knob, but do not over-torque it. The retainers will move inward to
hold the geometry in place.
Figure 45 Installing the lower geometry.
NOTE: For more information on the different types of geometries, see TRIOS software online Help.
Knob
PRT
Geometry
Motor
mount
Flange