ARES-G2 Getting Started Guide Page 70
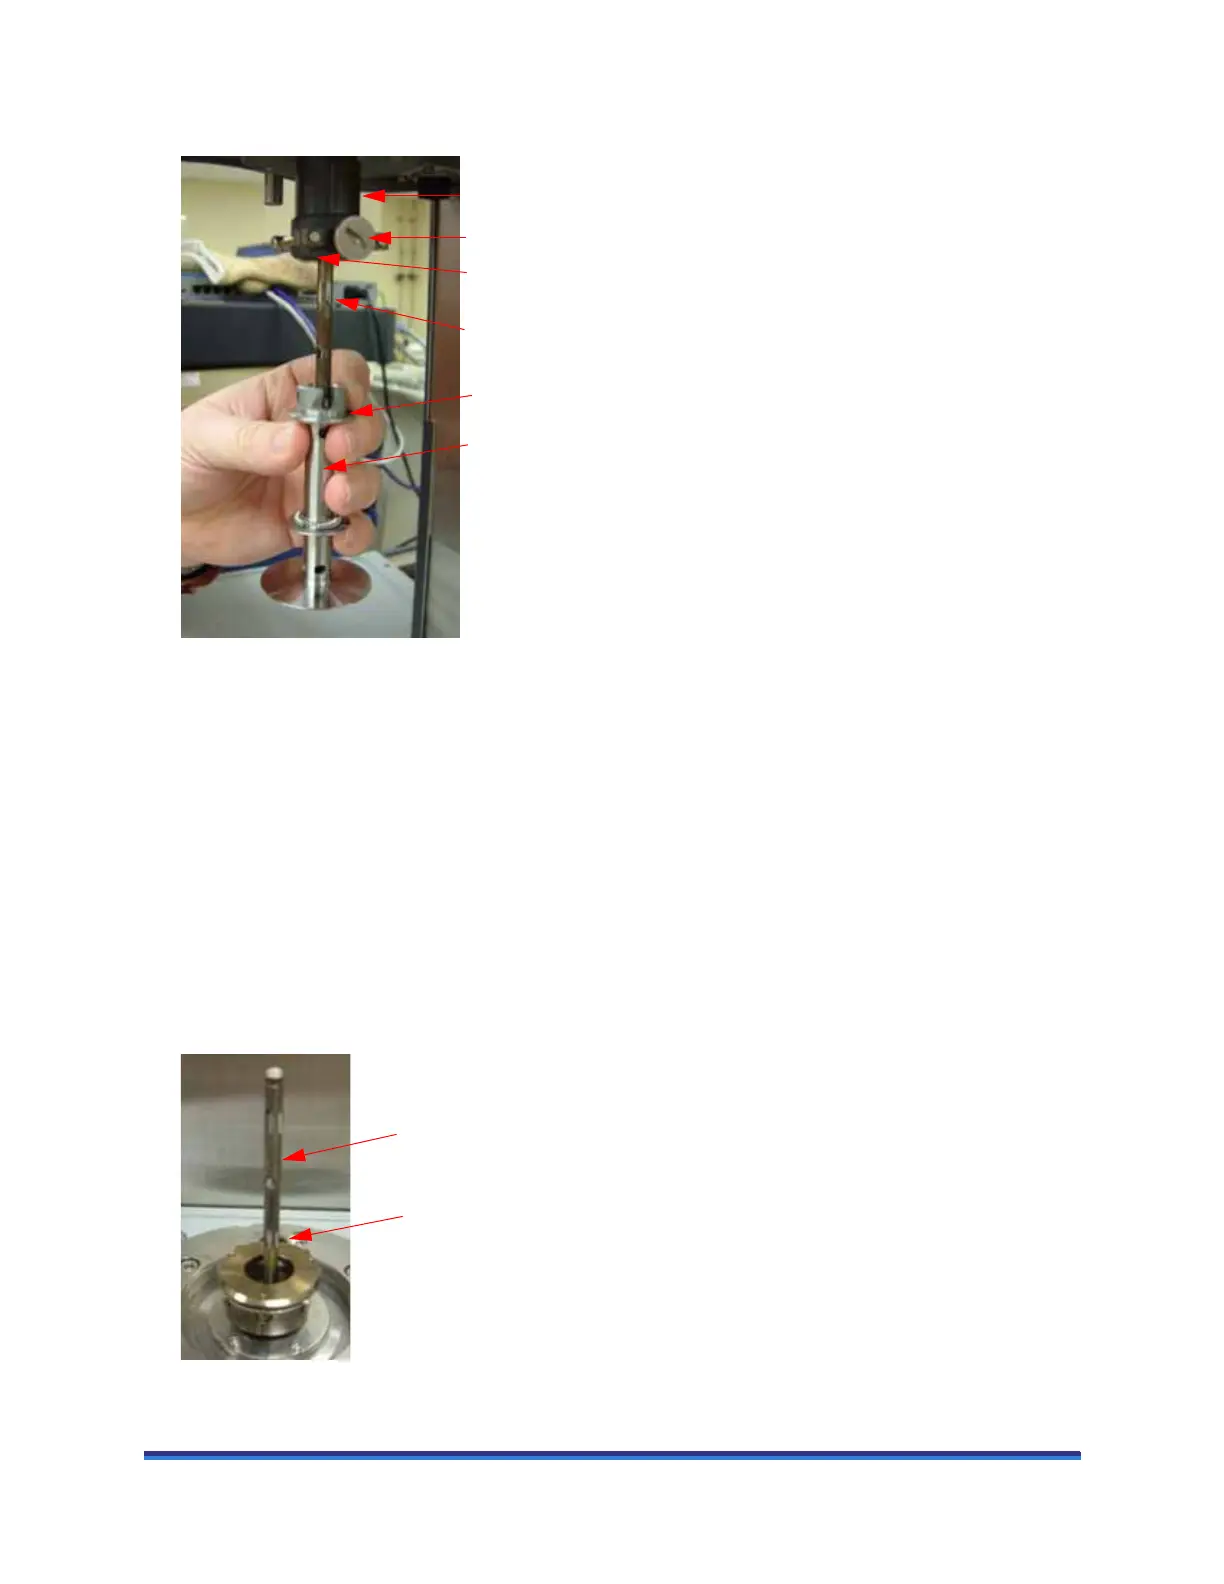
4 Tighten the knob. Hand tighten the knob, but do not over-torque it. The retainers will move inward to
hold the geometry in place. See the figure below.
Figure 43 Installing the upper geometry.
NOTE: For more information on Platinum Resistance Thermometers (PRTs) and the different types of
geometries, see TRIOS software online Help.
Installing the Lower Geometry
NOTE: The Lower PRT should only be used if an FCO Environmental system is being used and Parallel
Plate or Cone/Plate geometries are being used.
Follow the directions depending on whether you have a motor mount or fluid bath mount.
Installation with a Motor Mount (Oven or Ambient)
To install a lower geometry onto the motor, refer to figures while performing the following steps:
1 Loosen the knob on the motor mount.
Figure 44 Lower PRT installed.
Knob
PRT
Geometry
Transducer
Transducer
hub
Flange