32
Models PH71/PH84Operating Procedures
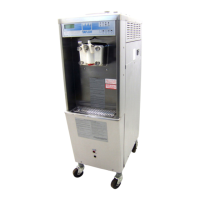
Step 3
Press the AUTO key. When the unit cycles off, the
product will be ready to serve.
Figure 43
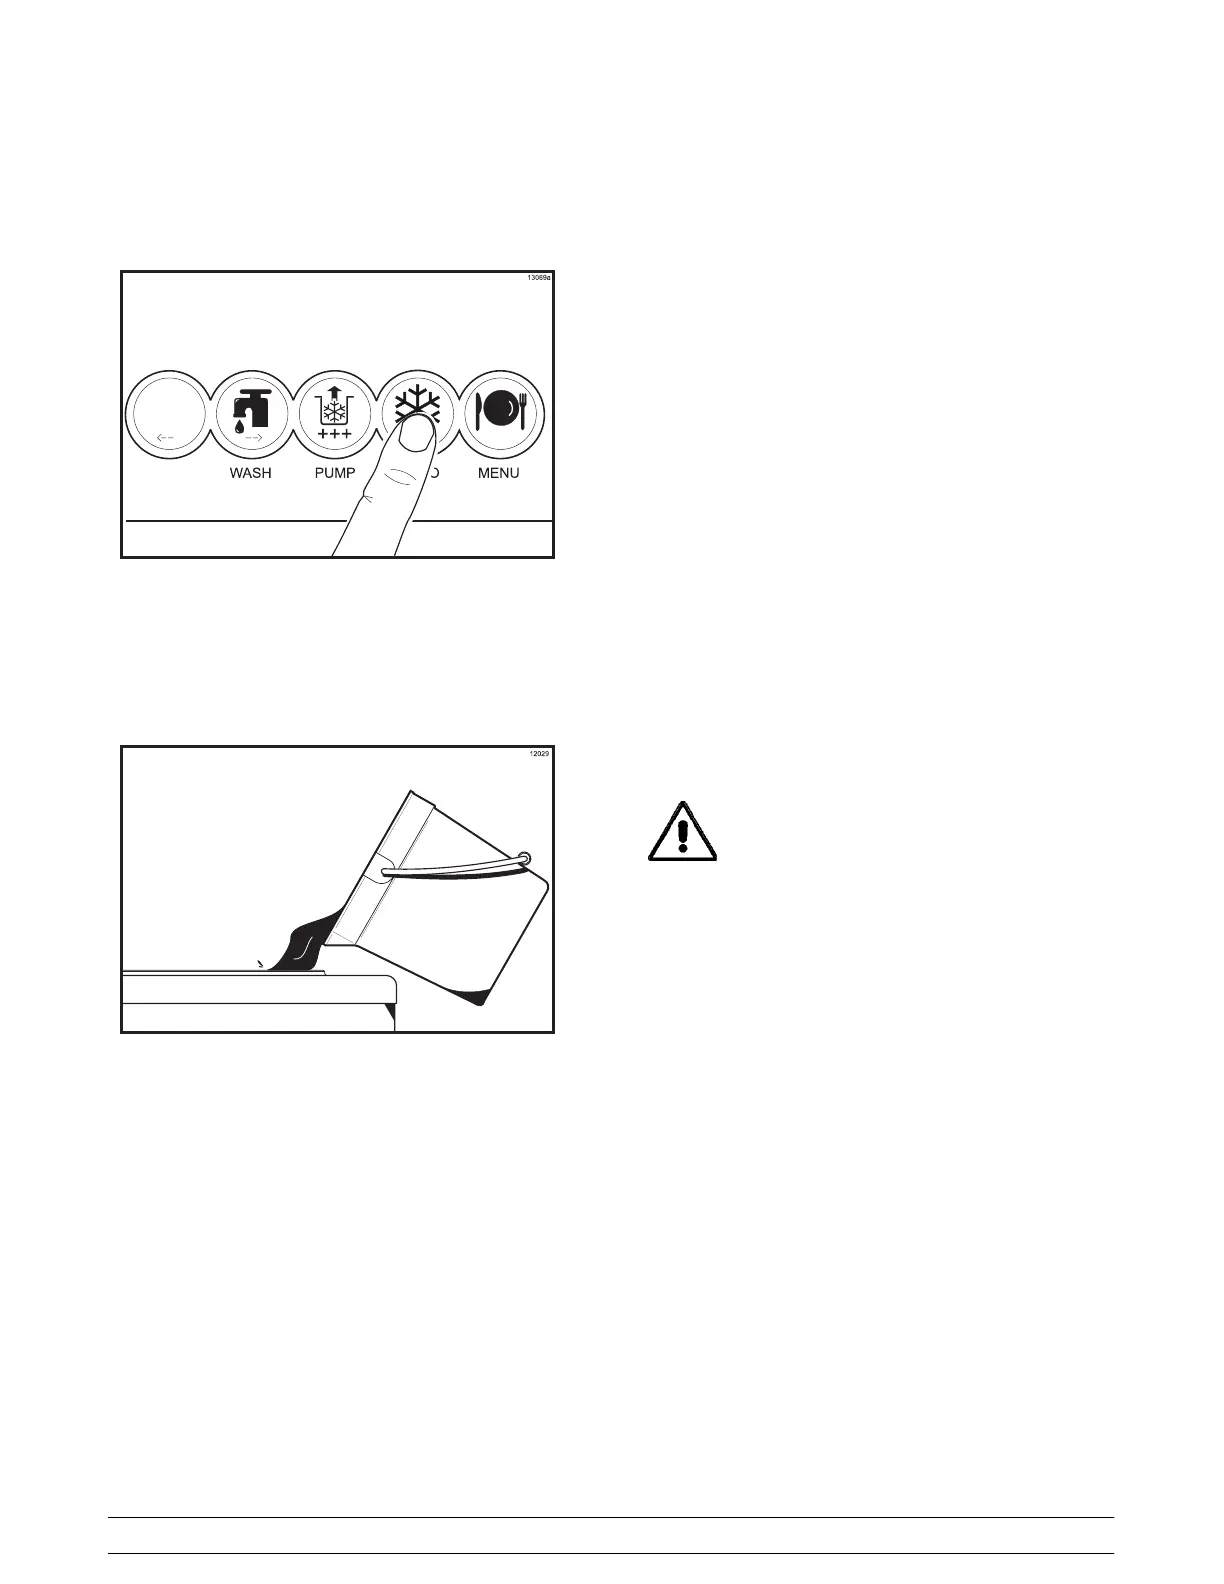
Step 4
Fill the hopper with FRESH mix. Place the mix hopper
cover in position.
Figure 44
Note: Use only FRESH mix when priming the freezer.
Repeat Steps 1 through 4 for the other side of the
freezer on the Model PH84.
Note: These units feature adjustable draw handles to
provide the best portion control, giving a better,
consistent quality to your product, and controlling
costs. The draw handles can be adjusted for different
flow rates. See page 14 for more information on
adjusting these handles.
IMPORTANT! Once the draw rate is set, tighten the
lock nut with a wrench.
Daily Closing Procedu res
THIS PROCEDURE MUST BE PERFORMED ONCE
EVERY 24 HOURS.
The function of the Heat Treatment Cycle is to destroy
bacteria by raising the temperature of the mix in the
freezing cylinder and the hopper to a specified
temperature for a specified period of time, and then
bringing the temperature back down low enough to
retard spoilage. The Heat T reatment Cycle will start at
the time designated in the AUTO HEAT TIME.
IMPORTANT: The level of mix in the mix hoppers
must be at the line on the agitator paddle. (The mix
low light must not be on.)
Step 1
The freezer must be in the STANDBY or AUTO mode
before the Heat Treatment Cycle may be started.
(BothsidesofthePH84mustbeinSTANDBYor
AUTO.)
Step 2
Remove the hopper cover(s). Remove the front drip
tray, splash shield, and the rear drip pan(s), and take
them to the sink for further cleaning and sanitizing.
MAKE SURE YOUR HANDS ARE CLEAN
AND SANITIZED BEFORE PERFORMING THESE
NEXT STEPS.
Note: Pressing the <-- -- key will stop agitator
movement for 10 seconds. At end of 10 seconds,
press the <-- -- key again to return to the mode screen.
Remove the agitator(s) from the mix hopper(s).
Remove the design cap(s) from the freezer door
spout(s). Take the agitator(s), hopper cover(s) and
design cap(s) to the sink for further cleaning and
sanitizing.
Rinse these parts in cool, clean water . Prepare a small
amount of an approved cleaning solution (example:
Kay-5r). USE WARM WATER AND FOLLOW THE
MANUFACTURER’S SPECIFICATIO NS. Brush clean
the parts. Place the design cap(s), front drip tray and
splash shield on a clean, dry surface to air-dry
overnight or until the heating cycle is complete.
Prepare a small amount of an approved 100 PPM
sanitizing solution in WARM WATER AND FOLLOW
THE MANUFACTURER’S SPECIFICATI ONS. Sani-
tize the drip pan(s), agitator(s) and hopper cover(s).