33
Models PH71/PH84 Operating Procedures
Step 3
Important: Install the agitator(s) back onto the
agitator housing(s). Replace the hopper cover(s).
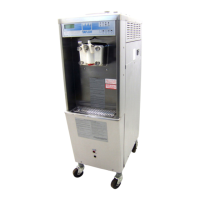
Step 4
Return to the freezer with a small amount of cleaning
solution. With a pail beneath the door , dip the end
brush into the cleaning solution and brush clean the
door spout(s) and bottom of the draw valve(s). (See
Figure 45.)
Figure 45
Note: To assure sanitary conditions are maintained,
brush each item for a total of 60 seconds, repeatedly
dipping the brush in cleaning solution.
Rinse a single service towel in cleaning solution and
wipe down the freezer door and the area around the
bottom of the freezer door.
Note: Once the heating cycle has started, it cannot be
interrupted. The heating cycle will take a maximum of
4 hours to complete with full hopper(s).
CAUTION: Do not draw product or attempt
to disassemble the unit during the Heat Treatment
Cycle. The product is hot and under extreme
pressure.
When the heating cycle is complete, the control will
return to the STANDBY mode.
There are 3 phases of the heat cycle: Heating, Holding
and Cooling. Each phase has a time limit. If any one
of the three phases fail to reach the proper
temperatures within the time limit, the cycle will
automatically abort and return to the STANDBY mode.
The LCD will display the message: HEAT TREAT
CYCLE FAILURE - FREEZER LOCKED - PRESS
SEL KEY. The product may not be safe to serve. The
freezer will be locked (softlock) out of the AUTO mode.
The option is given to press the AUTO key which will
begin a new heat cycle or to press the WASH key
which will place the side(s) into the OFF mode to allow
a brush clean of the unit.
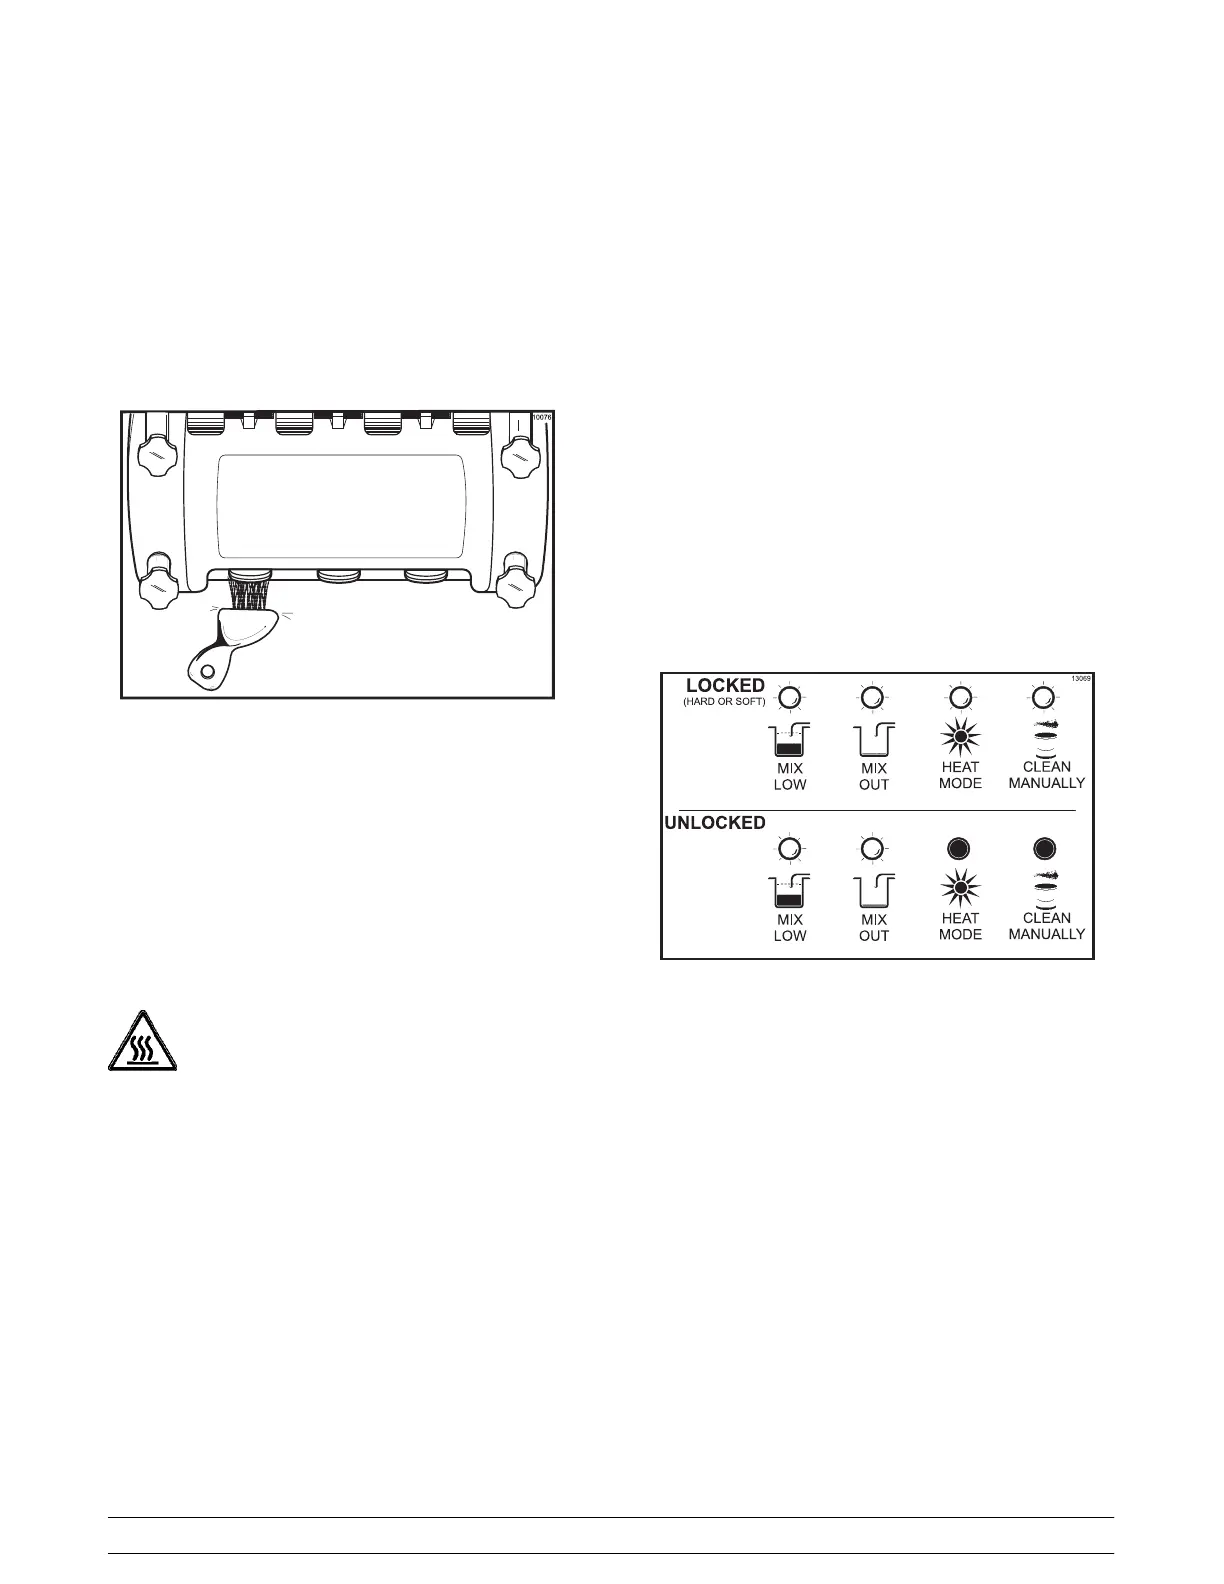
Daily Opening Procedures
Evaluate the condition of LED’s (lights) and screen
messages (Hard Lock or Soft Lock, etc.) before
performing opening procedures. As indicated in the
illustration below, 4 flashing LED’s, indicate a “locked”
condition.
Figure 46
Note: If the unit is hard locked, refer to the “Manual
Brush Cleaning” section starting on page 34.
Step 1
When the heating cycle is complete, the normal dis-
play will appear , showing the machine in the STAND-
BY mode. Prepare a small amount of an approved 100
PPM sanitizing solution (example: Kay-5r). USE
W ARM WATER AND FOLLOW THE MANUF ACTUR-
ER’S SPECIFICATIONS.
Sanitize the design cap(s), front drip tray, and the
splash shield in this solution.